Marketing: Email Marketing: Mailing Lists: Mailing List Contacts
Purpose
This document covers creating Mailing List Contacts within the Email Marketing application in Odoo 14.
Process
To get started, navigate to the Email Marketing app.
Mailing List Contacts
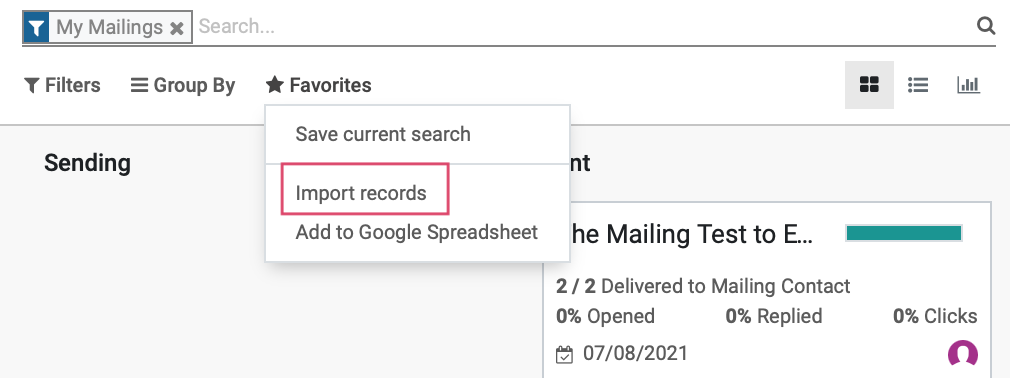
From the overview, you will see any Mailings that are currently in progress. If you have a list of contacts you would like to import, simply click on the Favorites, and select Import records.
This will bring you to a new page. Click Load file and you will then be able to select the import file from it's storage location on your computer.

If you are not importing contacts, navigate to MAILING LISTS > MAILING LIST CONTACTS. Once there, click CREATE. This opens a new form where you'll complete the following fields.
![]()
Name: The name of the contact.
Title: Enter a title for the contact.
Tags: Add any relevant tags for the contact.
Email: Enter a valid email address for the contact.
Title: Enter a title for the contact.
Company Name: Enter the contact's company name.
Country: Select the contact's country.
Created on: When the record is saved this field will populate with the date the record was created.
Bounce: This field will track the number of emails sent to the subscriber that have bounced back. This number can be manually overridden.
Mailing List: This field will show any mailing lists the contact is associated with. To add a new Mailing List, click ADD A LINE and choose or create the mailing list that you would like them to receive mail from.
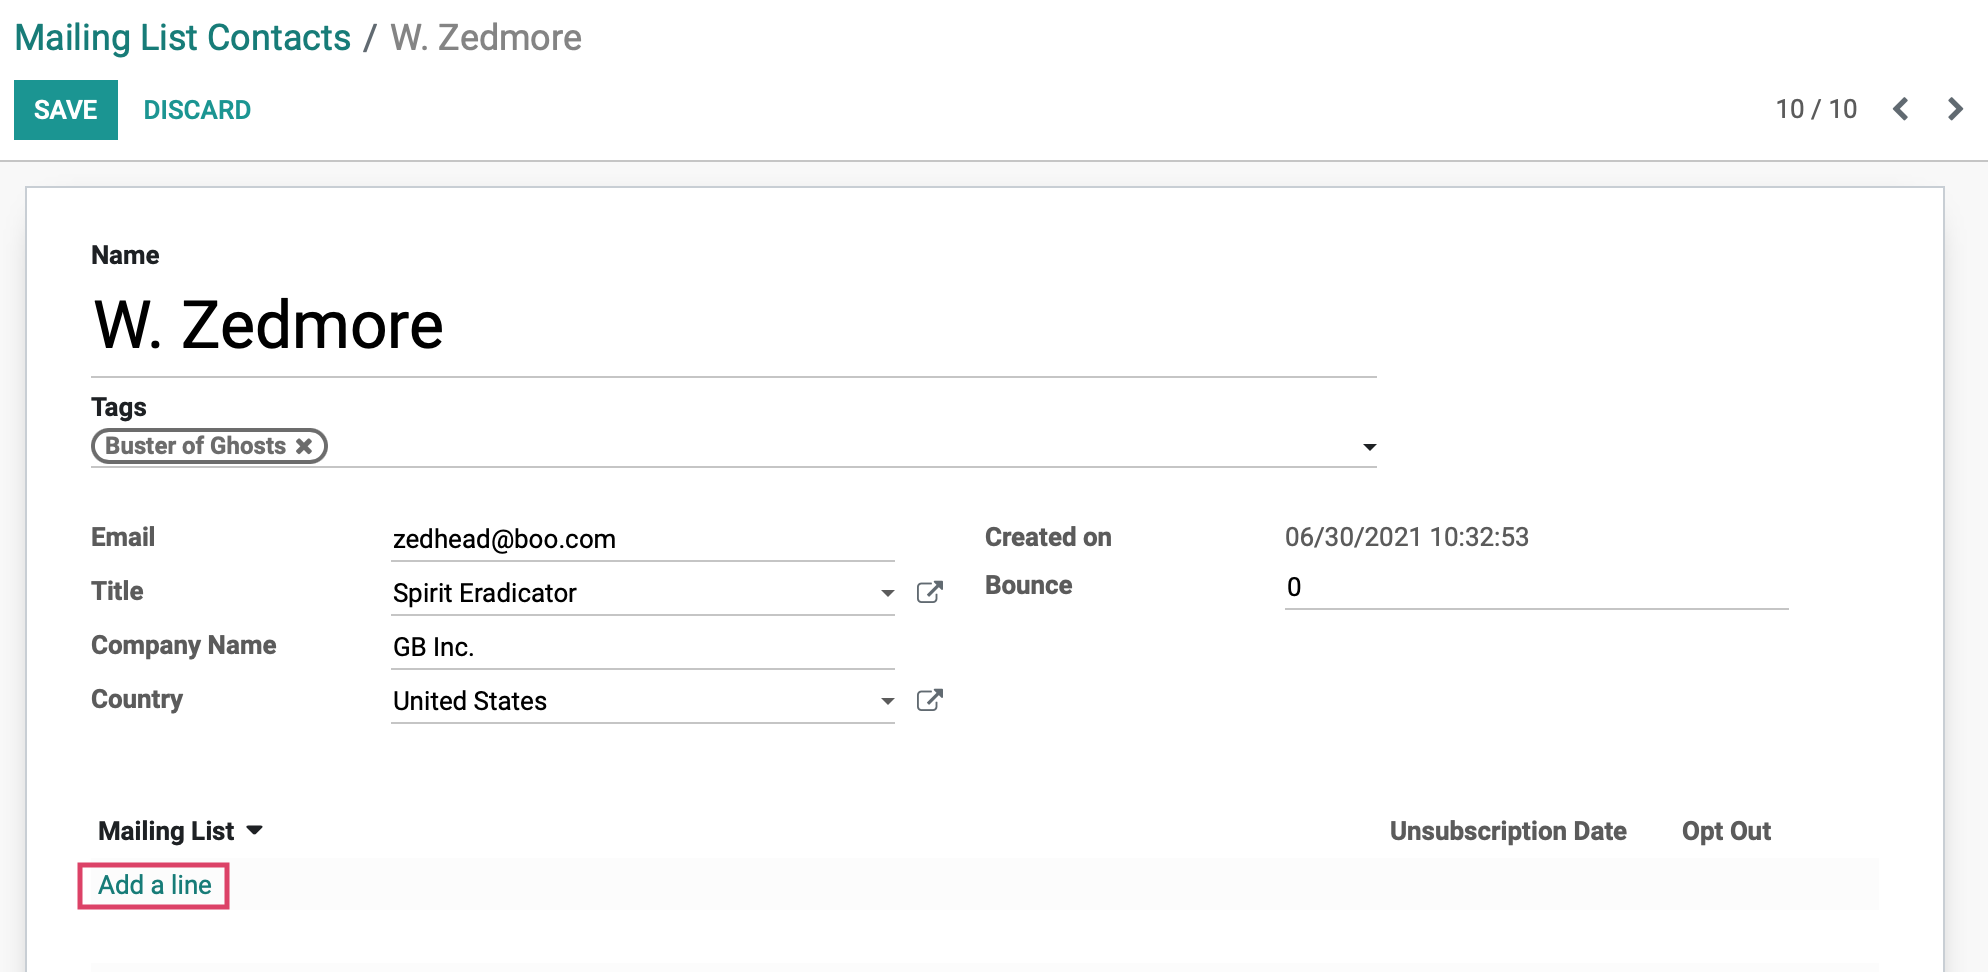
Unsubscription Date: If a contact Opts Out of receiving future emails, this date will auto populate with the date and time of unsubscribing.
Opt Out: If this box is checked, the contact has opted out of receiving mail from this list.
Once all of the desired details have been configured for this contact, click SAVE.