Marketing: Social Marketing: Feed + Posts
Purpose
This document covers how to use the Feed and Posts pages on the Social Marketing app for Odoo 14.
Process
To get started, navigate to the Social Marketing app.
Accounts
At the top of your feed, you'll see statistics for each account.

On each card you'll see the following information:
Feed Name: The name of your feed, as configured in Configuration > Social Accounts.
Insights: Click this link to go to the analytic page on the platform, respectively.
Audience: The number of viewers that have seen your content.
Engagement: The number of viewers who have interacted with your content. This could be a 'like', share, or comment.
Stories: The number of viewers who have shared your content.
To the right of each of these numbers is the percentage of growth or decline compared to previous periods.
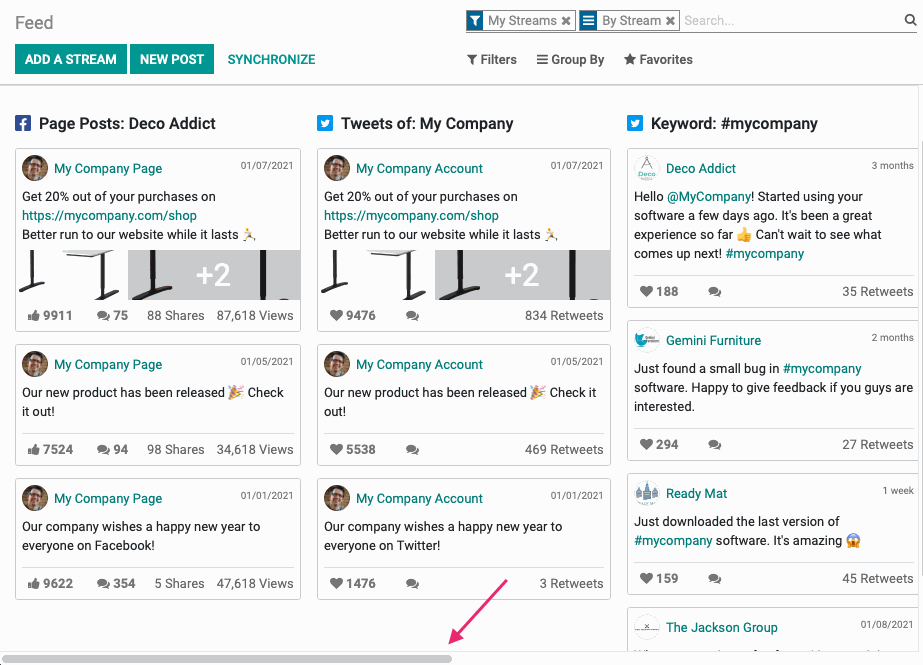
Streams
You can access this page from anywhere in the app by clicking Feed. A feed is a series of streams. You can configure a stream to provide specific types of data.
Good to Know!
Horizontal Scroll
There is no limit to the number of streams you can have in your feed. Be sure to use the horizontal scroll bar if you don't see what you're looking for!
To create a new stream, click Add a Stream. This brings up a modal window where you'll select the account to create a stream for. You also have the option to link a new account.
Select the account to create a stream for.
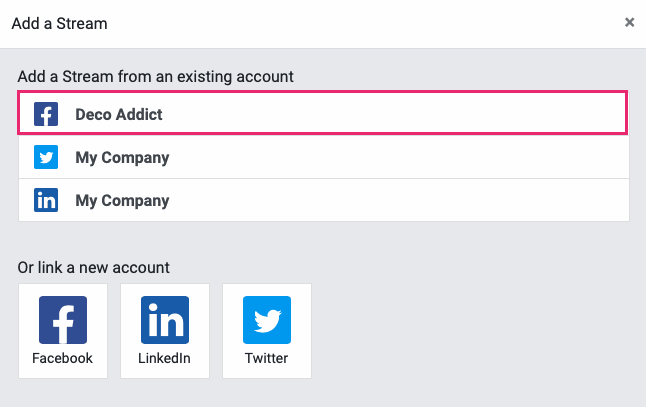
Next, select the type of data you'd like this stream to include. For instance, Facebook gives you the option to create a stream from your page's posts, or each time your page is mentioned. Make your selection, then click Add.
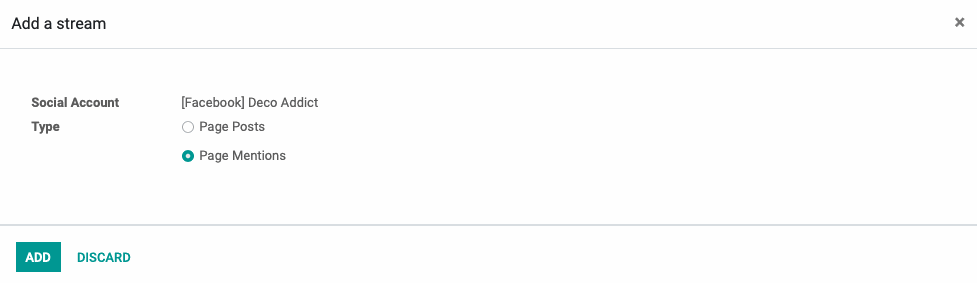
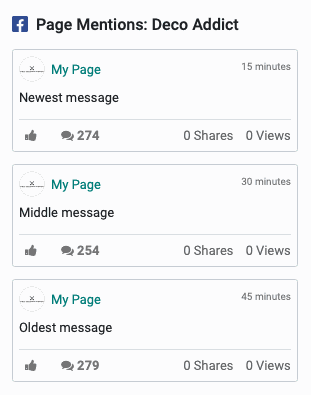
You'll then see the new stream added to your feed.
Posts
Though you can create a new post directly from the Feed page, Odoo has a page dedicated to posts.To access it, simply click Posts.
Here you'll see all saved, scheduled, and past posts. Look for the label on each card to identify which is which. You can also use the menu on the left to filter for a specific status or account.
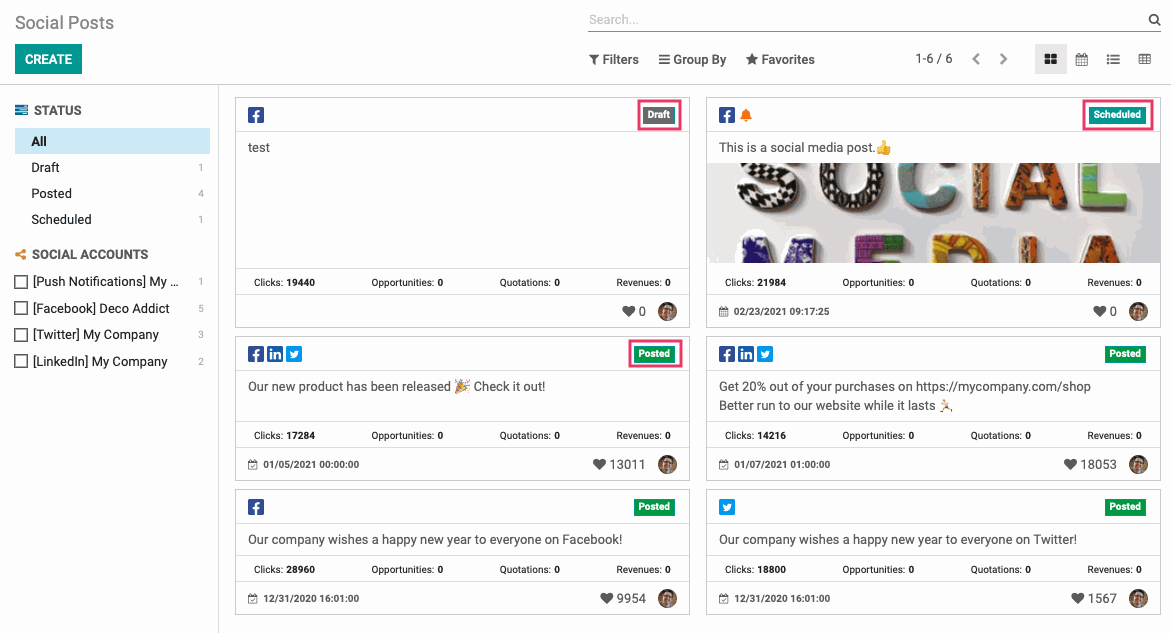
Additionally, you can see which platforms each post was assoiciated with. Note that Push Notifications are represented by the bell icon.
![]()
To modify a post, simply select it and click Edit.
To create a new post, click create. This opens a new window with the following options:
Your Post
Post On: Select the medium to post your content. This can be a social media account, or a push notification.
Message: Enter the content of your post. You can use the menu to add preconfigured emojis
.
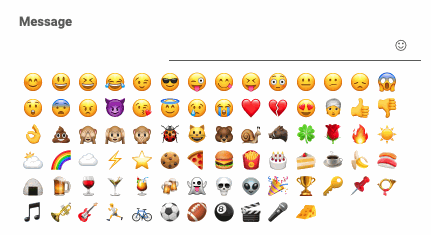
Attach Images: Click Attach Images to upload the images for your post.
Campaign: To associate this post with a campaign, select it here.
When
Send Now: Select this option to post this content immediately.
Schedule Later: Select this option to post the content in the future. When selected, you'll see a Scheduled Post Date allowing you to choose a date and time of posting.
Push Notifications
If you select a Push Notification, you'll see further configurable options.
Web Notification Options
Push Notification Title: Enter the title of message.
Push Target URL: Enter the destination URL users will be ported to when the notification is clicked
Push Icon Image: Select an image for your notification.
Send at Visitors' Timezone: If enabled, this will send the notification based on the visitors' timezone, whether you post now or schedule it later. If you "Post Now" at 8am, it will present to the visitor no sooner than 8am in their timezone.
Match records with the following rule: Use this domain filter to narrow down the audience. Note the default setting is set to those who have opted in to Push Notifications.
On the right-side of the page, you'll see a preview of your post on each platform selected.
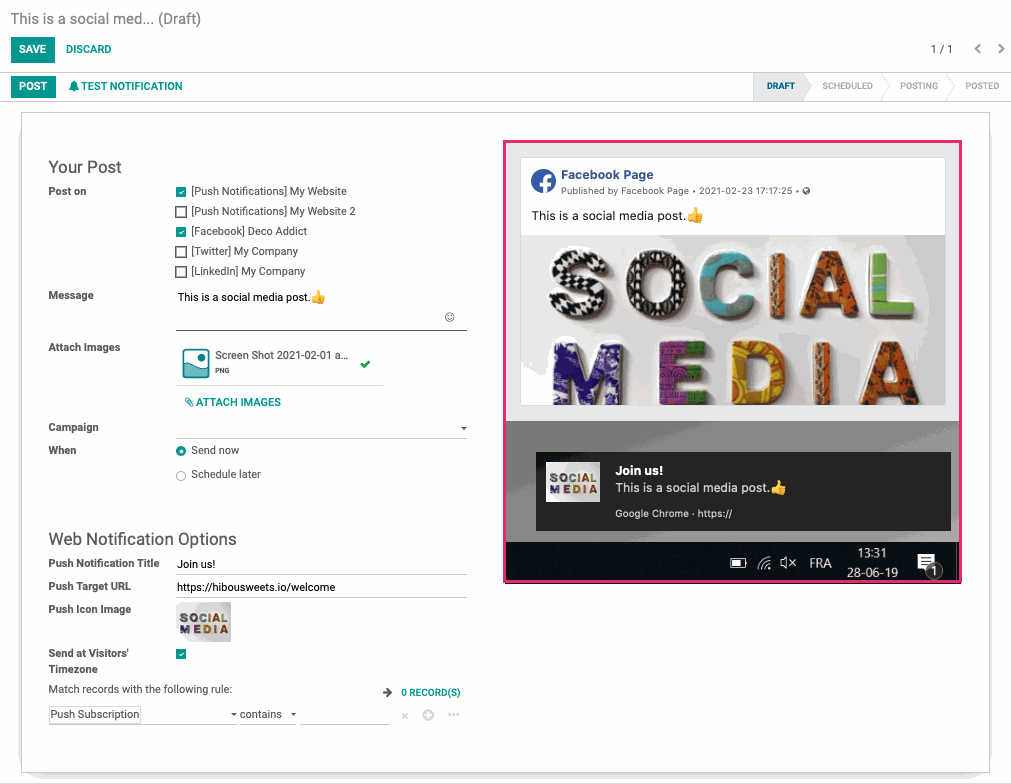
If you're not ready to post or schedule, click Save to keep this in draft. Otherwise, click Post (or Schedule).
Good to Know!
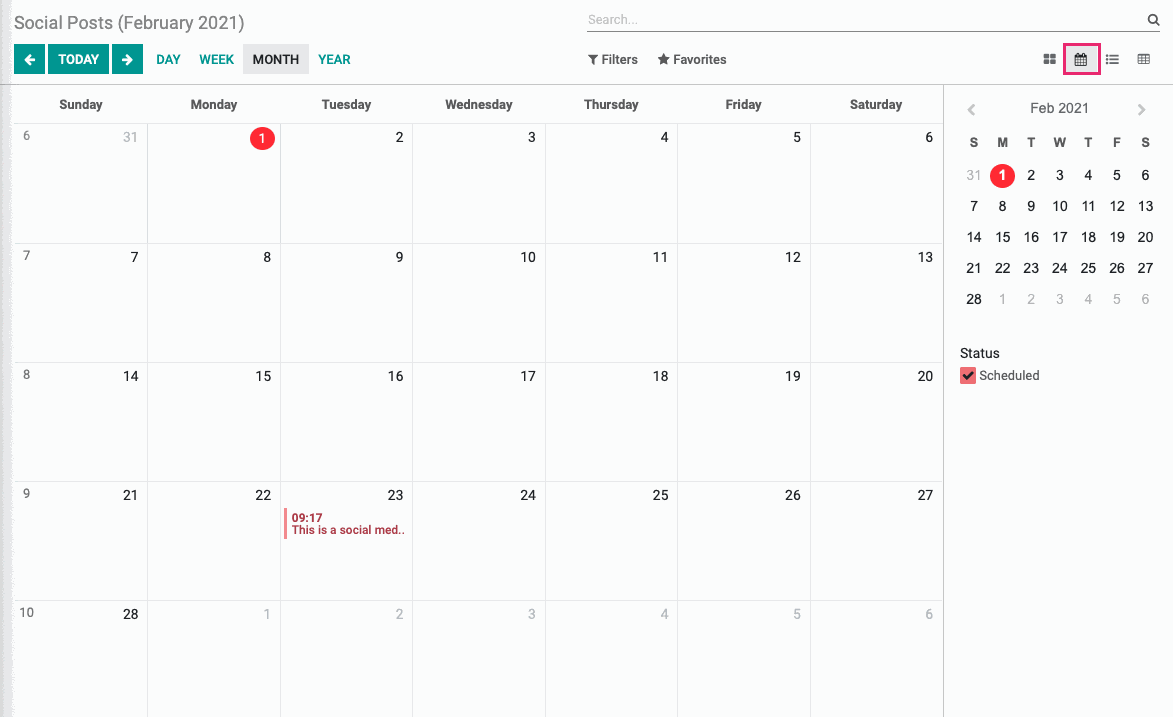
Change Your View
Use the icons on the top-right to change how you view your posts. Using the Calendar view is useful to visualize your scheduled content.