Field Service: Workflows: Products on Tasks
Purpose
This document covers how to create a quotation from a task in the Field Service application of Odoo 14. The purpose of this option is to add additional products or services that are incurred at the time of delivery. For example, a repair worker may not know which parts are needed for the job until they do an initial inspection. The Products on Tasks option allows them to invoice these products at the time of service so they're not missed later.
Getting Started
To get started, you'll need to ensure that Products on Tasks is enabled for the project your task is in. Navigate to the Field Service app.
Once there, go to CONFIGURATION > PROJECTS. Select your project, then click EDIT.
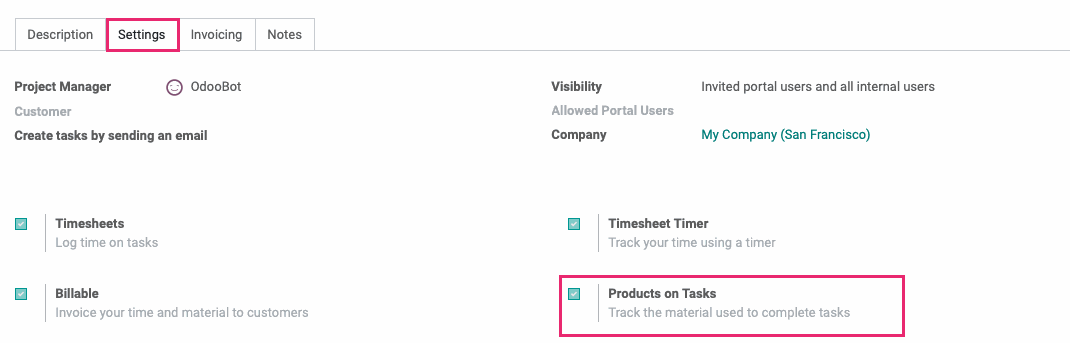
Under the Settings tab, enable Products on Tasks, then click SAVE.
Process
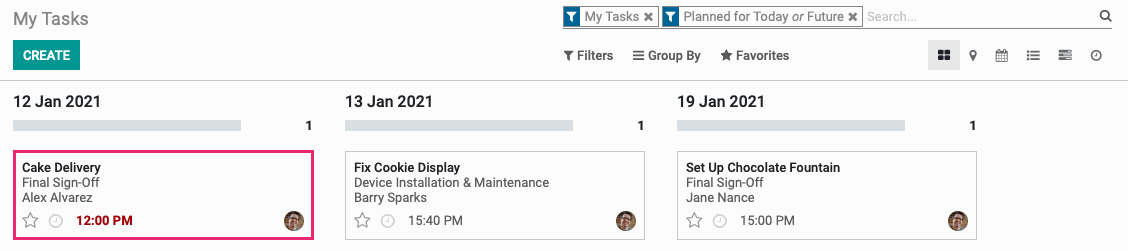
From within the Field Service app, click MY TASKS > Tasks. This brings you to a kanban view of your tasks. Select a task within a project you configured to use Products on Tasks in the previous step. You may choose to Group By Project to easily view your projects.
In our example, our driver has delivered the cake, but the customer realized they'd forgotten to purchase flatware and a tablecloth. Luckily, our driver has these in the van, so they sell these products on-site to the customer.
To account for such an on-site sale, click the Products smart button.

This brings you to a page of products. Use the filter to find the product(s) needed, then click the + button on the item to add it to the order. You can also type directly into the quantity field.
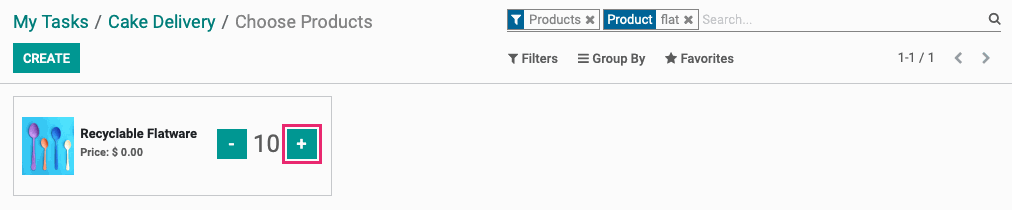
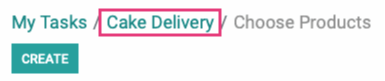
Add any needed products, then use the breadcrumbs to navigate back to the task.
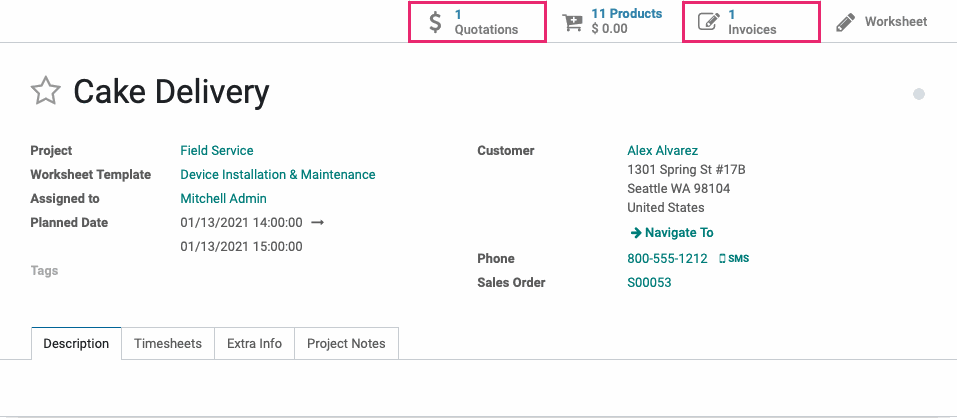
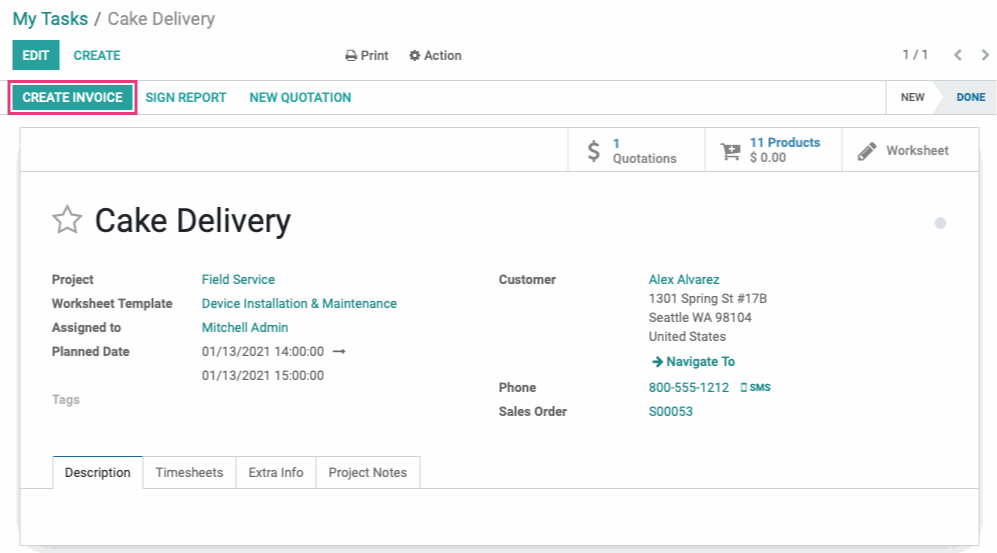
The Products smart button will update with the quantity of products added to the order.

Once the task has been completed and marked as Done, you'll then have the option to invoice. To do this, click Create invoice.
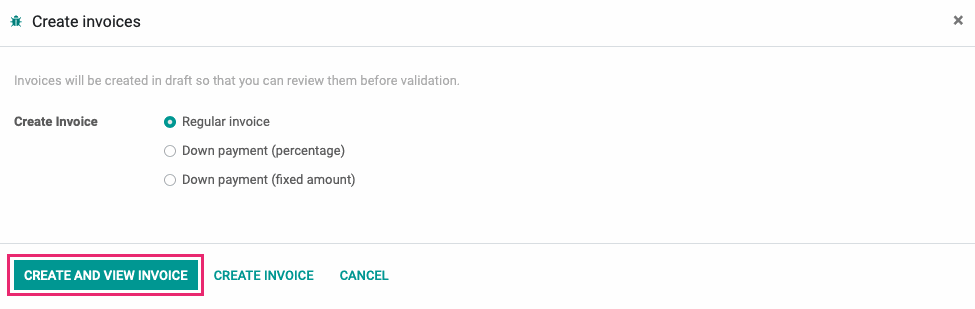
Continue by clicking Create and View Invoice.
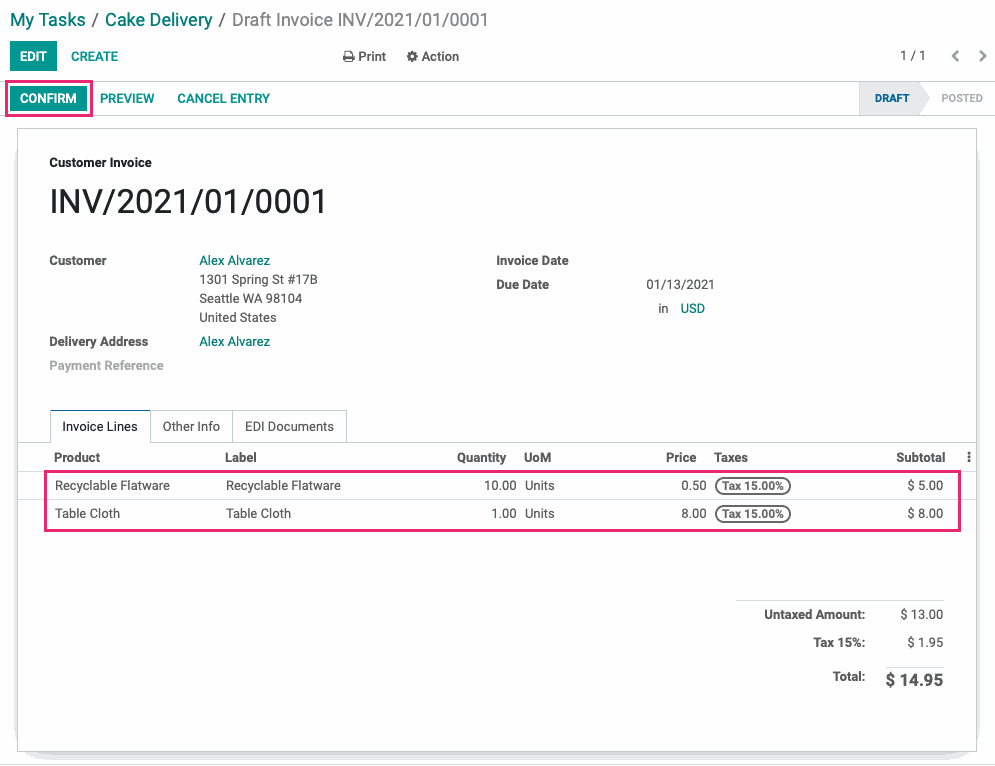
On the next page, verify quantities and prices. You will see the products you added on-site listed on the invoice. When ready, click Confirm.
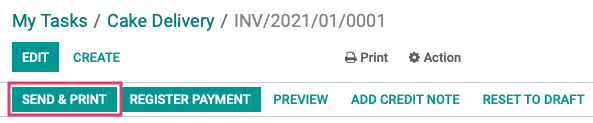
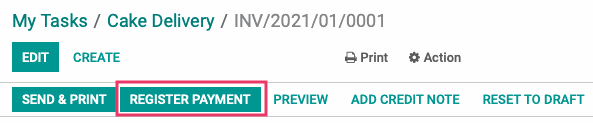
At this point, you can click SEND & print to email a copy of the invoice to the customer. You can alternatively click Register Payment to collect payment. The option you select will depend on your company policy.
|
|
When you're done, use the breadcrumbs to navigate back to the field task.
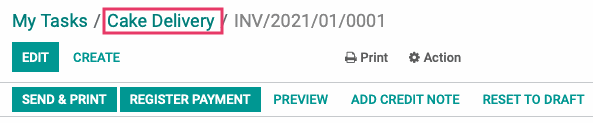
You'll see there are now updates Quotation and Invoices smart buttons on the task.