Field Service: Field Service Tasks
Purpose
This document covers how to access and create tasks in the Field Service application of Odoo 14.
Process
To get started, navigate to the Field Service app.
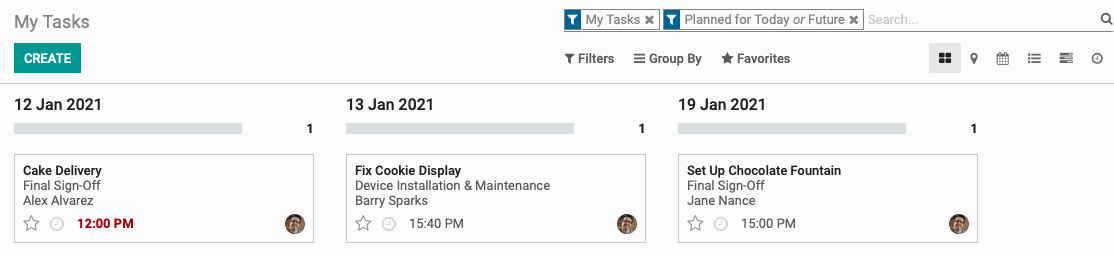
My Tasks
To view only your tasks, go to My Tasks > Tasks. This brings you to a kanban view of tasks planned for today or the future, sorted into date columns.
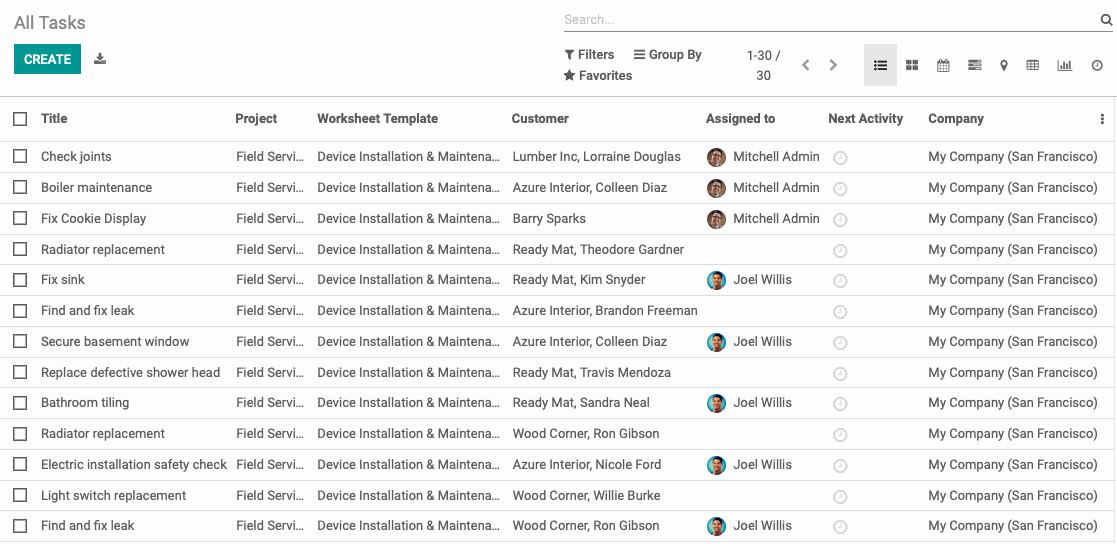
All Tasks
To view all tasks, go to ALL TASKS > ALL TASKS. This brings you to a list view of all tasks.
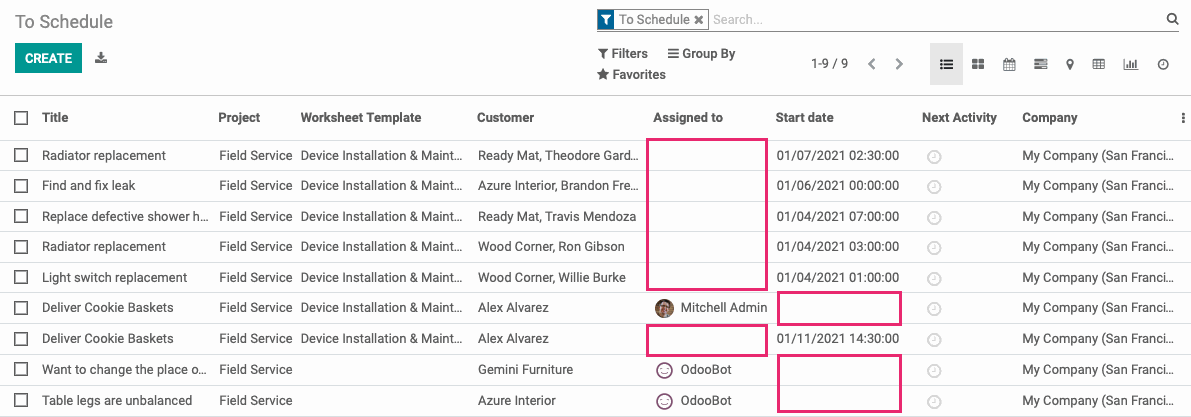
To Schedule
Use the All Tasks > To Schedule for a list of tasks that still need to be scheduled or assigned to a user.
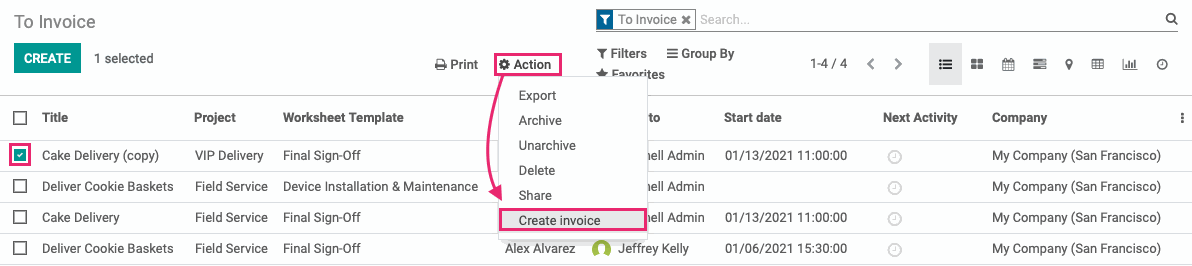
To Invoice
Use the ALL TASKS > TO invoice for a list of tasks that are ready to be invoiced. You can select one or multiple tasks then use Action > Create Invoice menu to quickly generate invoices.
Creating Tasks
To add a new task, click Create in any of the views. This opens a new form where you'll enter the following details:
Task Title: Enter the name of the task.
Customer: Select the customer associated with this task. Entering a customer will display additional Email, Phone, and Sales Order fields.
Sales Order: Once a customer is selected, you'll be able to select from their eligible Sales Orders.
Project: Select a project to nest this task under.
Parent Task: If the task should be nested under a parent task within the project, add that here.
Worksheet Template: This field appears if you have Worksheets activated in the app's settings. The field auto-completes based on the selected project, but it may also be left empty or changed.
Assigned To: This field shows who is responsible for this task.
Planned Date: Select the dates and times when this task should begin and end.
Tags: Select relevant tags for this task.
Good to Know!
Select the Wrong Sales Order?
Once the Sales Order is selected, it becomes hard-coded and linked.

If you've selected the wrong SO, fear not! Simply change the customer name to another contact, then change it back to the correct contact.


The drop-down selections for Sales Order will then be selectable again.
The description tat outlines the work to be done, or any special instructions.
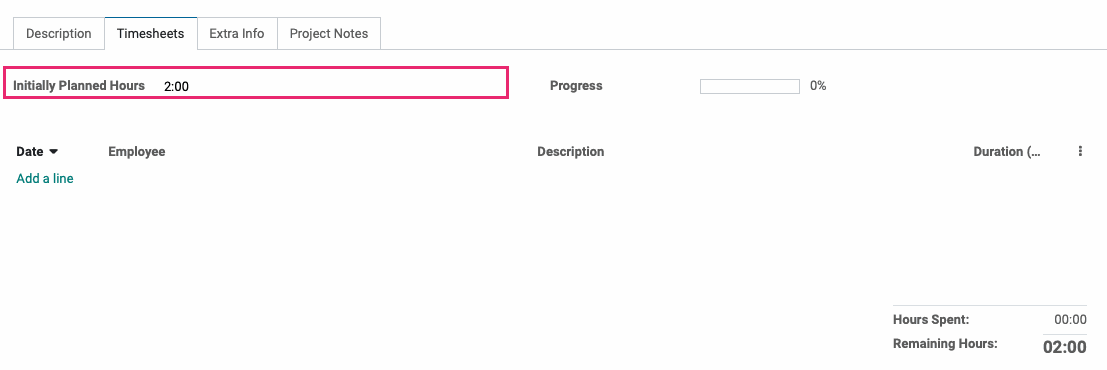
The Timesheets tab will display if configured on the project. If you have a time estimate for this task, enter it under Initially Planned Hours.
Under the Extra Info tab:
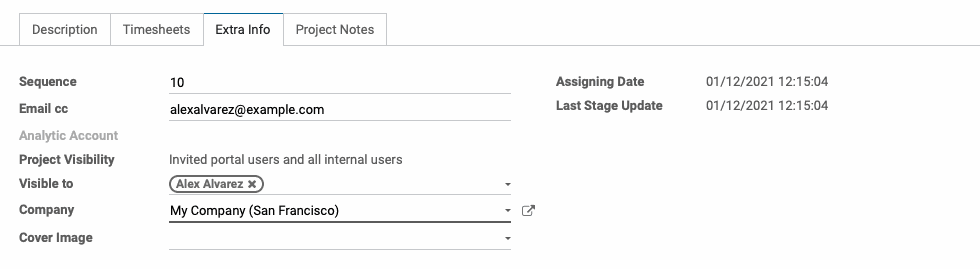
Sequence: This is the order of display in a list of tasks.
Email cc: Add any additional email addresses to be copied in on correspondence relating to this task.
Project Visibility: Indicates who is allowed to see this task and is inherited from the project's settings.
Company: Select the company under which this task will appear. It will default to the company you're working in.
Cover Image: Select or create an image to represent this task in kanban view.
The Project Notes tab displays information entered into the Notes tab of the parent project and cannot be edited from the task.

When you're ready, click Save.