Purchase: Products / Master Data: Control Policies
Purpose
Control Policies, also called Bill Control in Odoo 14, allows you to control the quantities generated on your vendor bills. This document explains where to configure this in the Purchase application, and the effects of those settings.
Process
To get started, navigate to the Purchase app.
Set the Control Policy
Default Setting
Once there, go to Configuration > Settings. Under the Invoicing section, you'll see Bill Control where you can select one of two options as your default setting.
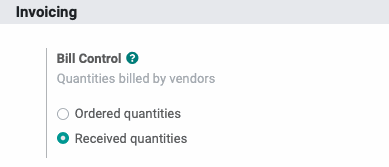
Ordered quantities: When enabled, you can create a vendor bill after the order confirmation. The quantities from the order will be the quantities on the draft vendor bill.
Received quantities: When enabled, you cannot create a bill until the receipt of one or more products on the order. The received quantities will be the quantities on the draft vendor bill.
Once you've made your selection, click Save.
On the Product
The setting, above, will become your default setting for products moving forward. Changing this setting after products have already been created won't change those products. For this reason, individual products can be configured with a different Control Policy.
To do this, click Products > Products, select a product from the list, then click Edit. Under the PURCHASE tab, look for the Vendor Bills section and make your selection.
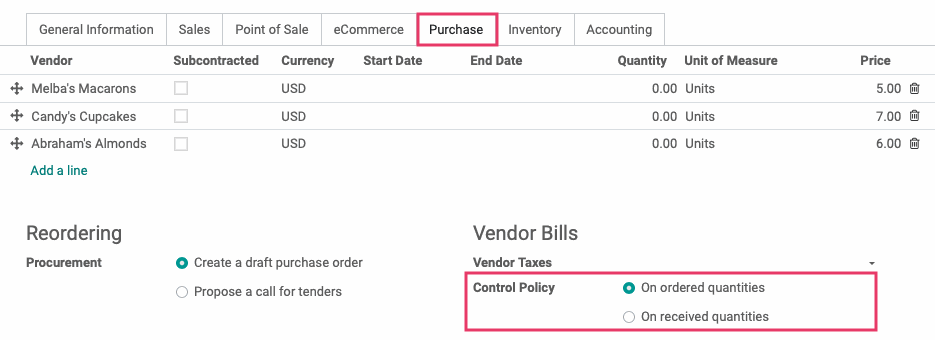
If you've made changes, click Save.
Workflow: Received Quantities
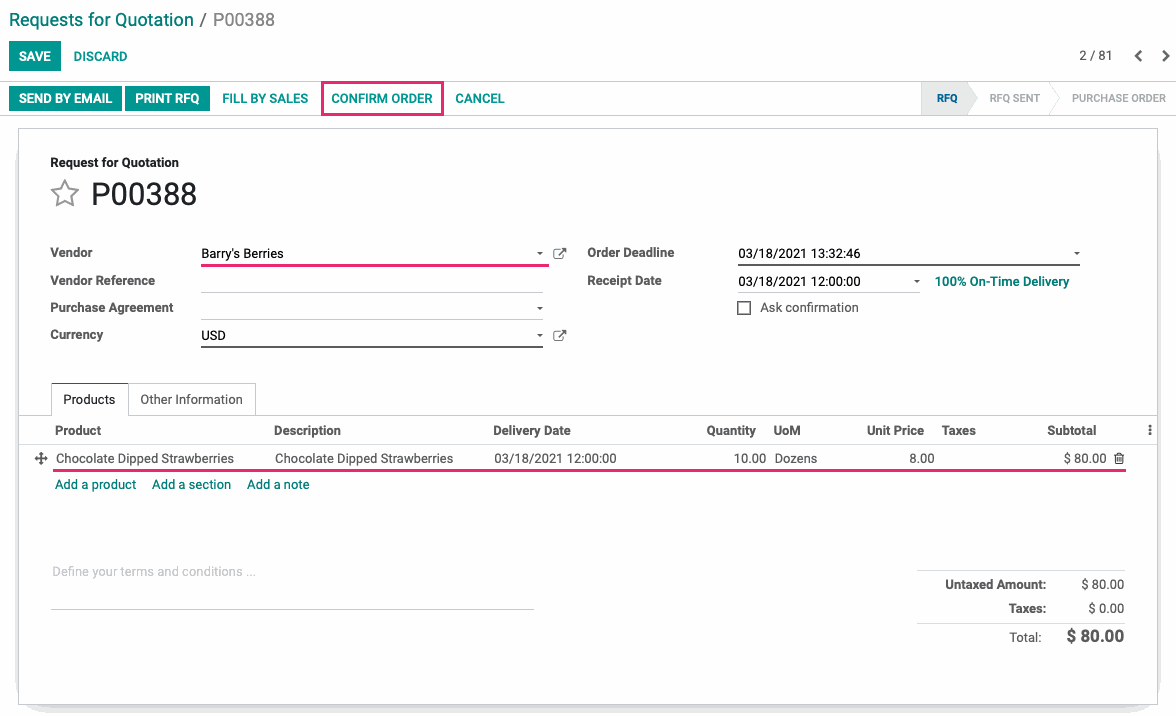
Go to Orders > Requests for Quotation and click create. Add a vendor, products, and product quantities, then click Confirm Order.
Good to Know!
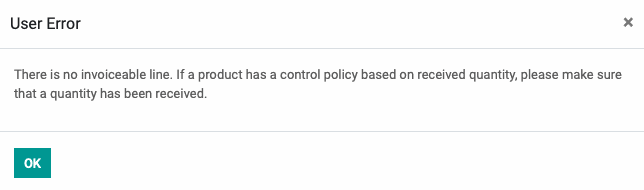
No Invoicable Lines?
If you were to click Create Bill at this point, you'd get an error stating "There is no invoiceable line. If a product has a control policy based on received quantity, please make sure that a quantity has been received". This is because there have been no products received and the Bill Control (Control Policy) is set to "Received Quantities."
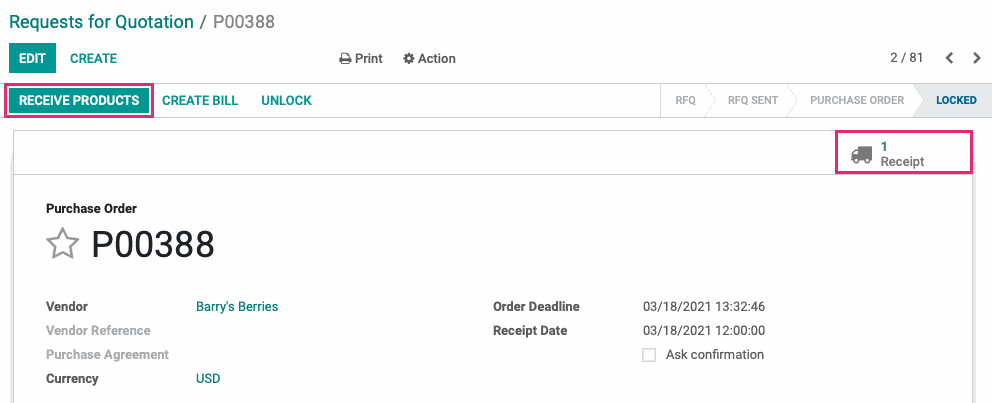
Next, click Receive Products, or the Receipt smart button.
From within the transfer, click Edit, then under the Operations tab click the detailed operations icon.

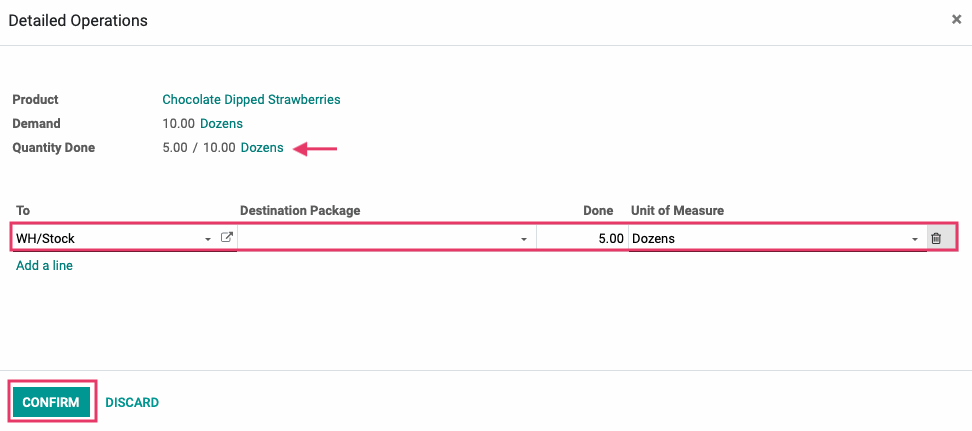
On the Detailed Operations modal window, click Add a Line.
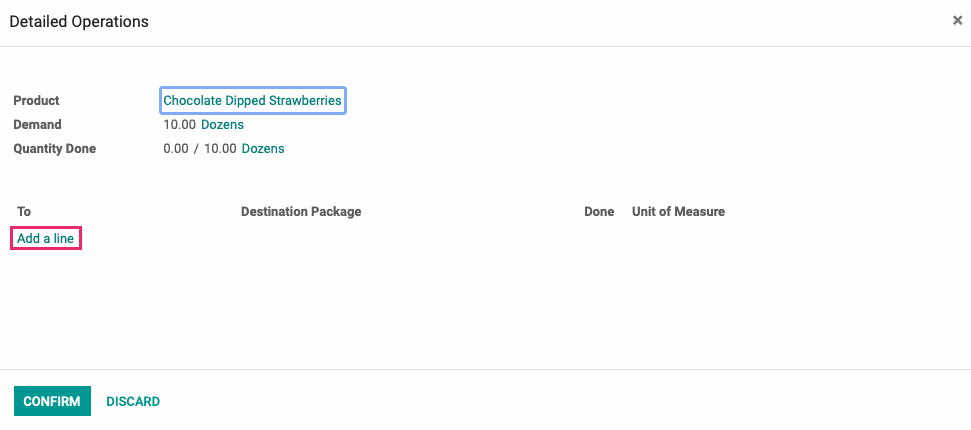
This opens a line where you'll indicate the number of products you're receiving. For this example, we'll receive 5 products, even though we've ordered 10. When you're ready, click Confirm.
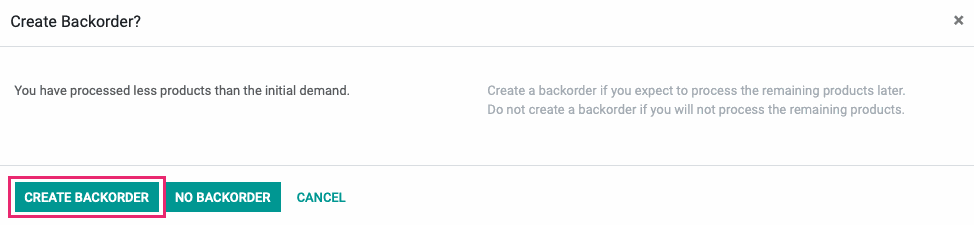
This window will close, and you'll then click Validate on the receipt. Because you're receiving fewer products than were ordered, Odoo will ask if you'd like ot create a backorder. We will want to receive the remaining products in the future, so we'll click Create Backorder.
Now, use the breadcrumbs to navigate back to the Purchase Order.

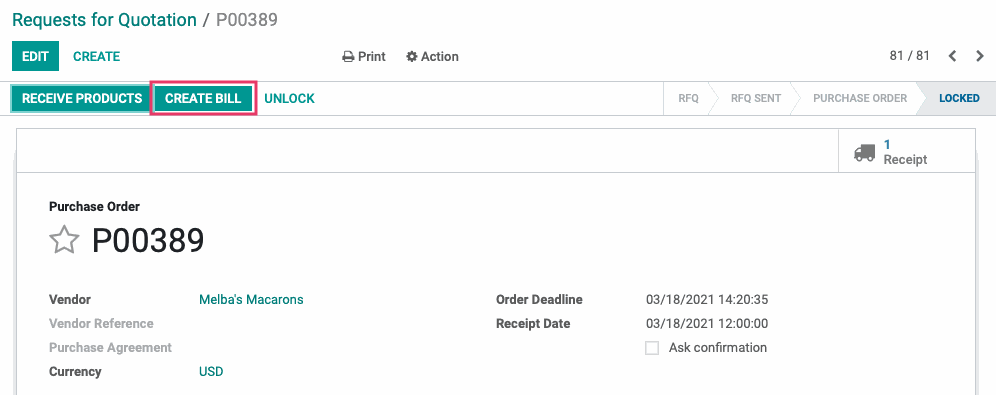
Here we can see a summary of what was ordered, received, and billed. Click the Create Bill button.

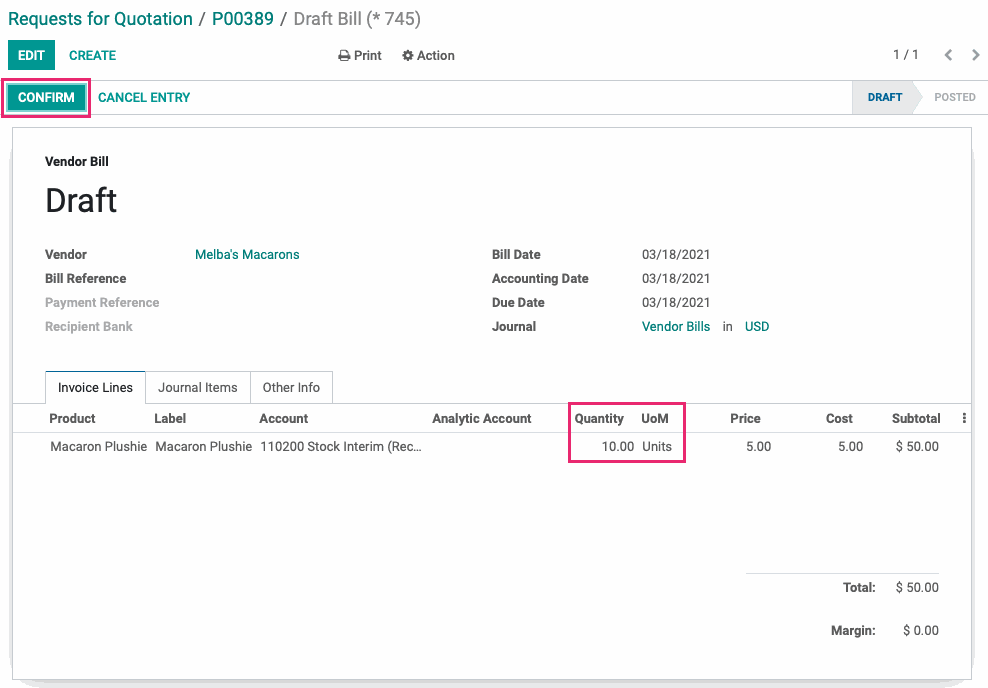
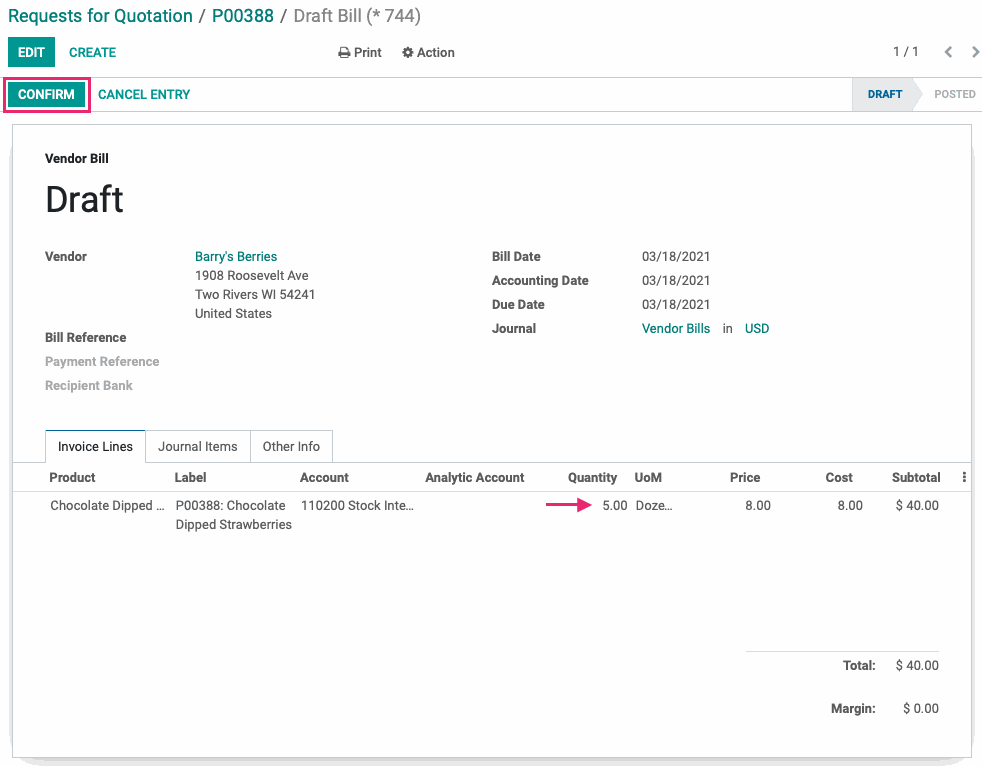
This creates a draft vendor bill for only the products received. You can then click Confirm.
Workflow: Ordered Quantities
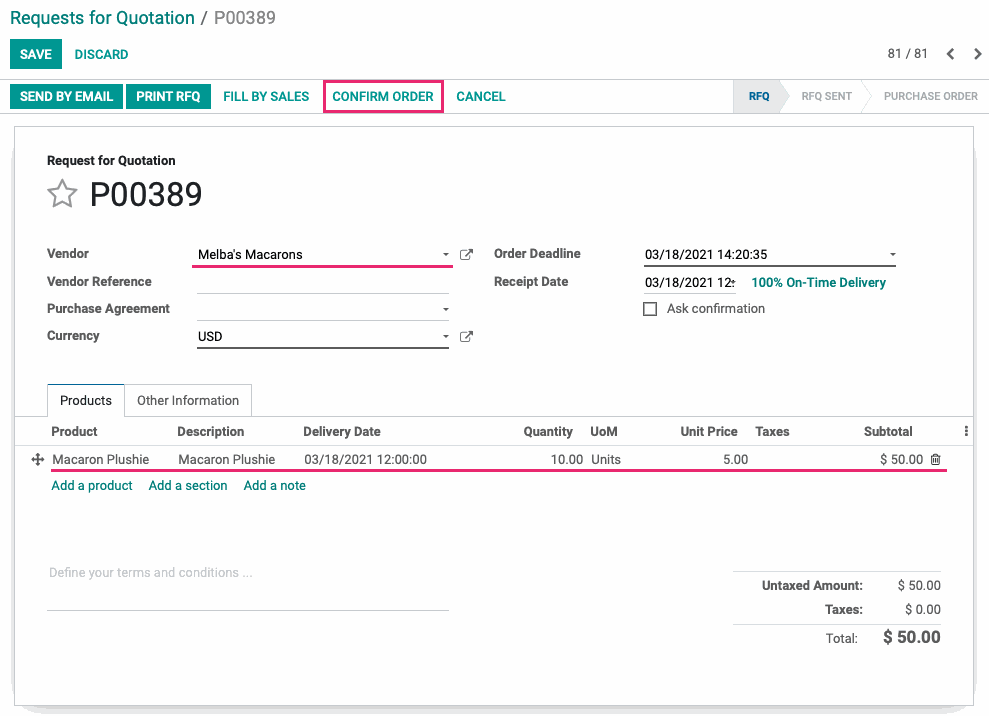
Go to Orders > Requests for Quotation and click create. Add a vendor, products, and product quantities, then click Confirm Order.
At this point you can either Receive Products or Create Bill, even when no products have been received. This is due to the Control Policy being set to "Ordered Quantities".
Click Create Bill.
Odoo will generate a draft vendor bill for the full quantity of the order. You can then click confirm.