Point of Sale (POS): Workflows: PoS Sales Process
Purpose
Point of Sale (PoS) is used to provide a straight-forward approach to fulfilling orders for cash-and-carry customers that wish to pickup goods themselves directly from the warehouse.
This documentation outlines the usage of Point of Sale within Odoo 14.
Process
To get started, navigate to the Point of Sale application.
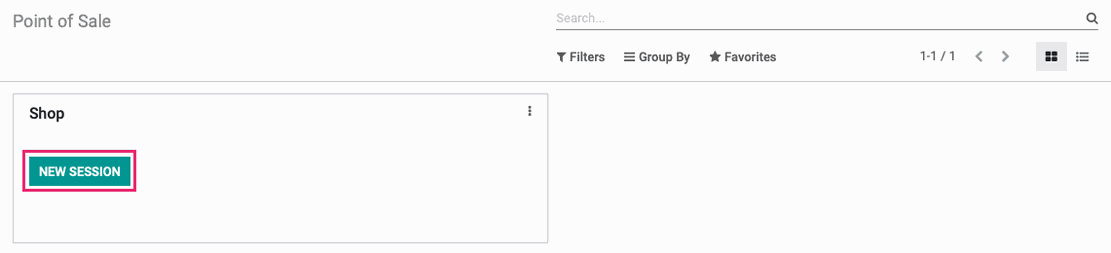
Once there, click Resume or New Session on a session card.
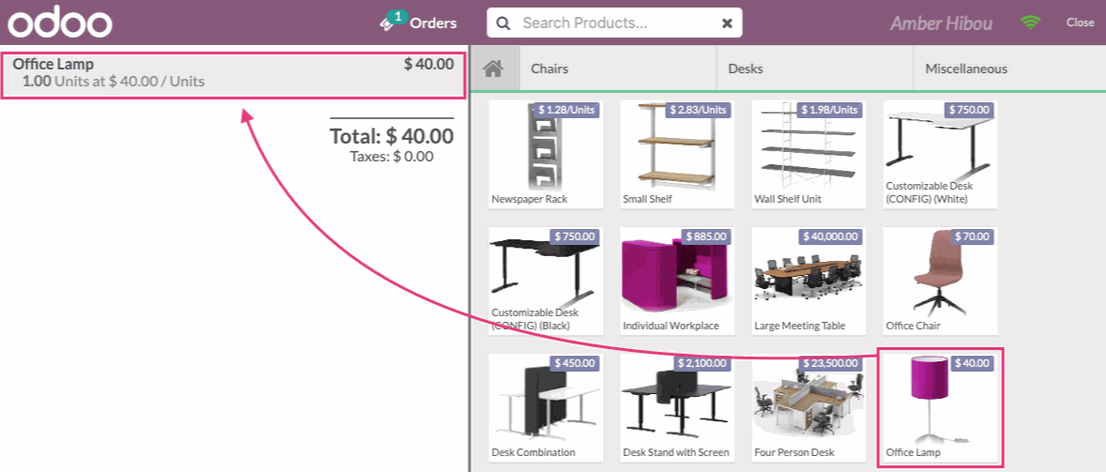
This brings you to a page that is, essentially, a cash register interface. The order is on the left, along with the keypad, and the product catalog to the right.
Adding Products to an Order
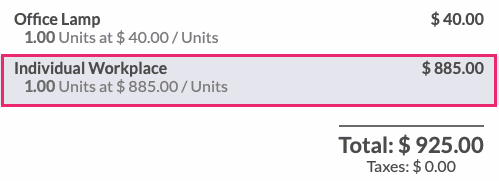
You will see a list of products displayed, or you can use the search option to find the products you are looking for. Click a product from the catalog and it will be added to the order tally.
Changing Price on Products
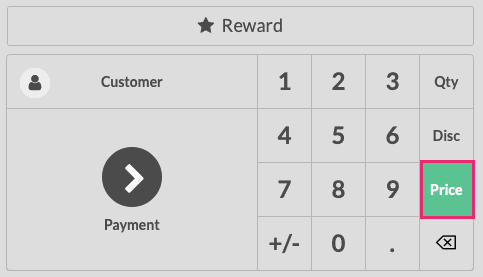
To change the price on a product, click on the product in the order so it is highlighted.
Click Price on the keypad, followed by the new price. The button will change color when activated. You can enter the price using a mouse or a physical keypad, but be sure to enter the decimal
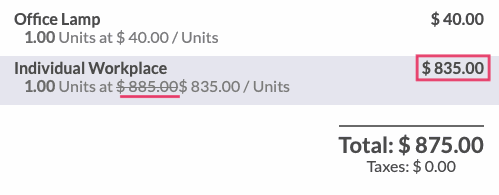
The new price will be reflected on the product and the original price will be displayed uder the product name with strikethrough formatting.
Good to Know!
Gray Price Button?
If the Price button is grayed out, it means this Point of Sale has Price Control enabled in its settings and only Administrators can change the price.
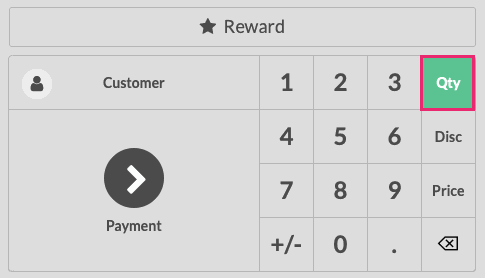
Changing Quantity on Products
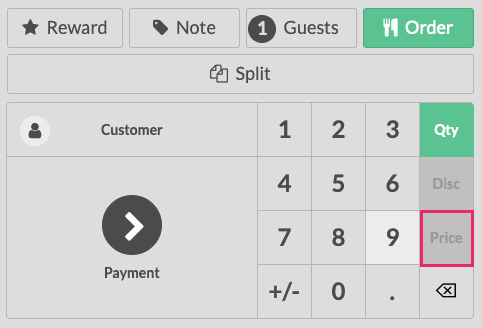
To change the price on a product, click the product in the order list so it is highlighted.
Click qty on the keypad, followed by the new quantity. The button will change color when activated. You can enter the quantity using a mouse or a physical keypad. Be sure to add decimal points, where applicable.
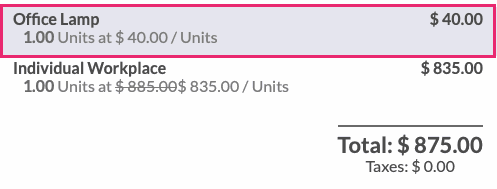
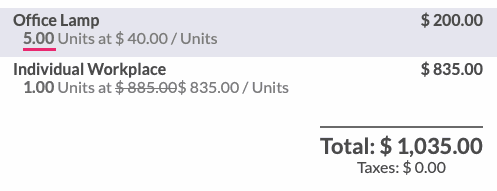
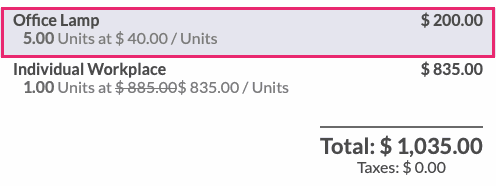
The new quantity will be reflected on the product.
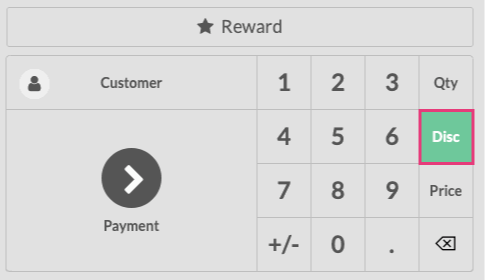
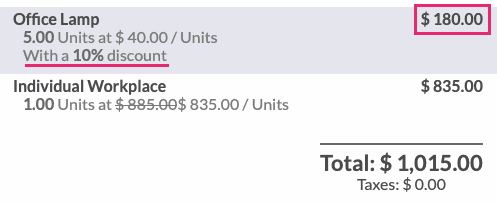
Adding Discounts on a Product
To add a discount on a product, click on the product so it is highlighted.
Click DISC on the keypad, followed by the percentage discount. The button will change color when activated. You can enter the discount using a mouse or a physical keypad. Be sure to add decimal points, where applicable.
The new price and the associated discount will be reflected on the product.
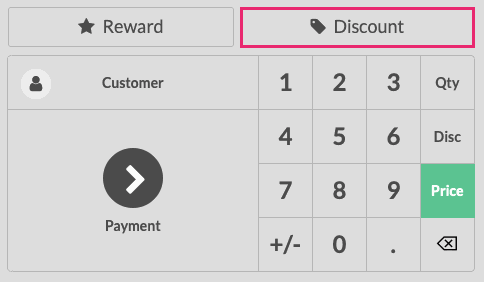
Adding Global Discounts on an Order
You must first have Global Discounts enabled on the Point of Sale instance. Once enabled, you'll see the Discount button in the PoS checkout process.
Click DISCOUNT on the keypad.
This brings up a modal window where you can enter the discount percentage. It will auto-populate with the configured Global Discount in the PoS instance settings, respectively. When you're ready, click Ok.

The discount will be added as its own line-item and new price will be reflected.

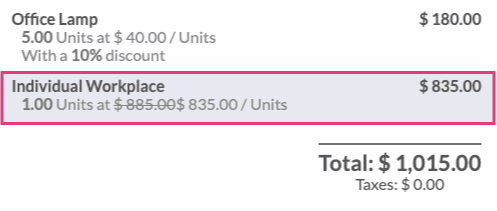
Removing Products
To remove a product, click the product in the order list so it is highlighted.
Select Qty on the keypad, followed by the  backspace button on the screen or your physical keyboard.

This will set the product quantity to 0 and zero out the price.
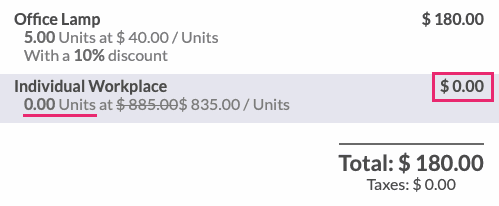
Click the  backspace button again to remove the product from the order altogether.
Associating a Customer with the Order
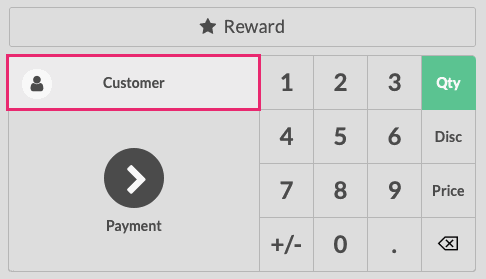
To associate a customer with the order, making it easier to find and reference the order in the future, click the "Customer" button on the keypad.
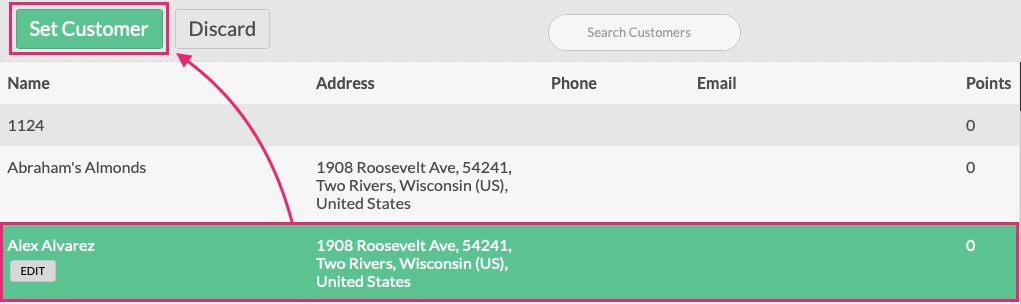
Search for and click on the appropriate customer. Note that you may also create a new customer from this screen. Click Set Customer to associate this customer to the order.
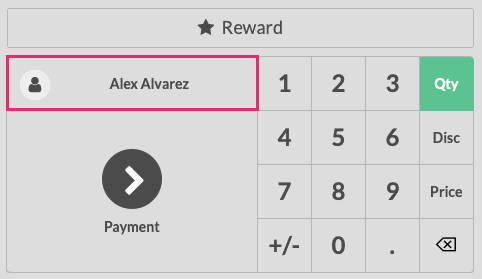
The customer will then display in the keypad area. You can click their name to deselect or reselect the customer.
Good to Know!
Reward Points
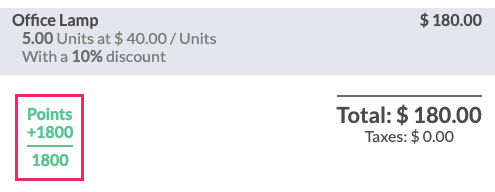
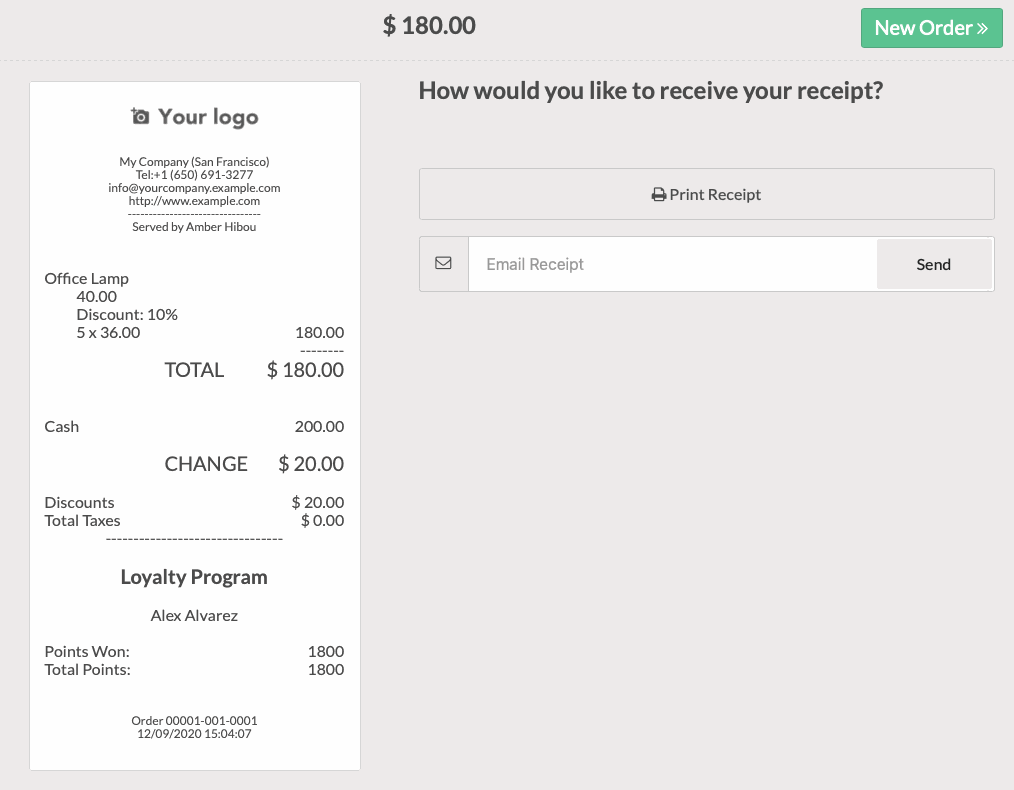
If this customer is part of a Loyalty Program, you will see the number of points they will collect once this purchase is complete, as well as their point balance.
To learn how to add rewards to a sale, see the Loyalty Programs documentation.
Paying for the Order
To continue to checkout and collect payment, click the Payment button on the keypad.

First, select a payment method.
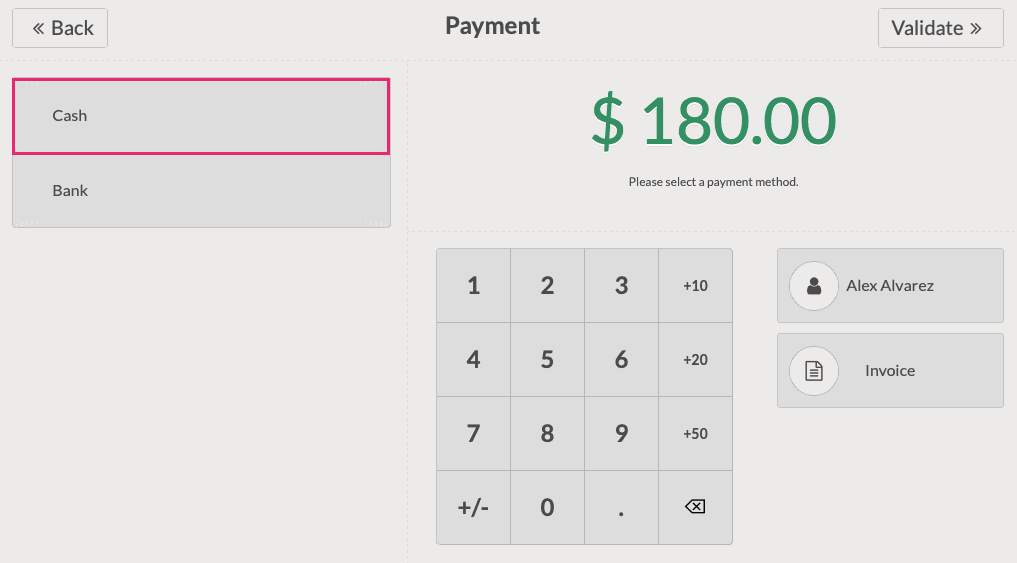
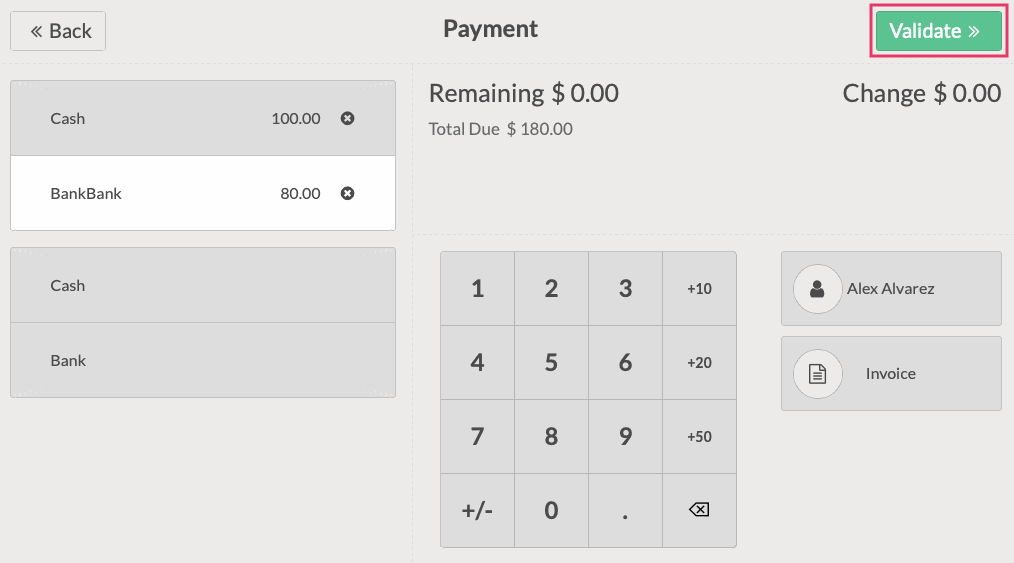
Enter the amount being paid by this method; if there is a balance due it will be shown in the Remaining field. You can repeat this process if more than one payment method is being used. Note that the amount of change required will be displayed for reference.
Good to Know!
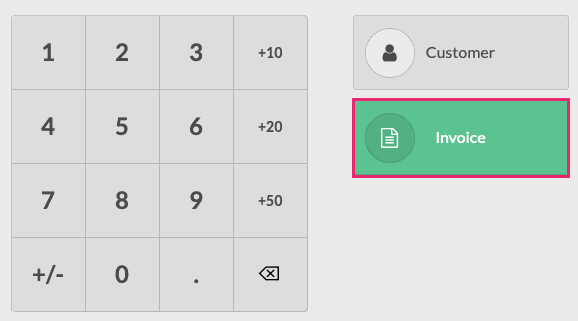
Invoice Button
By selecting Invoice on the checkout page, a PDF invoice for this order will be generated and downloaded upon validation.
When you're ready, click VALIDATE .
The next screen is the receipt, which can be printed for the customer, emailed to the customer, or both.
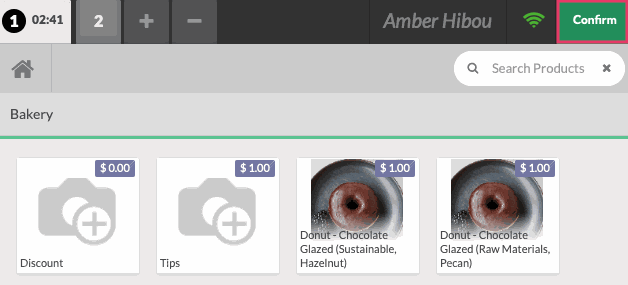
Closing PoS Sessions
PoS sessions should be closed daily. If you're in a session, click CLOSE on the top-right, then click Confirm to access the dashboard.

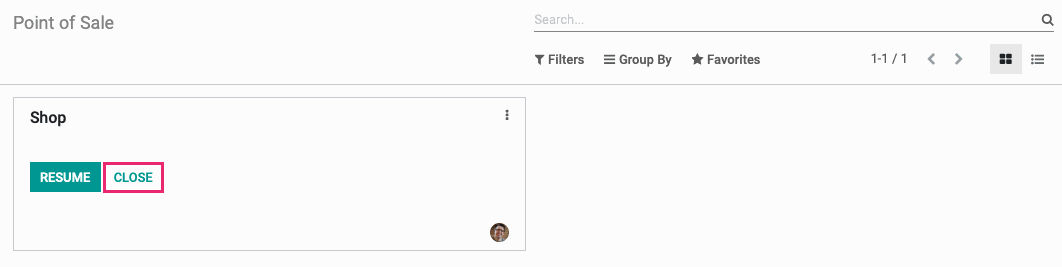
From the Point of Sale dashboard, click Close on .
You will be presented with the a summary screen. Use the Orders and Payments smart buttons to see those details for the day, respectively.
If your session has Advanced Cash Control enabled, you'll need to verify cash in the till before continuing. See our Advanced Cash Control documentation for instructions.

When you're done, click Close Session & Post Entries to close the session and post the appropriate journal entries.
