Point of Sale (POS): Configuration: Order Printers
Purpose
This documentation goes over how to add and configure Order Printers in the Point of Sale (PoS) application of Odoo 15. Order Printers are useful when an order needs to print somewhere other than at PoS, such as in a restaurant kitchen or a service center.
Debug Mode
Accessing the menu item covered in this document will require you to be in Debug Mode.
Good to Know!
Be sure you have the desired printer modules installed.
To ensure you have the appropriate printer Modules installed please navigate to the Apps application.
Remove the Apps filter from the search bar, then search "Order Printer" in modules.

Process
To get started, navigate to the Point of Sale app.
Once there, go to Configuration > Order Printers.
Add an Order Printer
To add a printer, click Create. This opens the Order Printers form.
Printer Name: Enter a name for this printer.
Printer Type
Use a printer connected to the IoT Box: If you use the Odoo IoT box, select this option. After selecting, enter the Proxy IP Address for this printer.
Use an Epson printer: If you use an Epson printer, select this option. After selecting, enter the Epson Receipt Printer IP Address.
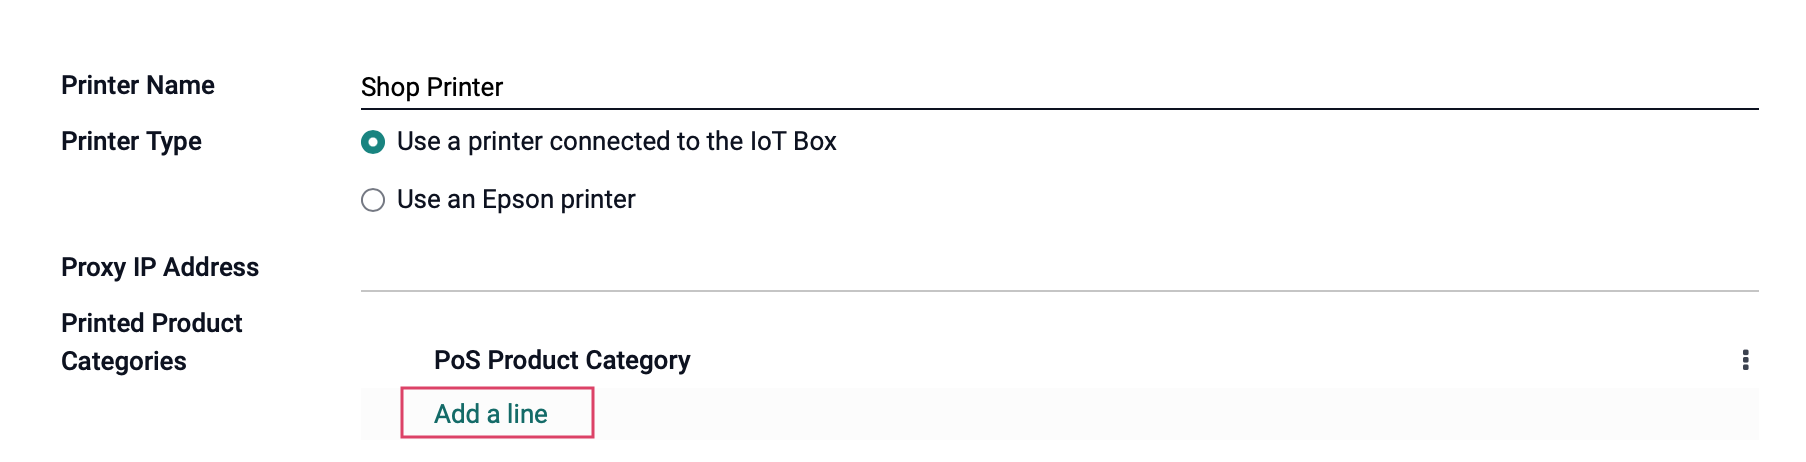
Printed Product Categories: Click Add a Line to open the Add: Printed Product Categories modal window.
In this window, select the categories that, when validated on a PoS order, should print to this printer. When you've made your selections, click Select and the window will close out.
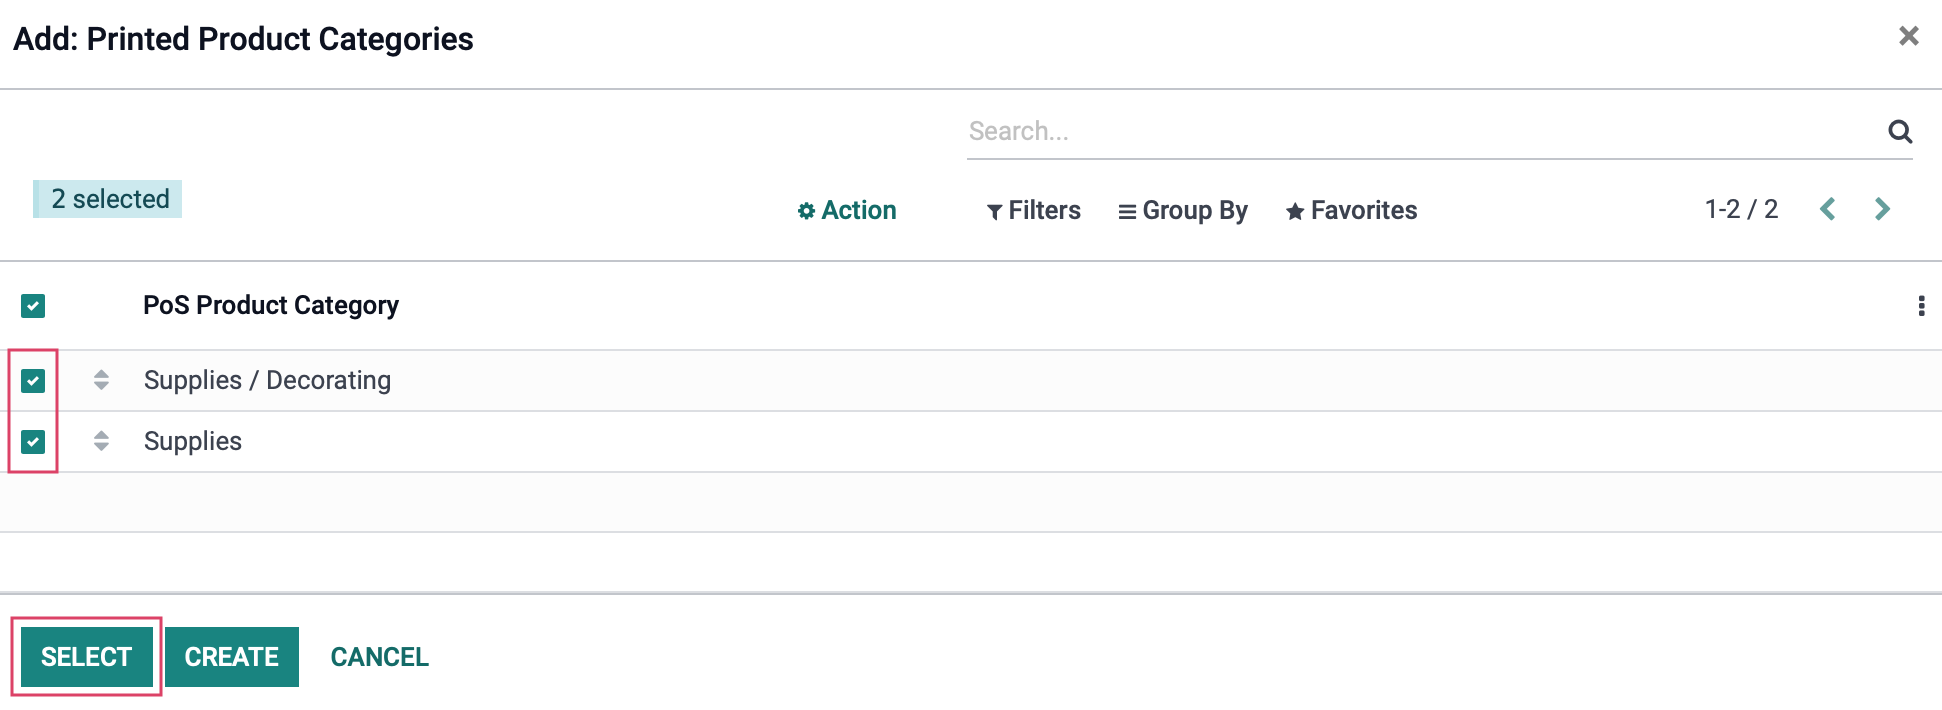
The PoS Product Categories will be listed on the original form.
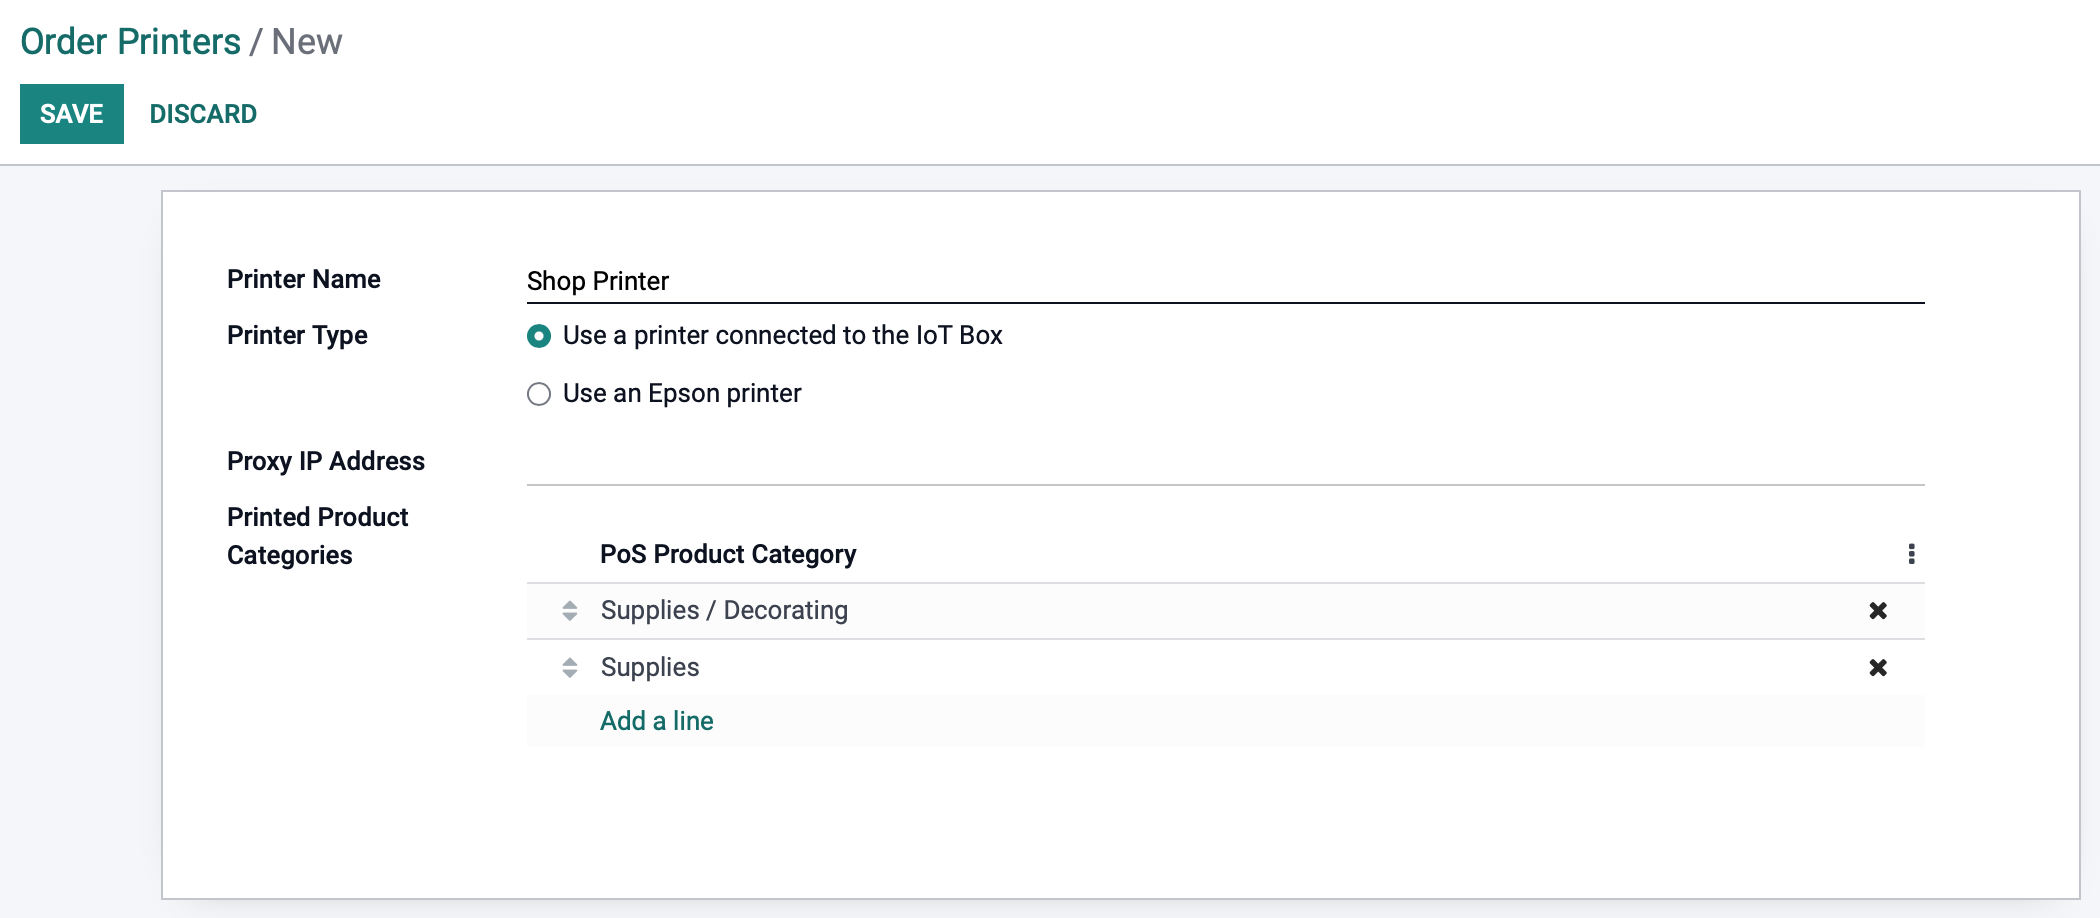
When you're ready, click Save.