Payroll: Payroll Workflows: How to Run Payroll
Purpose
The purpose of this documentation is to outline the use and processes associated with running payroll and creating Payslips in Odoo's Payroll application.
Getting Started
Good to Know!
The US Payroll module requires Odoo's Payroll application. However, if you do not already have this application installed, Odoo will install it for you during this module's installation.
The payroll information outlined in this doc uses modules in the Hibou Odoo Suite. Hibou created and maintains the US Federal and State localizations for USA Payroll.
We also recommend that you install Hibou’s USA - Payroll with Accounting module, which links Rules to Accounts based on the US Accounting Localization.
Process
To get started, navigate to the Payroll application.
How To Run Payroll
Important!
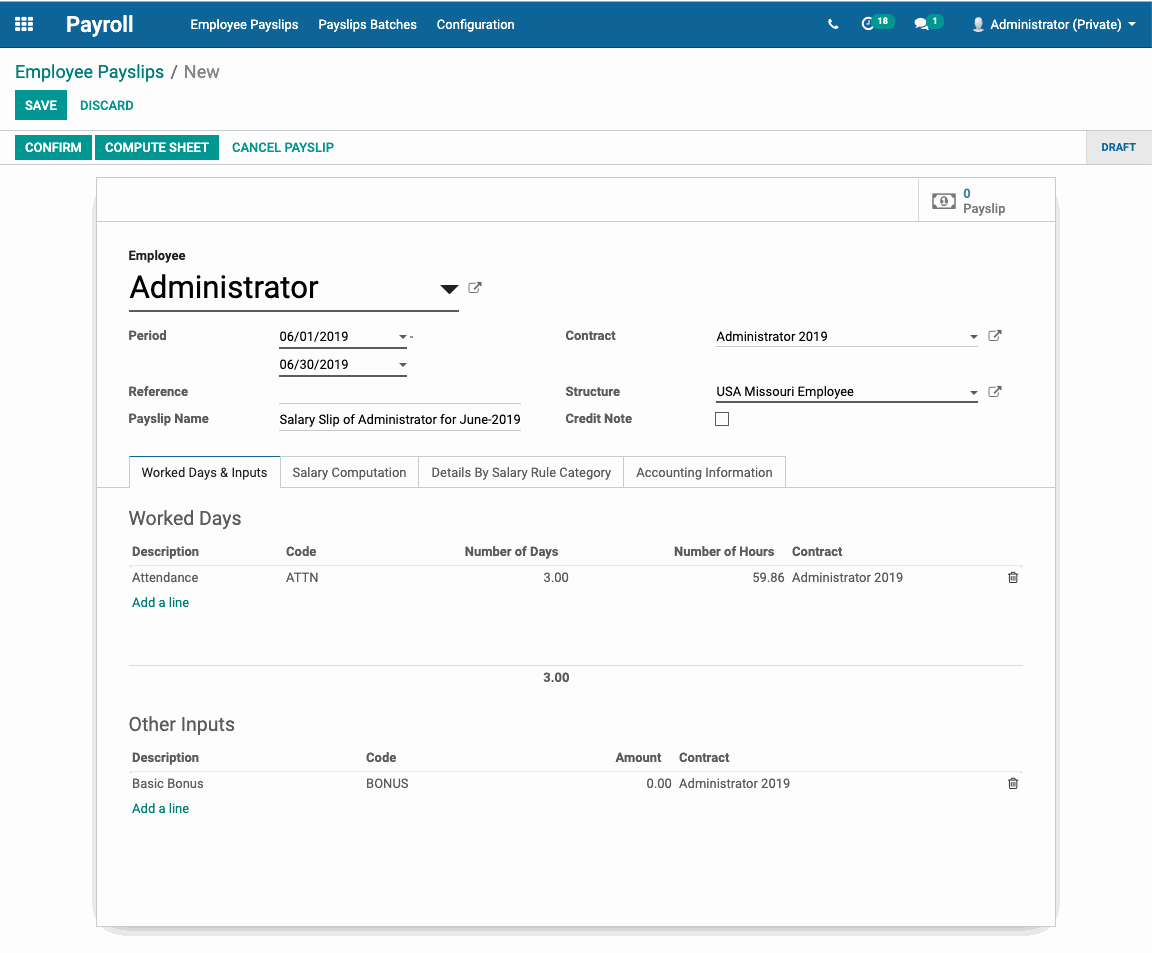
Enter the period dates first before selecting the Employee that you are creating the payslip for.
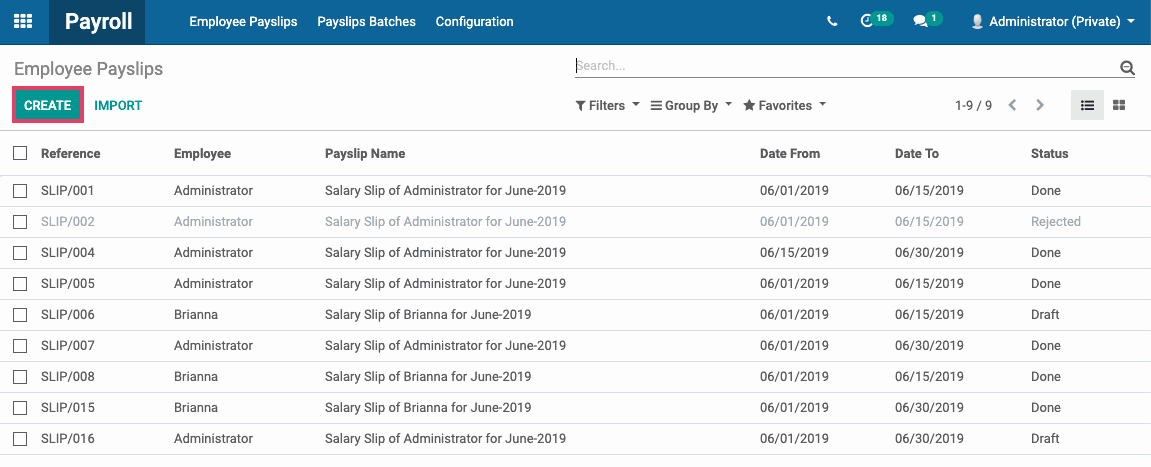
Click on CREATE to create individual payslips.
Enter the period dates first before selecting the Employee that you are creating the payslip for.
Select the Employee.
The Employee and Salary Structure will automatically be filled in based on the employee’s contract configuration. For more information on Employee Contracts, see our Employee Contracts documentation.
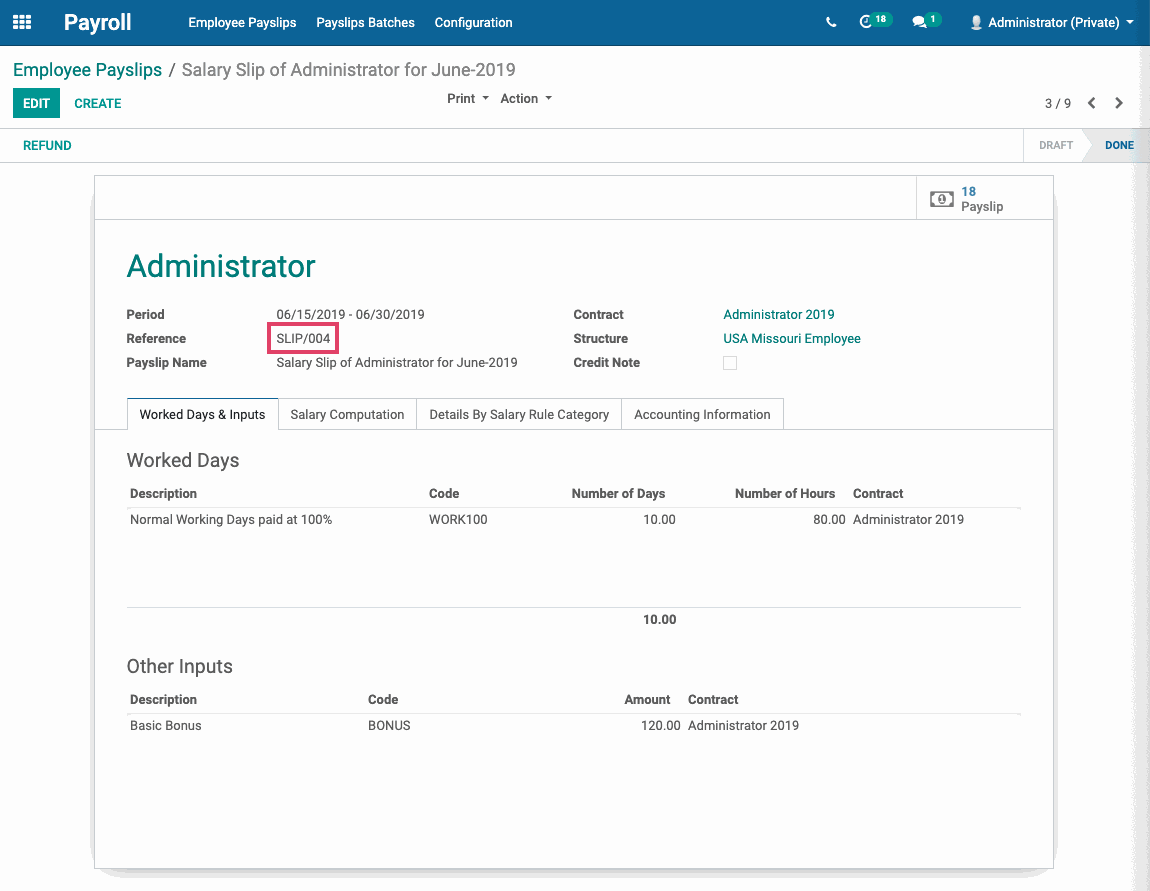
Depending on which Hibou Odoo Suite modules you have installed and configured, information from the Attendance, Timesheet, and Leaves will load for the selected payroll period for the selected Employee. Other payments and deductions will load or can be added under Other Inputs.
Payslip Name will be pre-filled, but it can be edited.
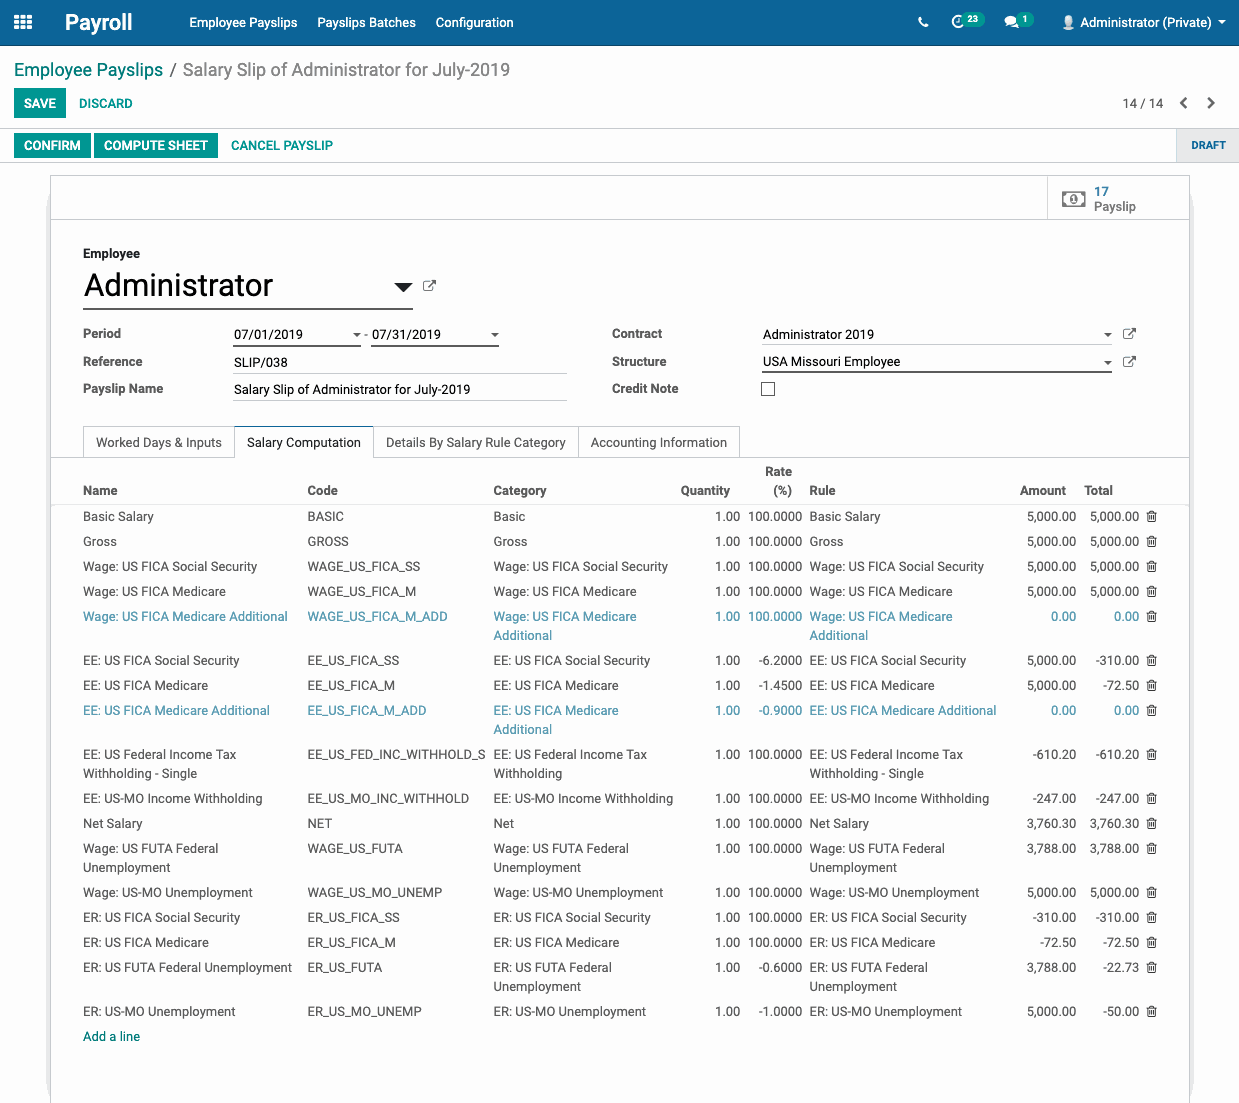
Click on COMPUTE SHEET and SAVE.
After computing the payslip, Odoo will assign a unique Reference.
The Salary Computation tab provides a break down of the payslip Salary Rules calculated in Sequence order with associated Rates.
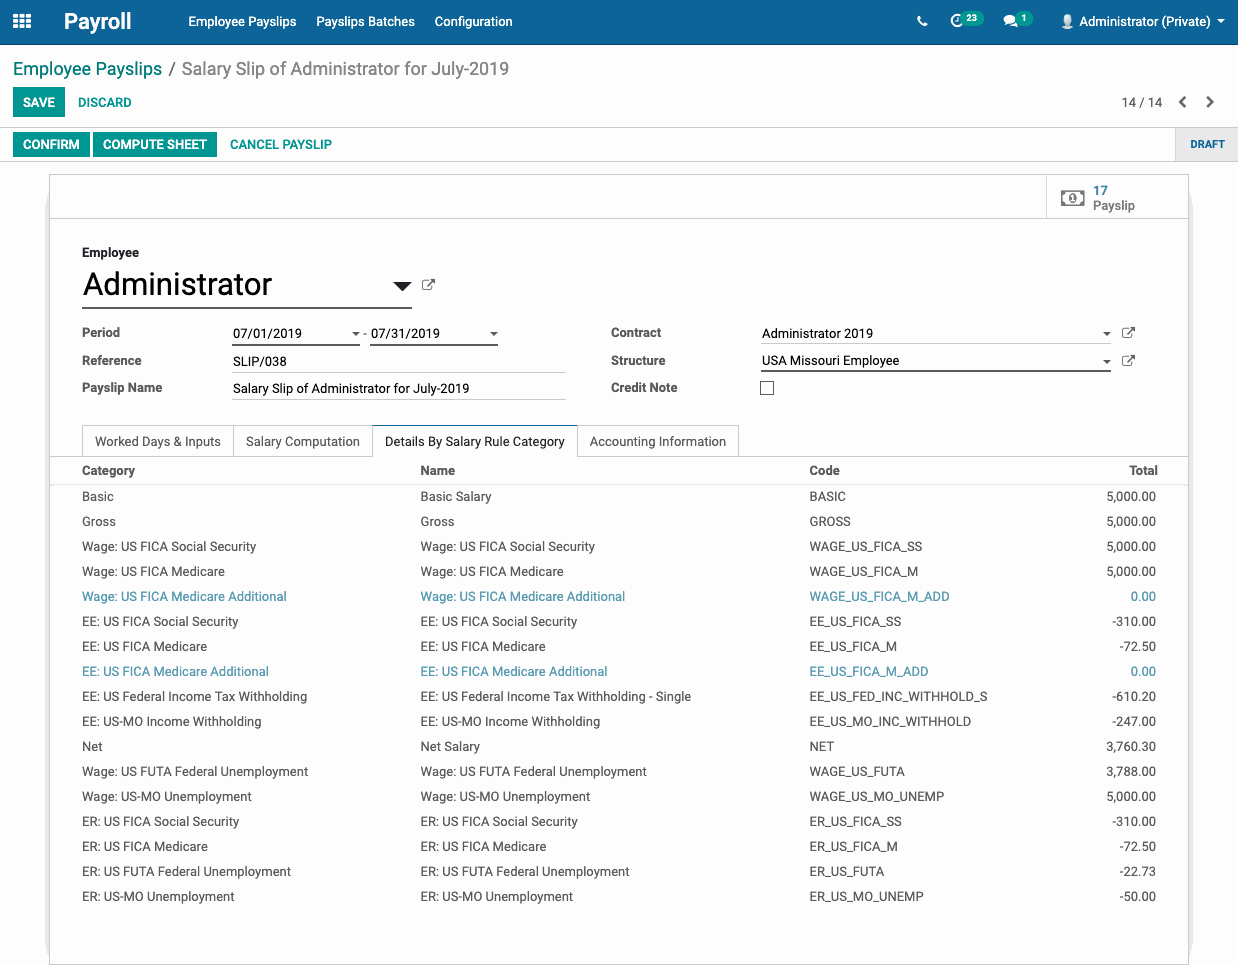
The Details by Salary Rule Category tab shows a break down of the payslip Salary Rules by Category and in Sequence order.
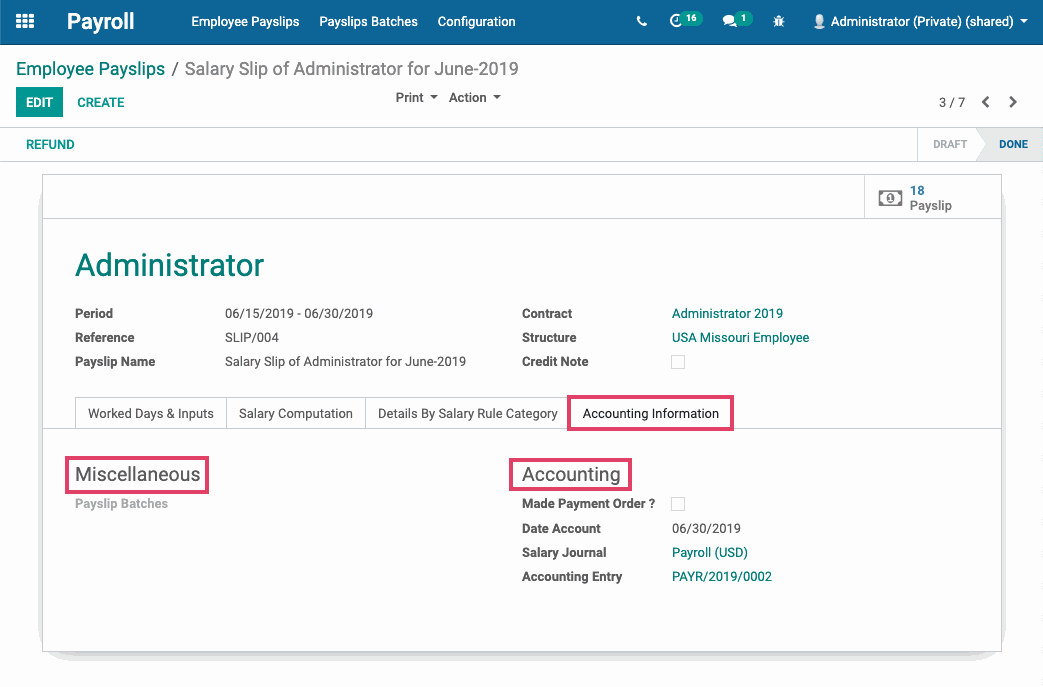
Under the Accounting Information tab:
In the Miscellaneous section:
Payslip Batches: Indicates that this payslip was created or added to a Payslip Batch.
In the Accounting section:
Made Payment Order?: Check box if this payslip has already been paid.
Date Account: Date that the payslip journal entry will be dated. If not manually edited, will default to the last day of the pay period once confirmed. Note that this field is provided by Hibou's Date On Payslip Lines module.
Salary Journal: Select your payroll journal, likely something along the lines of Payroll. Should be selected by default based on the employee’s contract configuration.
Accounting Entry: Journal entry name (begins with your payroll journals short code) posted to the general ledger in the Accounting application. This will not be filled/the journal entry will not be created until the payslip is confirmed.
After reviewing all tabs to make sure the payslip amounts look correct and reasonable, click on CONFIRM to finalize payslip creation.
Important!
After confirming, if payslip is missing hours, payslip must be deleted and a new payslip must be created with new hours.
How To Create Payslip Batches
Navigate to Payslip Batches.
To create a new batch, hit the Create button.
On the next form view, fill in the below details:
Name: Create a name for this payslip batch.
Period: Select or enter the payroll period being paid.
Credit Note: If this is checked, it indicates that all payslips generated are refund payslips.
Salary Journal: Select your payroll journal.
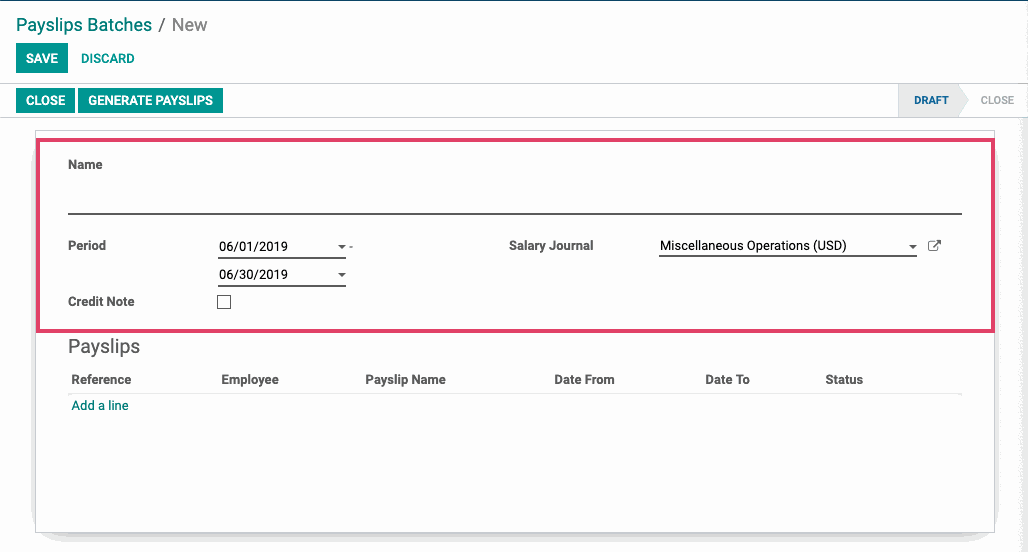
Once the above details are filled in, click on Generate Payslips.
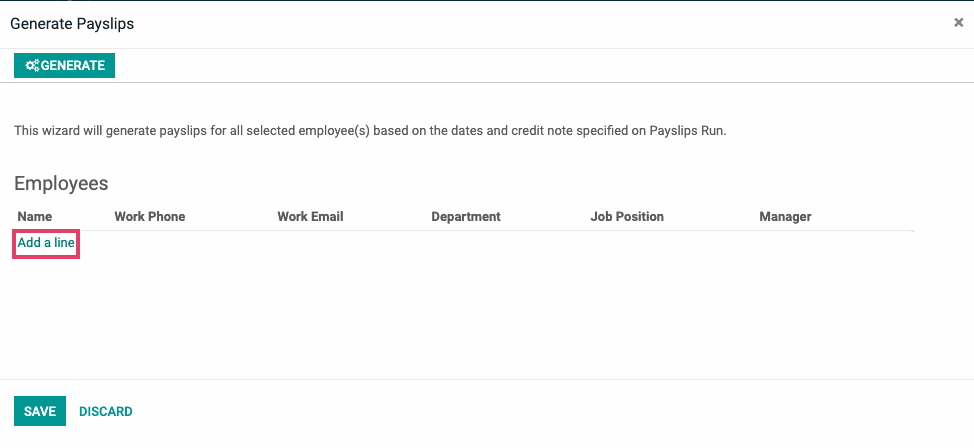
A new wizard screen will open prompting you to add/select employees. Click on ADD A LINE under Employees.
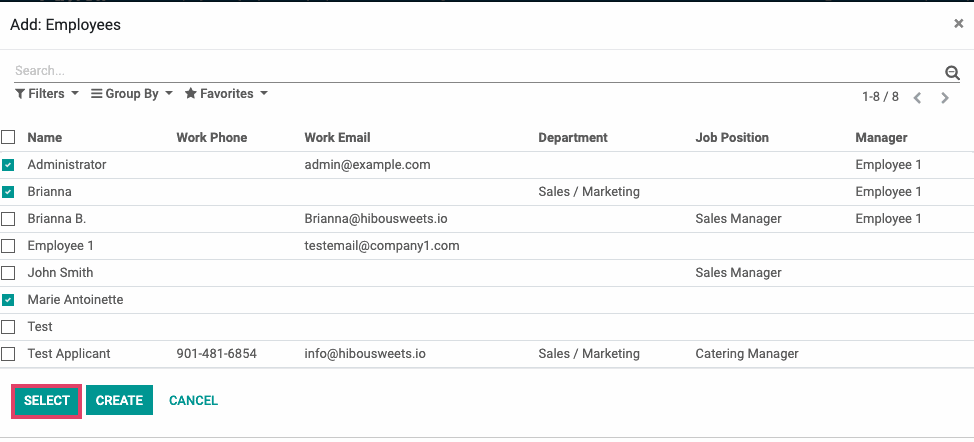
On the next screen you will see a list of all active employees. Put a check next to each employee that you want to create a payslip for in this batch. After all desired employees are selected, click on Select.
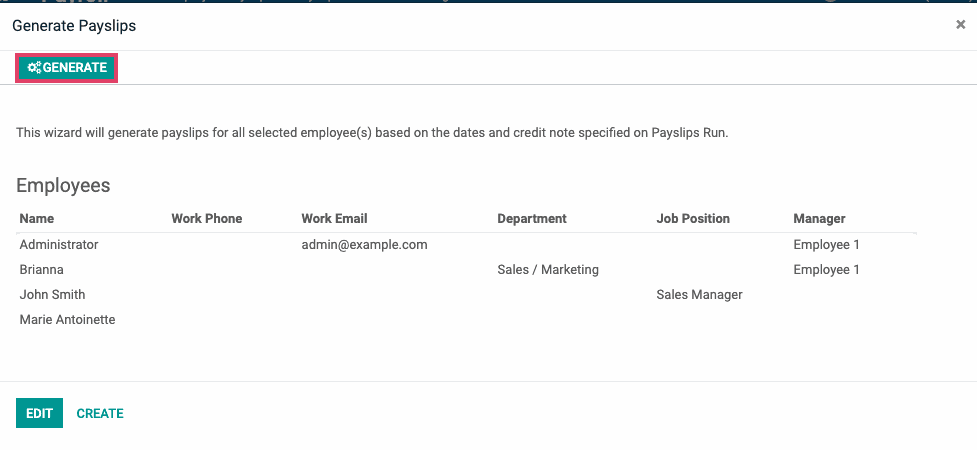
On the next screen, verify that the Employee list looks complete and then click on Generate to compute payslips for all of the selected employees.
You will be sent back to the payslip batch screen. At the bottom, there will be a list of all the payslip drafts calculated. Click SAVE.
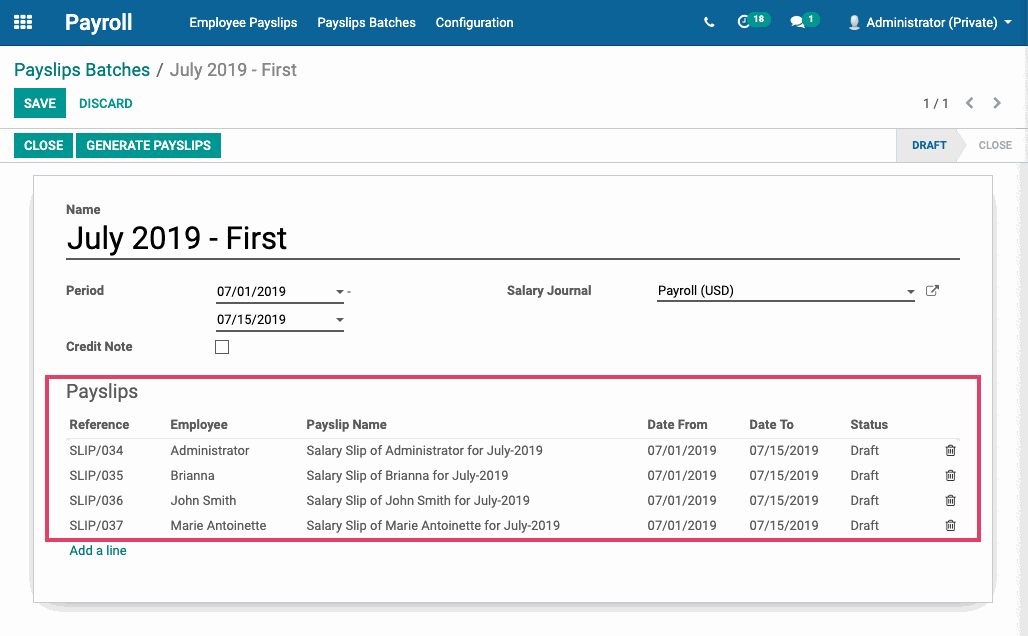
Navigate to EMPLOYEE PAYSLIPS. This will bring you to a list of all payslips. Add filters for:
Draft
Date Account is equal to {last date of pay period} - This is a custom filter
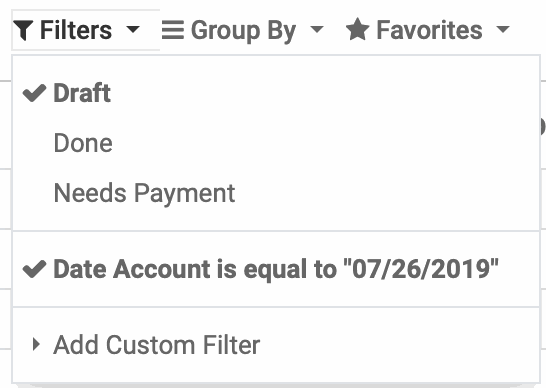
This will display all payslips for the pay period that are still in the draft state.
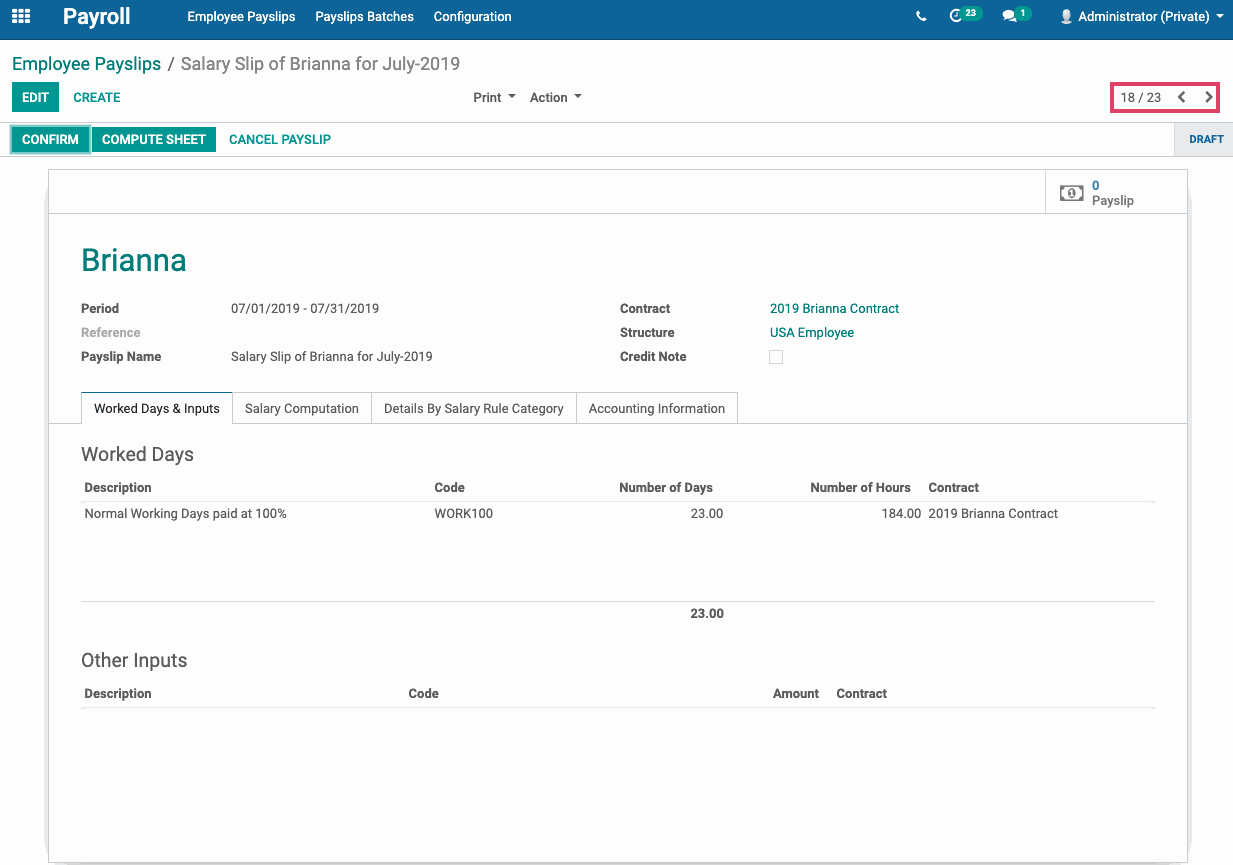
Click on one and, after reviewing, click CONFIRM to complete the payslip. Use the pagination arrows, move to the next payslip and repeat the process until all payslips have been reviewed and confirmed.
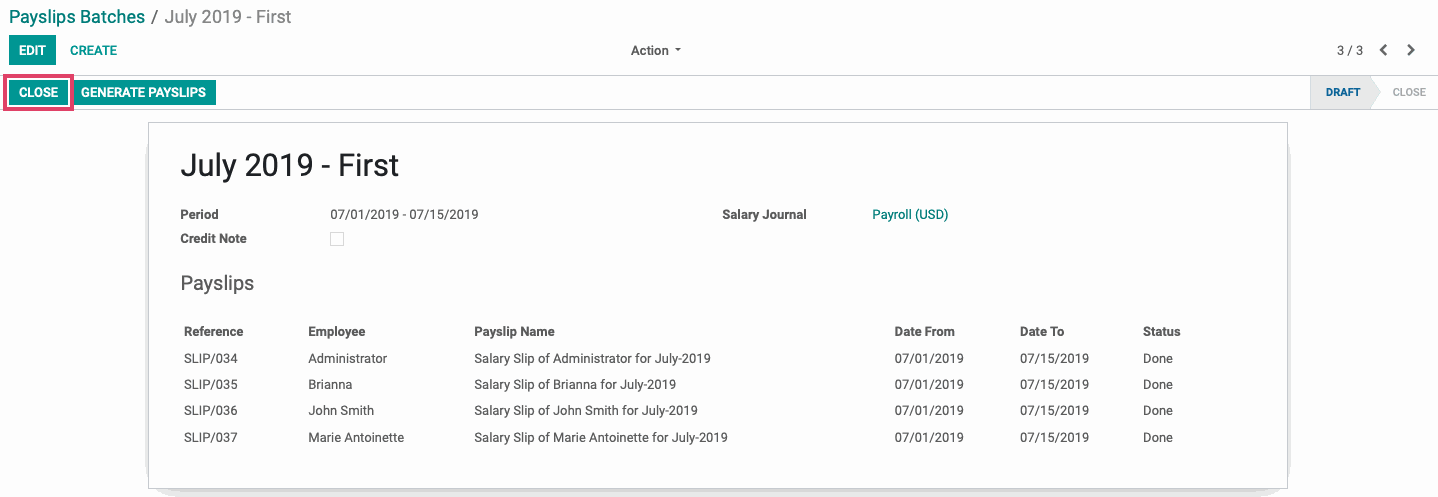
Closing the Payslip Batches
After the payslips in the batch are all confirmed, navigate to the payslip batches and click CLOSE to move the status of the batch from Draft to Close.