Payroll: Work Entries
Purpose
This document outlines the functionalities of Work Entries in the Payroll application Odoo 16. We will also cover Work Entry Types and Work Entries. Work Entries are records of scheduled employee work time and do not reflect the hours an employee did work. Paid Time Off and other commitments will also be covered.
Process
To get started, navigate to the Payroll application.

To get started, navigate to the Payroll application.
Work Entry Types
As the name suggests, Work Entry Types are different classifications of work such as attendance, remote work, or paid time off. To create or manage them, let's navigate to Configuration > Work Entries > Work Entry Types.
Here you will see a list of existing work entry types.
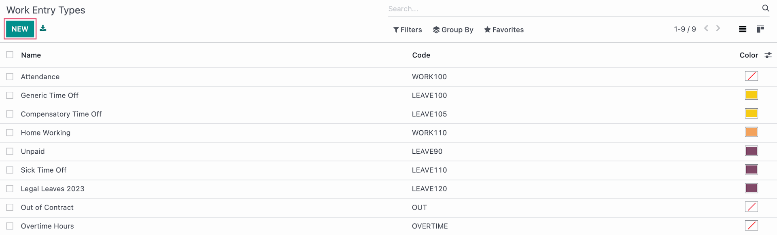
To create a new Work Entry Type, click NEW and complete the following:
Work Entry Type Name: Give the work entry type a unique name.
Code: Create a short code to reference this work entry type.
Color: Select a color to visually represent this work entry type.
Display in Payslip
Rounding: You can choose to round to a full day, a half day, or not to round. Select if you with to round to the closest day or half-day, or if you wish to round up or down.
Time Off Options
Time Off : Enabling this option, means that this work entry type is linked to a time off type
Time Off Type: This time off type that will be reported as this work entry type.
Unpaid
Unpaid in Structures Types : If applicable, select a structure type. This Work Entry Type will pay no money to an employee on the pay slip.
Reporting
Unforeseen Absence: The work entry type marked as an Unforeseen Absence will be counted in absenteeism on the work report.
When you have finished, click to save.

Work Entries
Now, let's go ahead and take a look a look at employee schedules by going to Work Entries > Work Entries. Here you will see a Gantt chart of the work schedules that by default will be showing you in the Month format, so let's switch the format to Week.
Note: The non-work commitments, such as sick time, also appear here.

Validating Work Entries
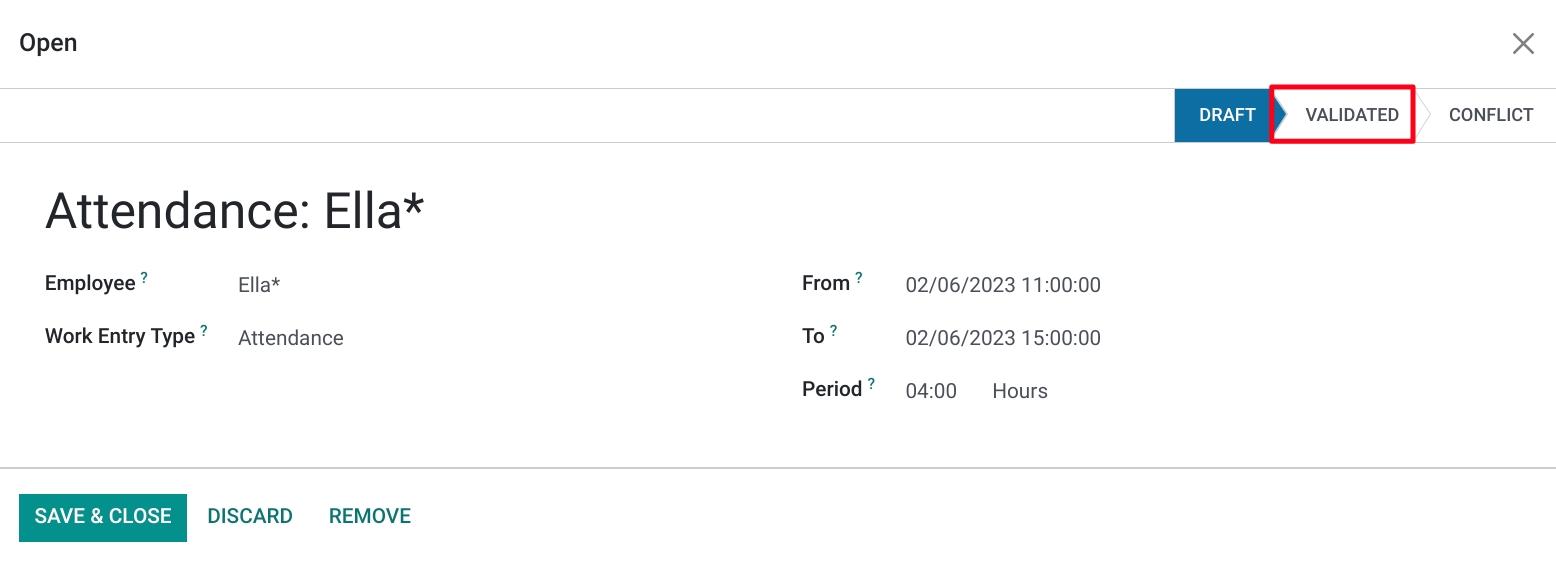
To validate a work entry from the Gantt view, select an entry by clicking on it.

This will pop open the work entry. Click the Validated state on the top right, keeping in mind that validated entries can not be modified. Click SAVE & CLOSE.
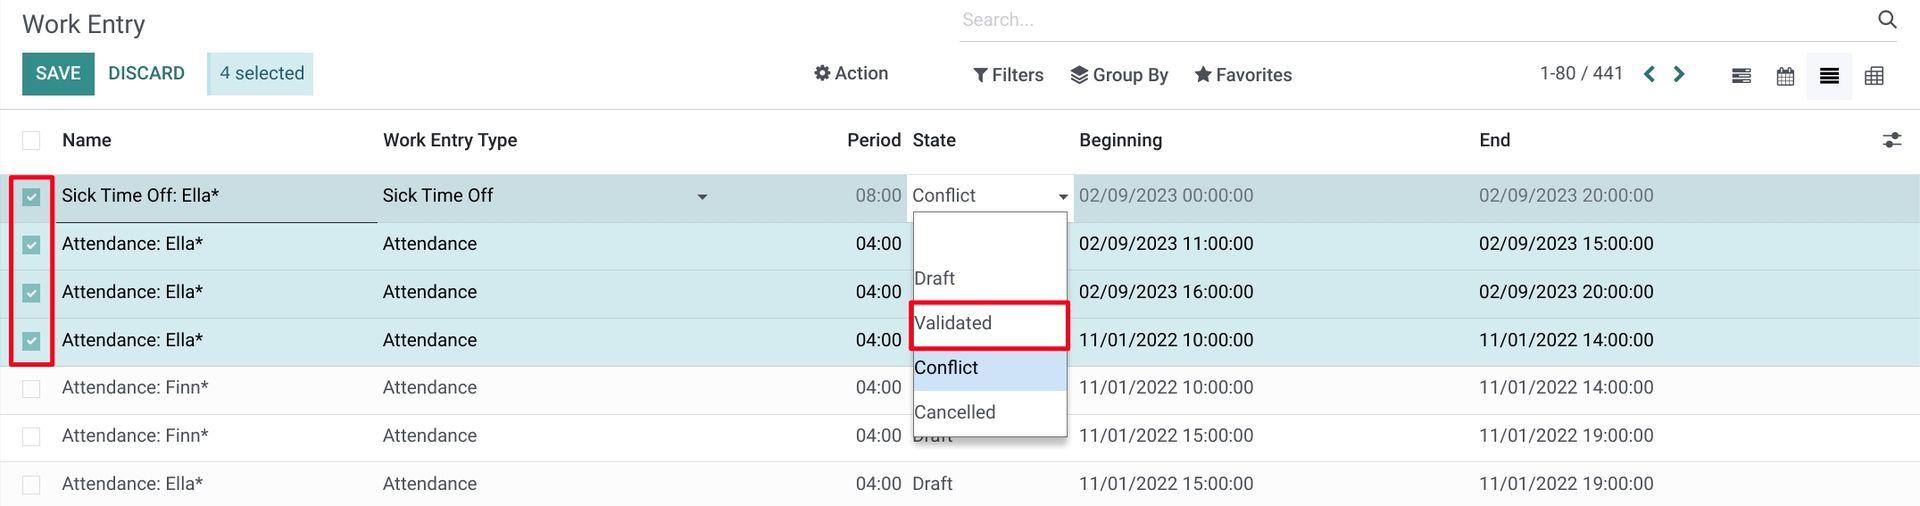
You can also validate multiple entries from the List view.

Simply select the draft views to validate, then change the State column to Validated.
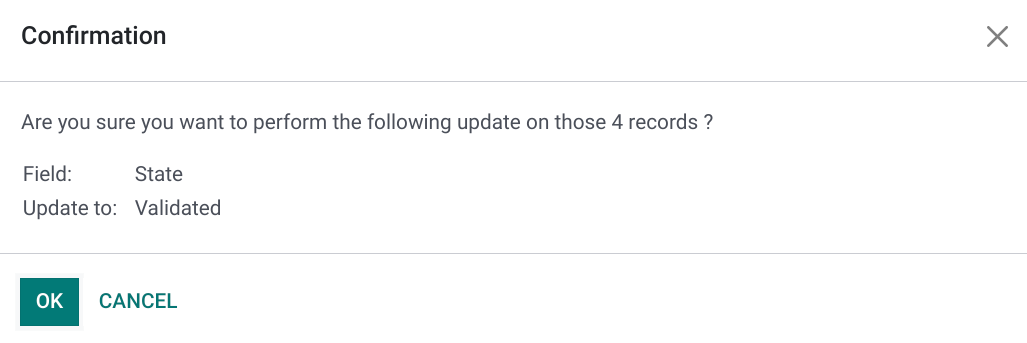
This will open up the bulk change confirmation window. Click OK to confirm.
Adding Work Entries
Work Entries reflect the number of hours your employee has committed to working which can be viewed in their Contract on the Employee Contact page.
From the Gantt view of all Work Entries, you can add new records by navigating to the list view on the top-right. Here, you see a list of all work commitments for your employees.
Click NEW and fill in the following information:
Work Entry Name: Give the Work Entry a name. It does not need to be unique.
Employee: Enter the name of the employee.
Work Entry Type: Select a work entry type.
From: Enter the start time of the employee's work.
To/Period: Enter either the end date and end time of the work, or a period of time.
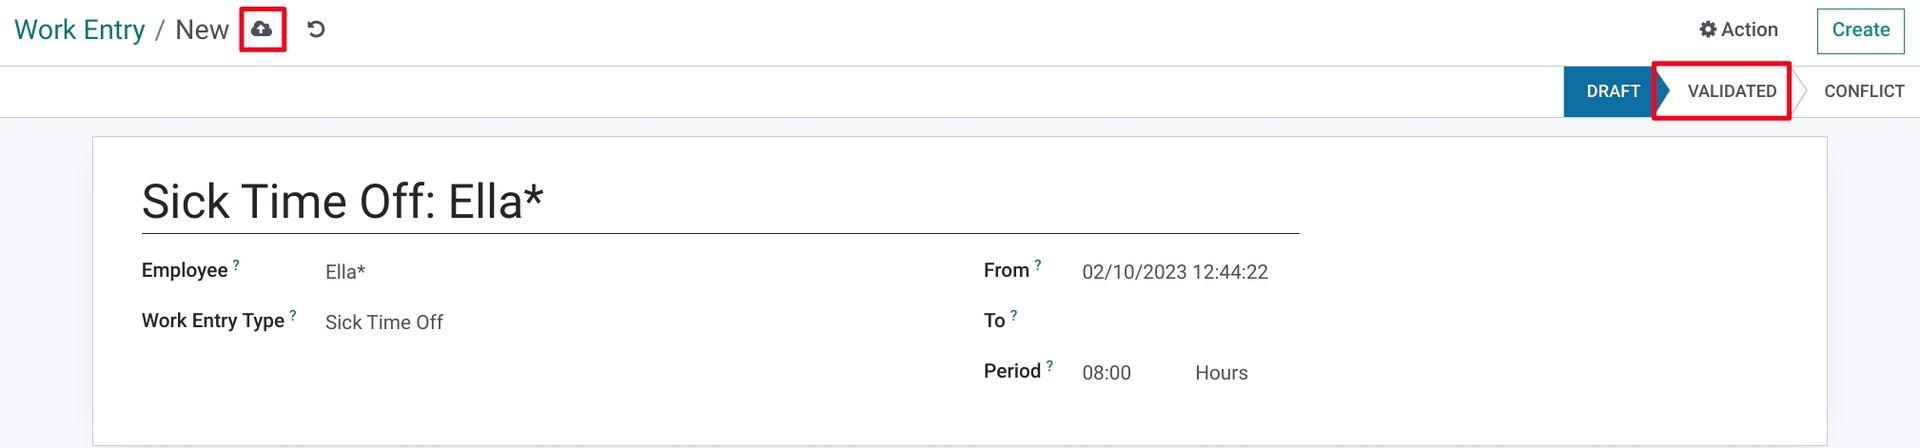
To validate the entry, click the VALIDATED stage on the top-right. When you have finished, click the save icon.
Conflicts
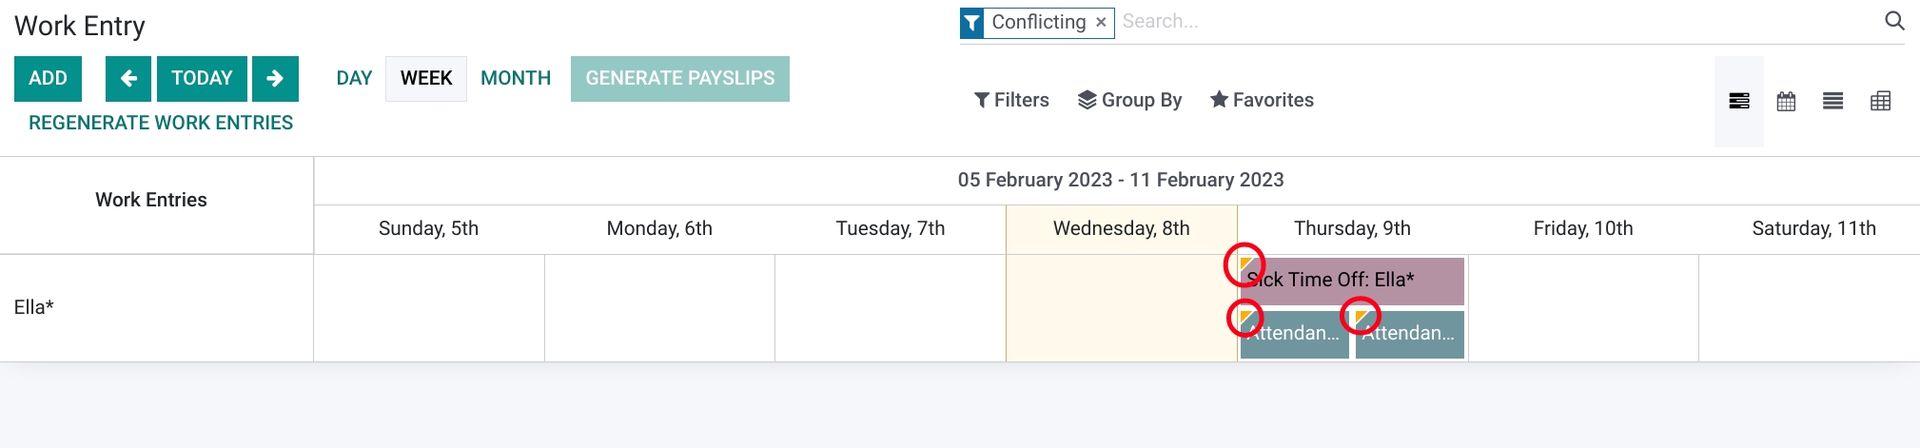
If the Work Entry you are trying to create conflicts with an existing Work Entry, it will still save and appear in the Gantt view with a yellow triangle in the upper left corner. You can also display only conflicting Work Entries by clicking on Work Entries > CONFLICTS or by filtering the Gantt view to Conflicting.
This view by default is going to be by Month, but can be viewed however you like.
Important!
Conflicts impact Payslips!
You must rectify these conflicting entries in order to be able to generate a payslip.
To rectify the conflicting Work Entry, click on the entry and select the Draft stage in the upper right corner of the pop-up window. Correct the incorrect time, then select the Validated stage to validate.