Employees: Employees Workflows: Skills Management
Purpose
When Skills Management is enabled in the Employees app configuration, the corresponding module will be installed to your Odoo database. The goal of Skills Management is to enrich your employee profiles with skills, education, and experience from their resumes.
The purpose of this document is to show you how to enable Skills Management, configure individual skills and resume options, then assign those to the Employee record.
Debug Mode
Some steps in this document will require you to be in Debug Mode.
Process
To get started, navigate to the Employees app.
Enable Skills Management
Once there, click Configuration > Settings.
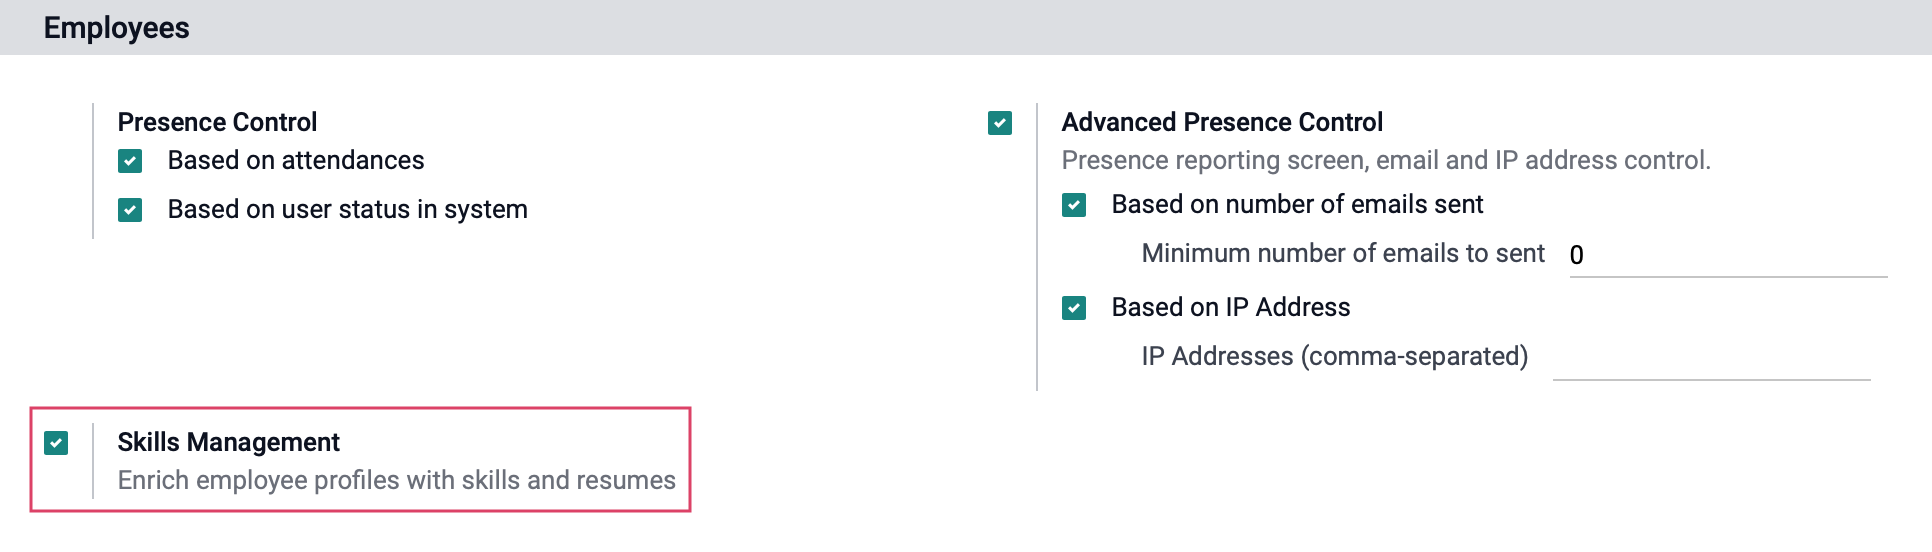
Under the Employees section, enable Skills Management.
When ready, click SAVE.
Configure Skills
Navigate to Configuration > Employee > Skills. Once there, click Create to add a new skill.

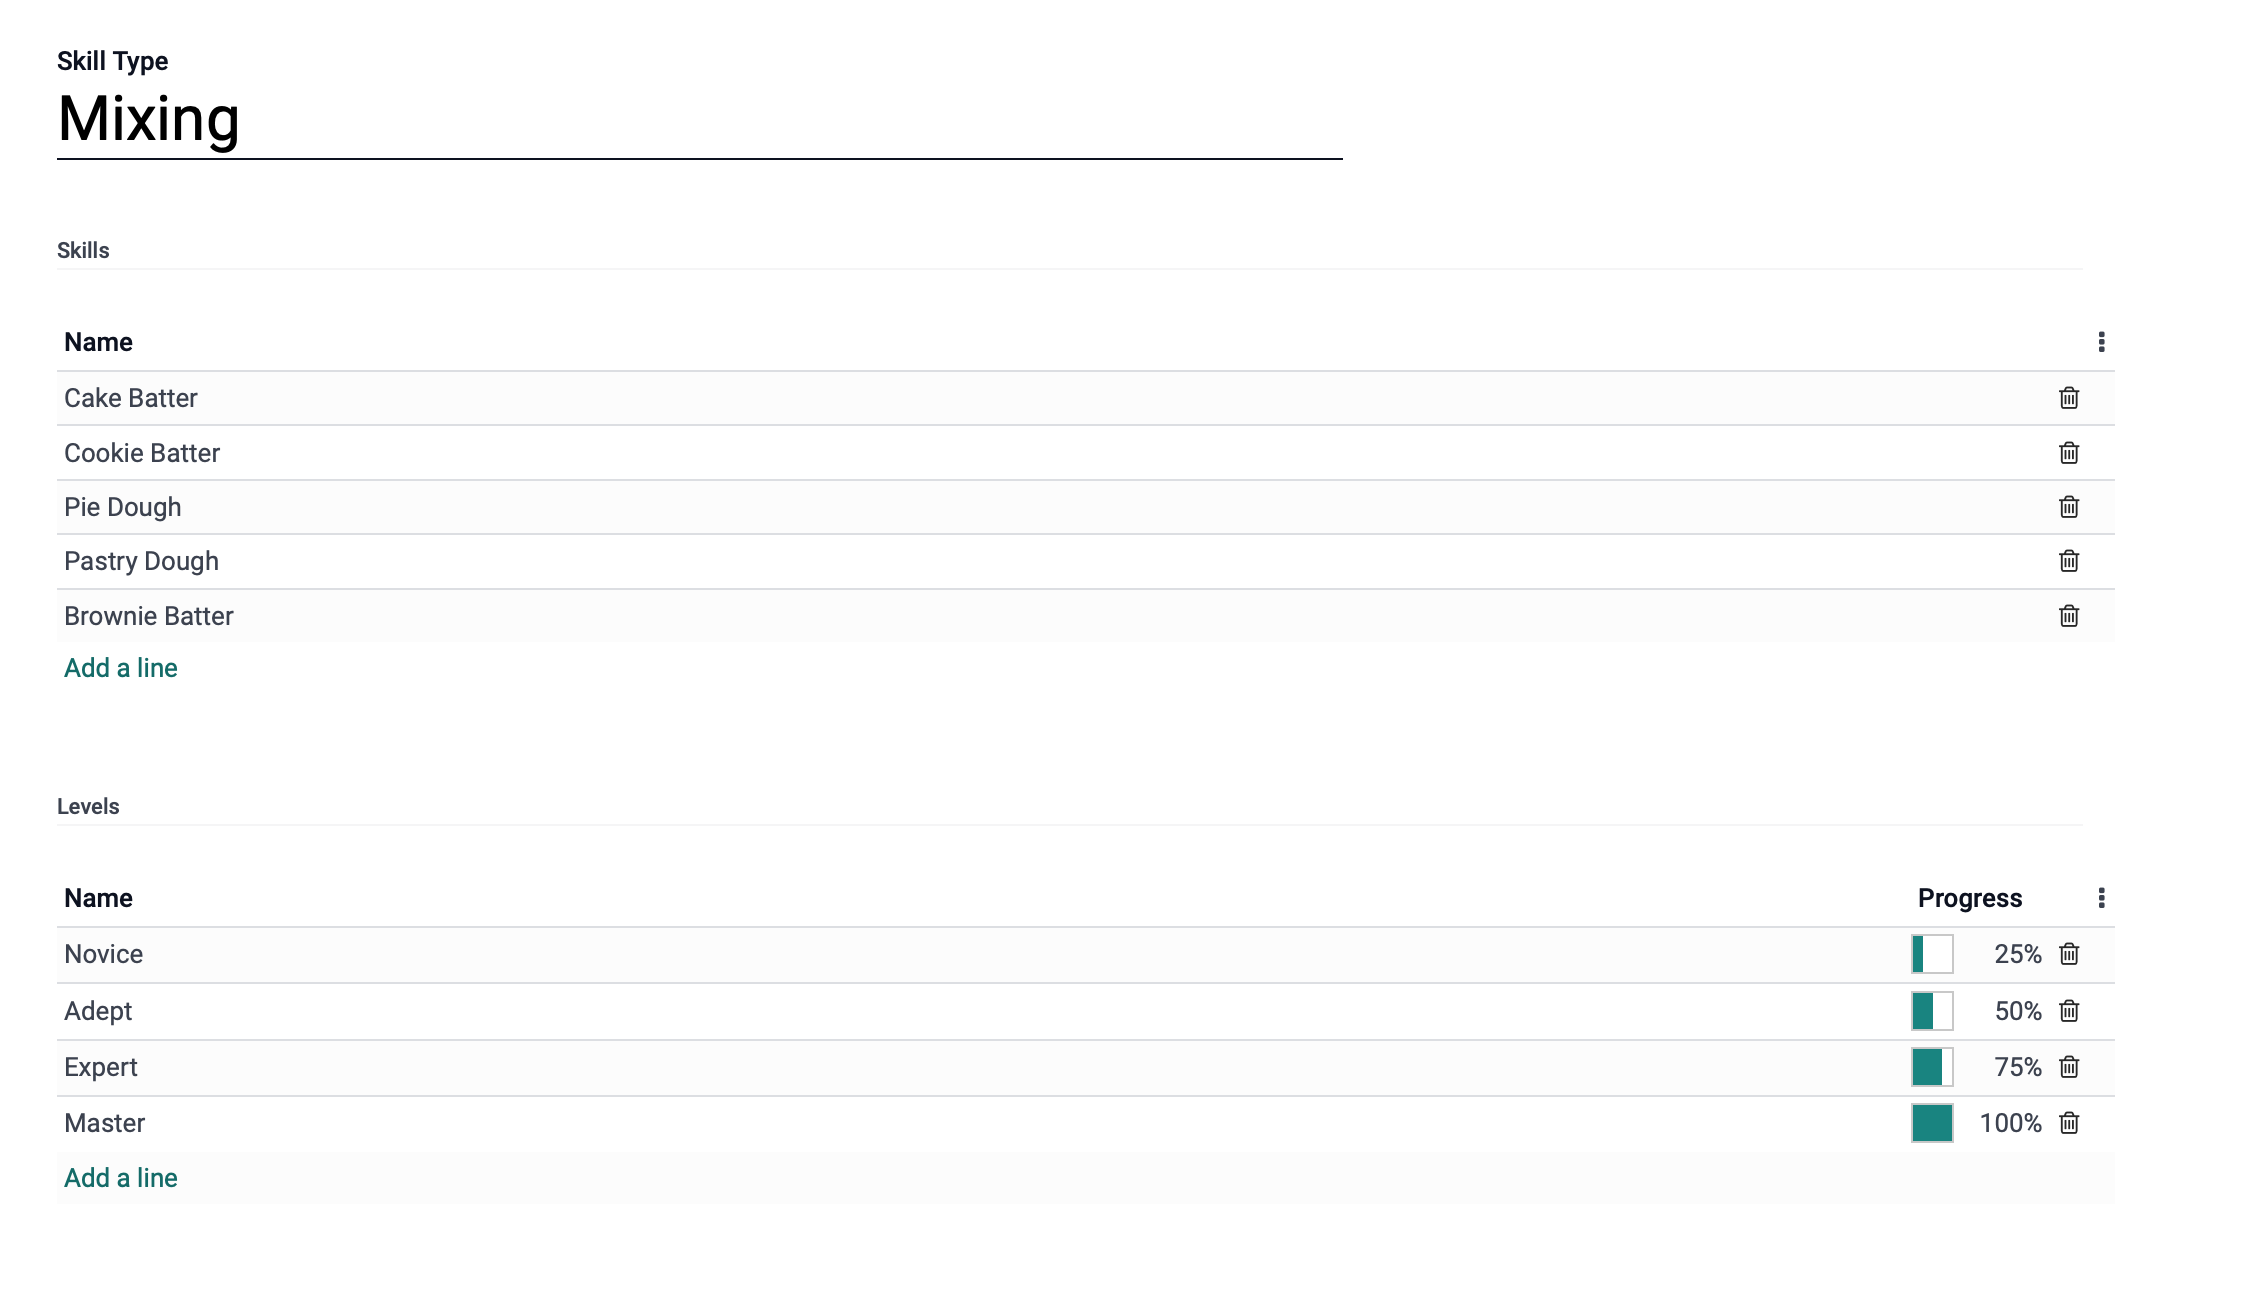
You'll then want to complete the Skill Types form.
Name: Enter the broad skill type (e.g. Languages).
Under the Skills section:
Click ADD A LINE for each skill that falls under the skill type. This will open a line where you'll add the skill Name. Click out of the field to save the entry.
Under the Levels section:
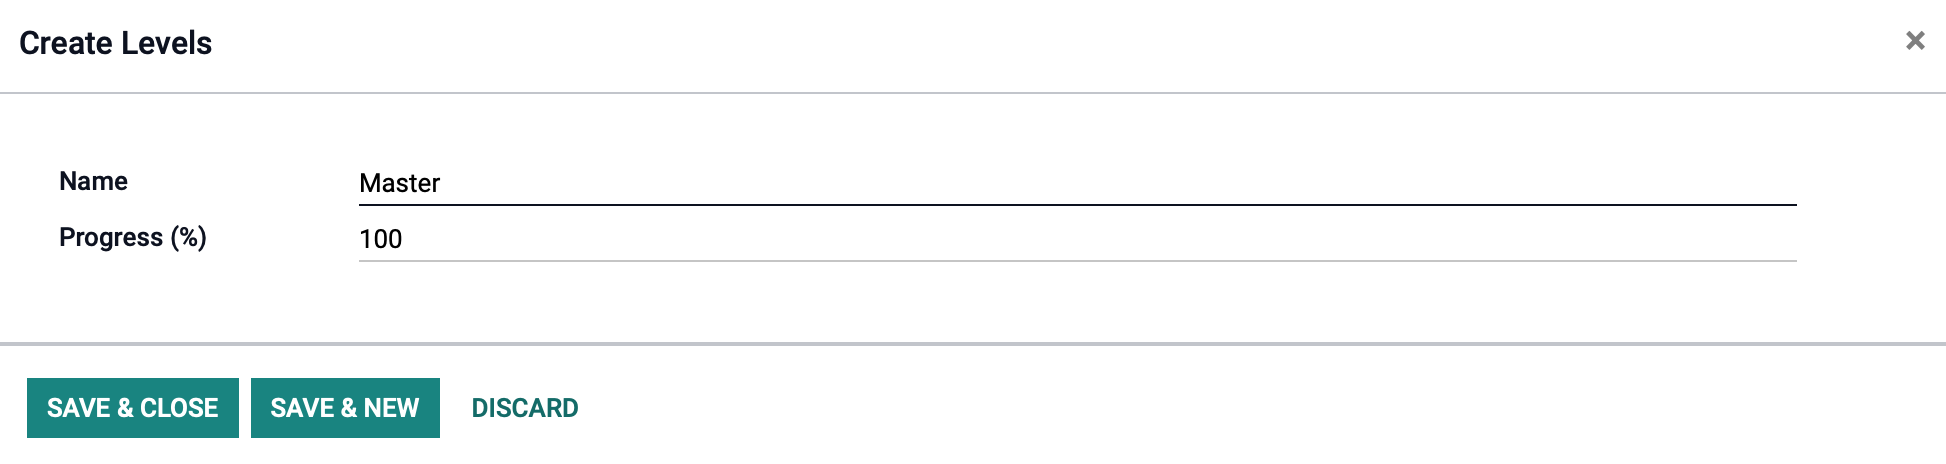
Click Add a Line for each proficiency/progress level. This will open up a popup modal that will allow you to fill in the following information:
Name: Describe the level of ability.
Progress: Indicate the percentage to equate with this level. For example, a Novice may be at 20% progress, and an expert may be at 100% progress.
When done, click SAVE & CLOSE or click SAVE & NEW to add another progress level.
A finished Skill Type page may look like this:
When you're done, click Save. Repeat this process for all skills you'd like to keep track of for your employees.
Applying Skills to Employees
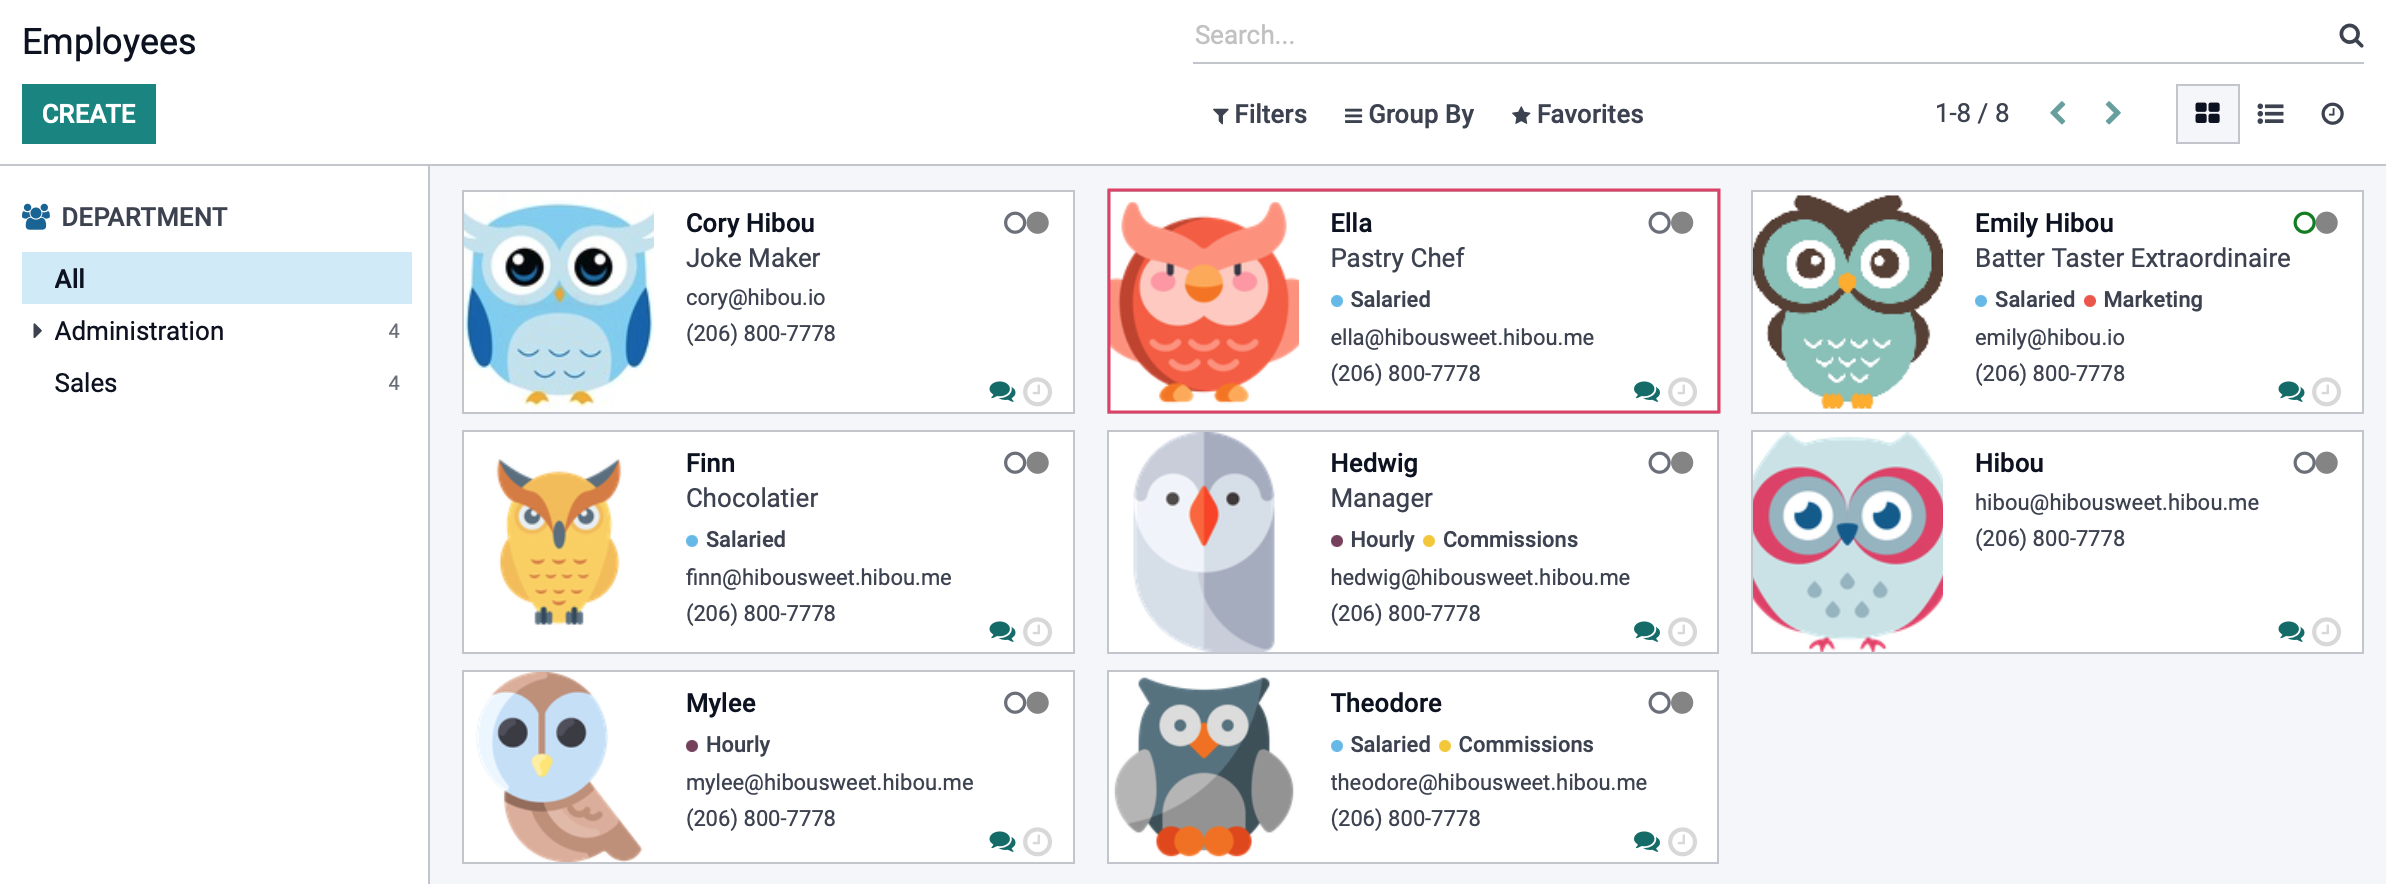
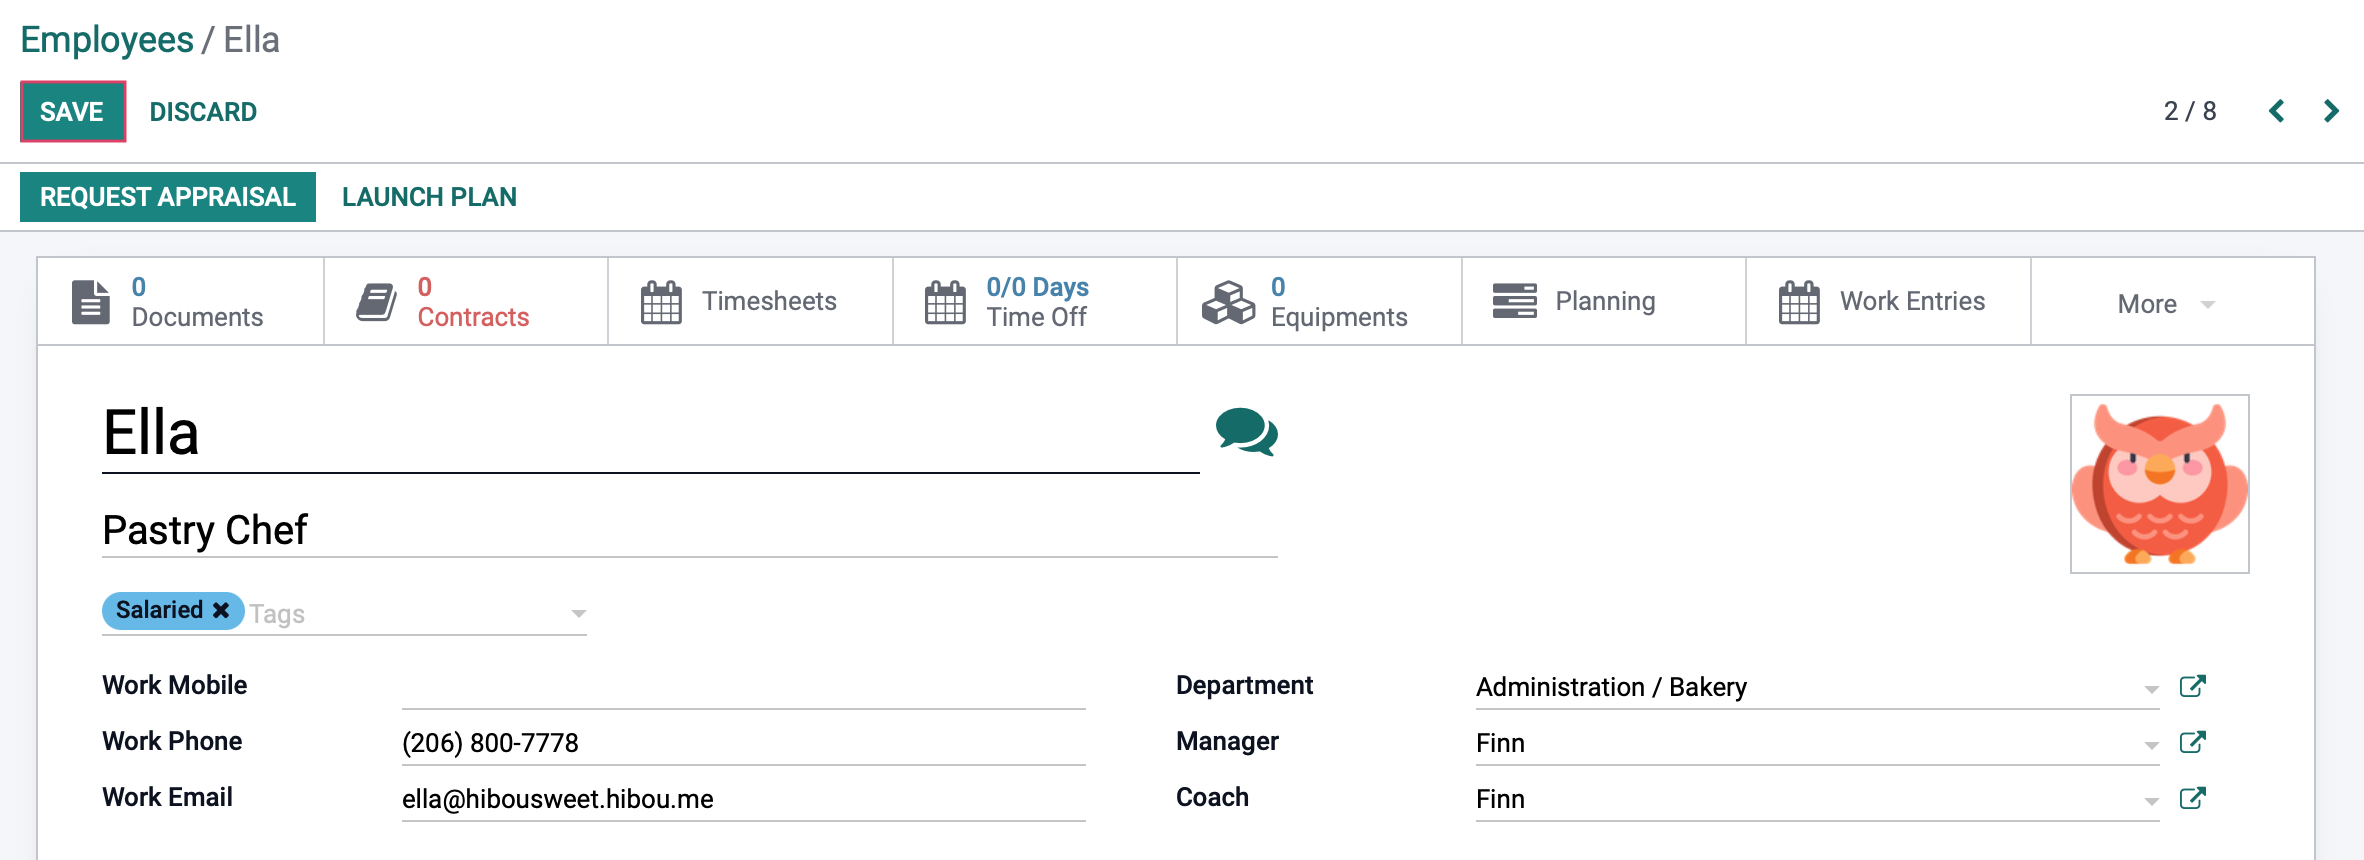
Navigate to Employees > Employees and select the employee who you'd like to add a skillset to. Once there, click EDIT.
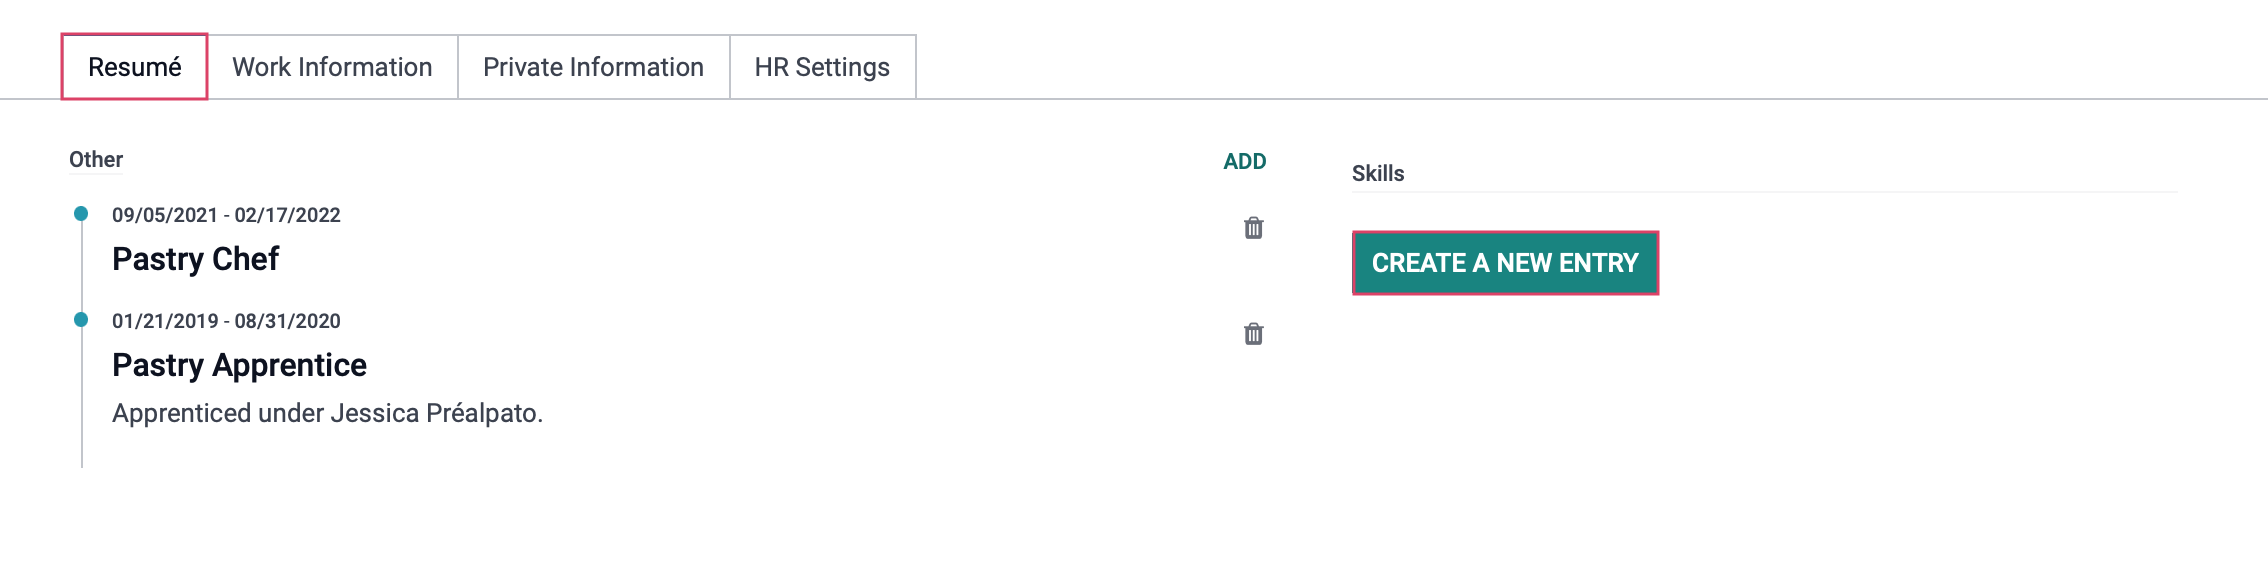
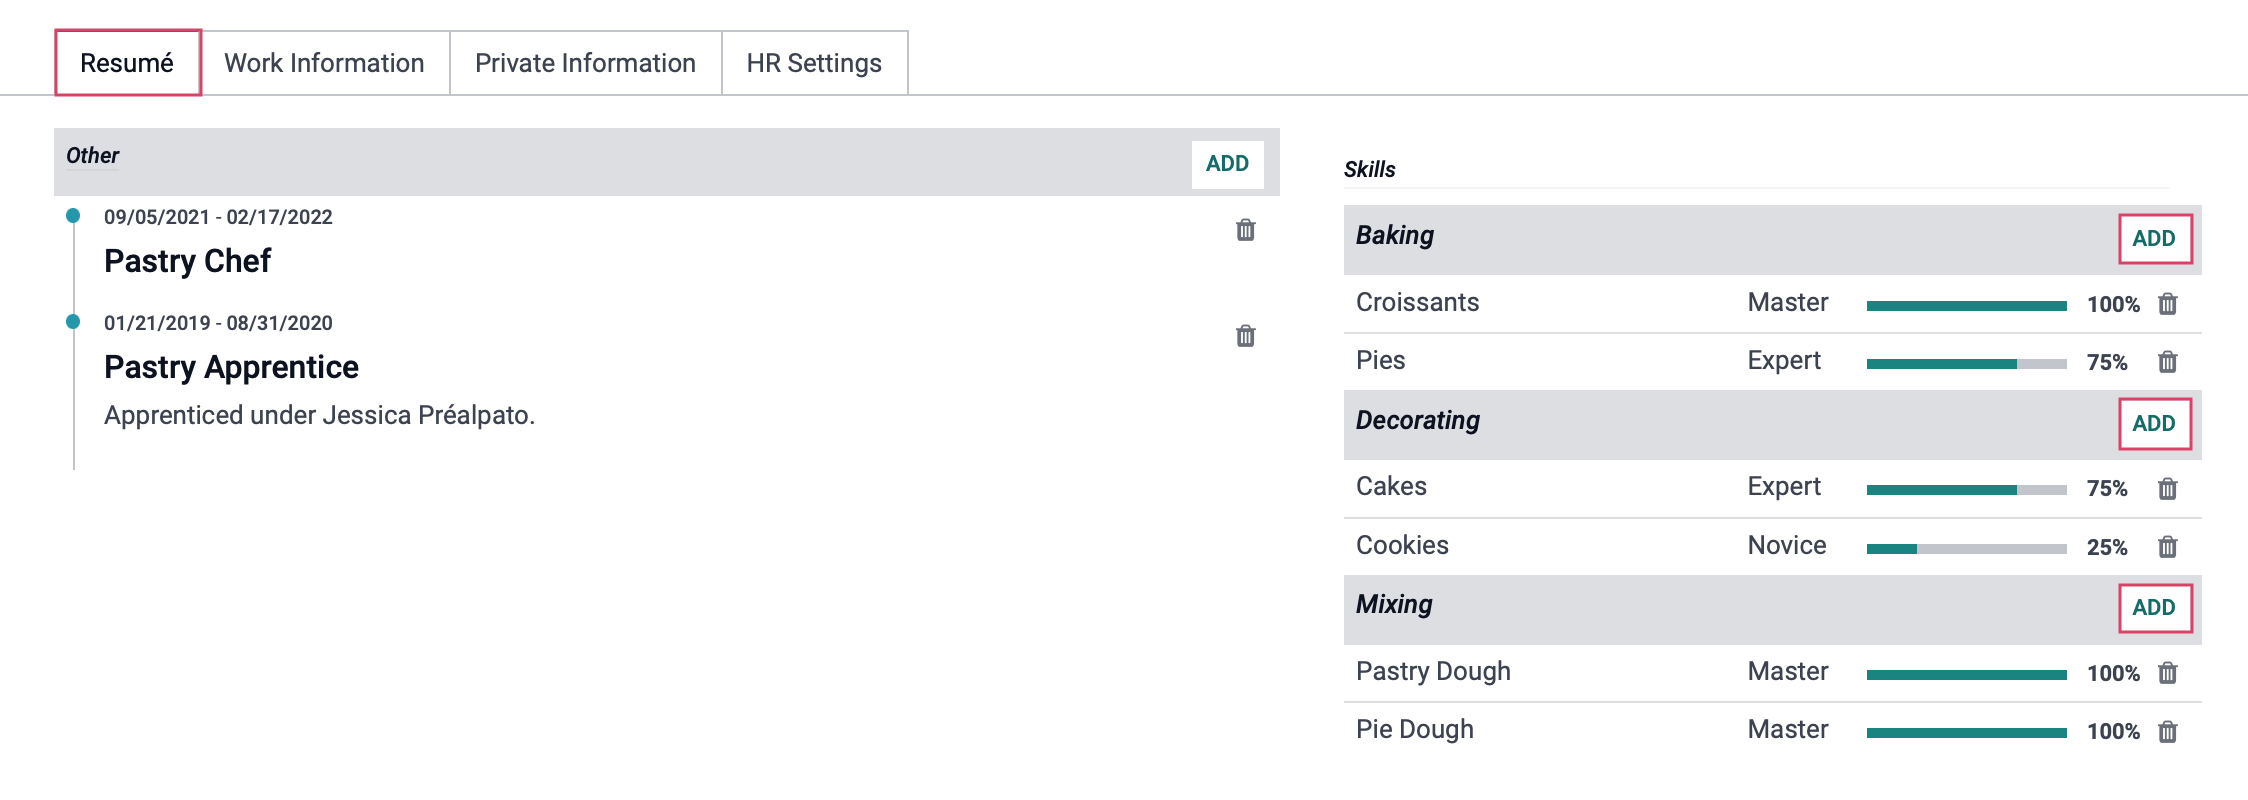
Under the Resumé tab:
Click Create a New Entry under the Skills heading.
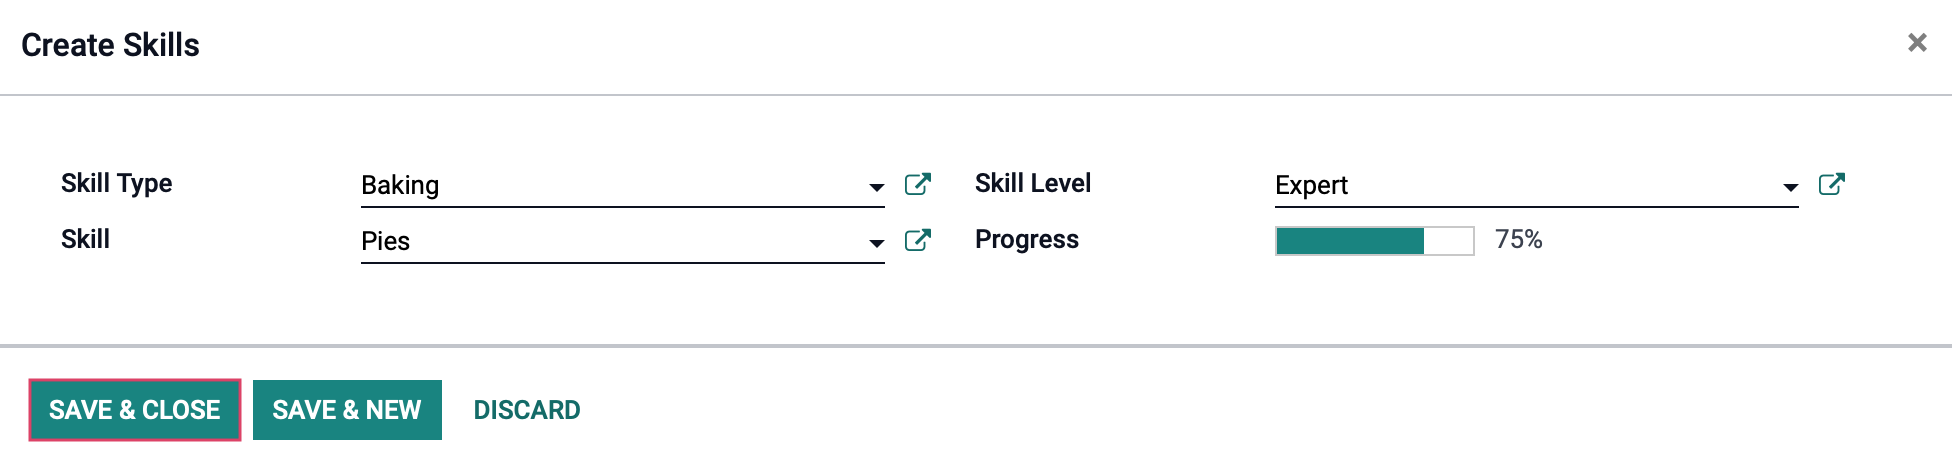
This brings you to the Create Skills form. You'll want to select each field in the same order you created them as the options will narrow down with each selection.
Skill Type: Select the skill type from the drop-down.
Skill: Select the skill from those nested under the selected skill type.
Skill Level: Select the skill level from those nested under the selected skill type.
Progress: The skill level will automatically populate based on the Skill Level selection.
When done, click SAVE & CLOSE or click SAVE & NEW to add another skill.
When you've added the entry(ies), you can also click ADD on a current skill entry to add another skill.
When you're done, be sure to click Save on the employee record.
Finding Employees by Skill
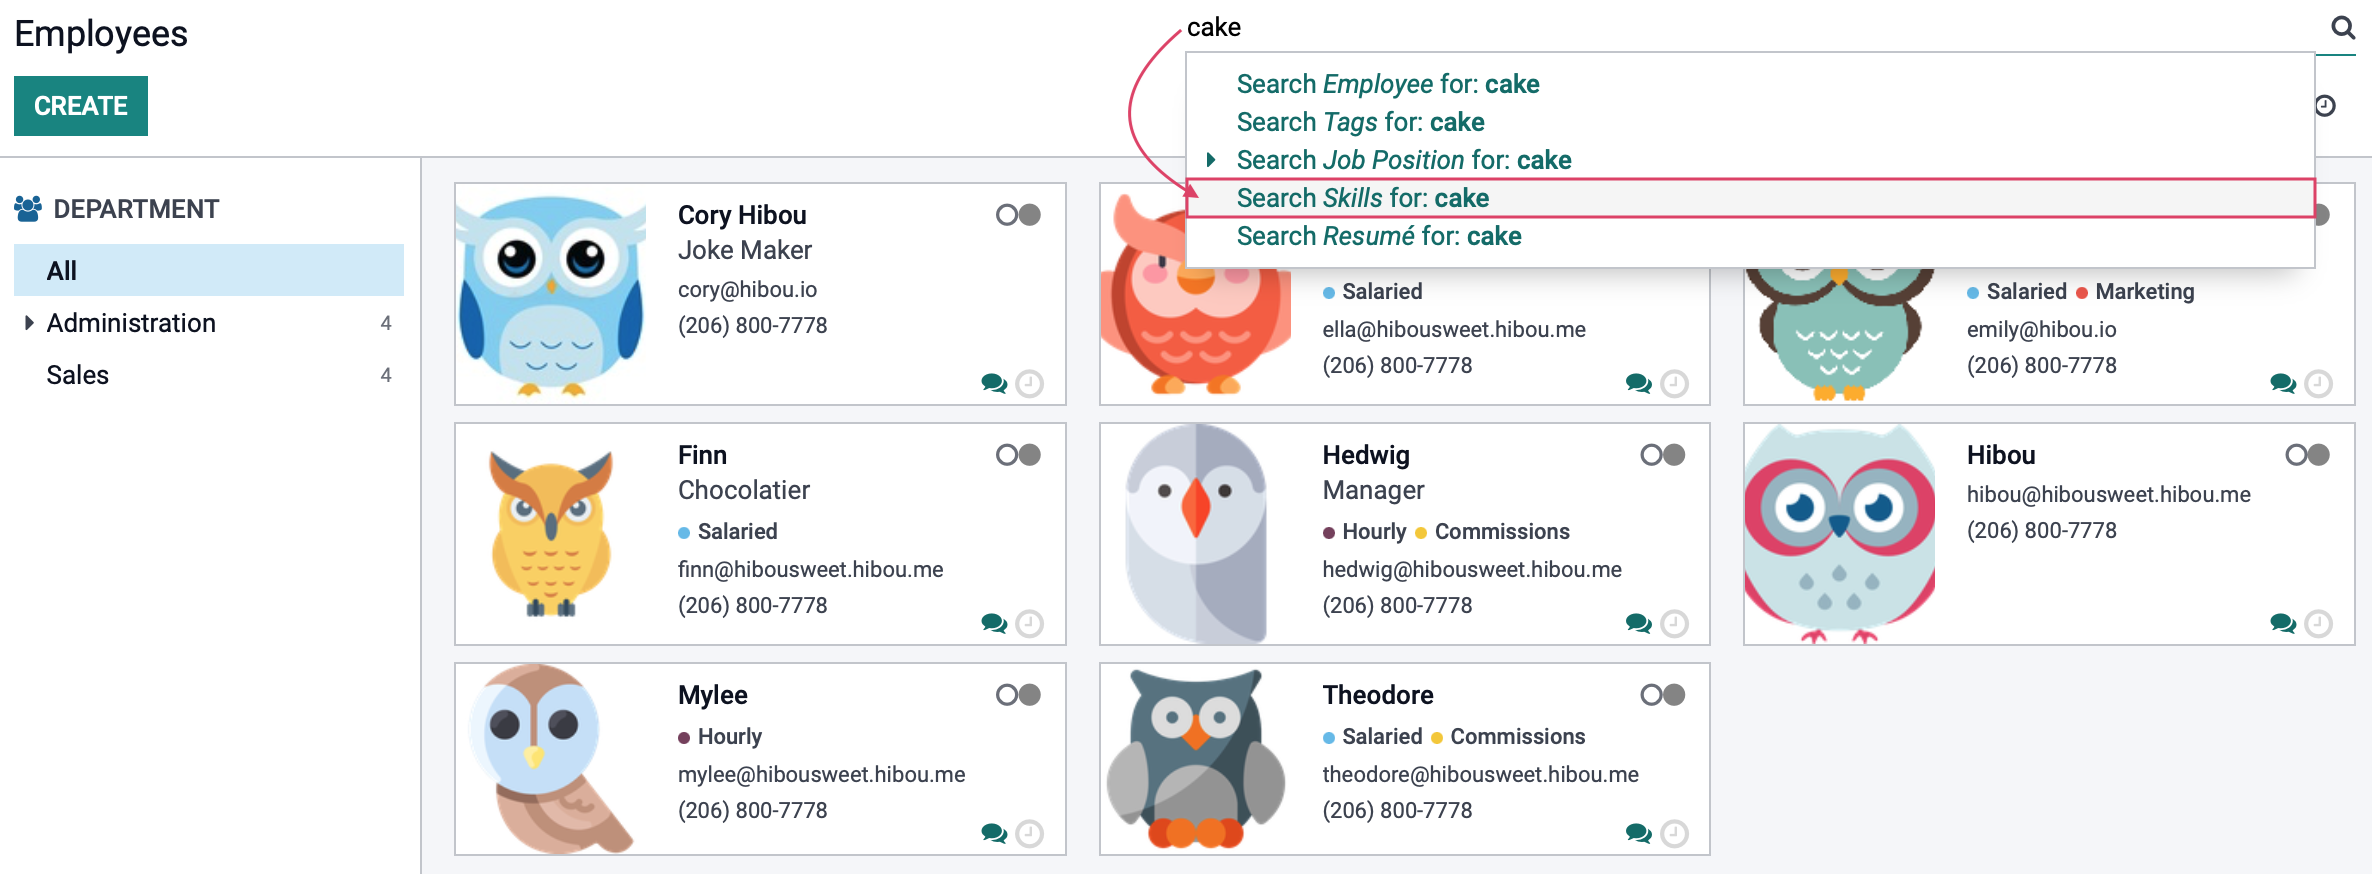
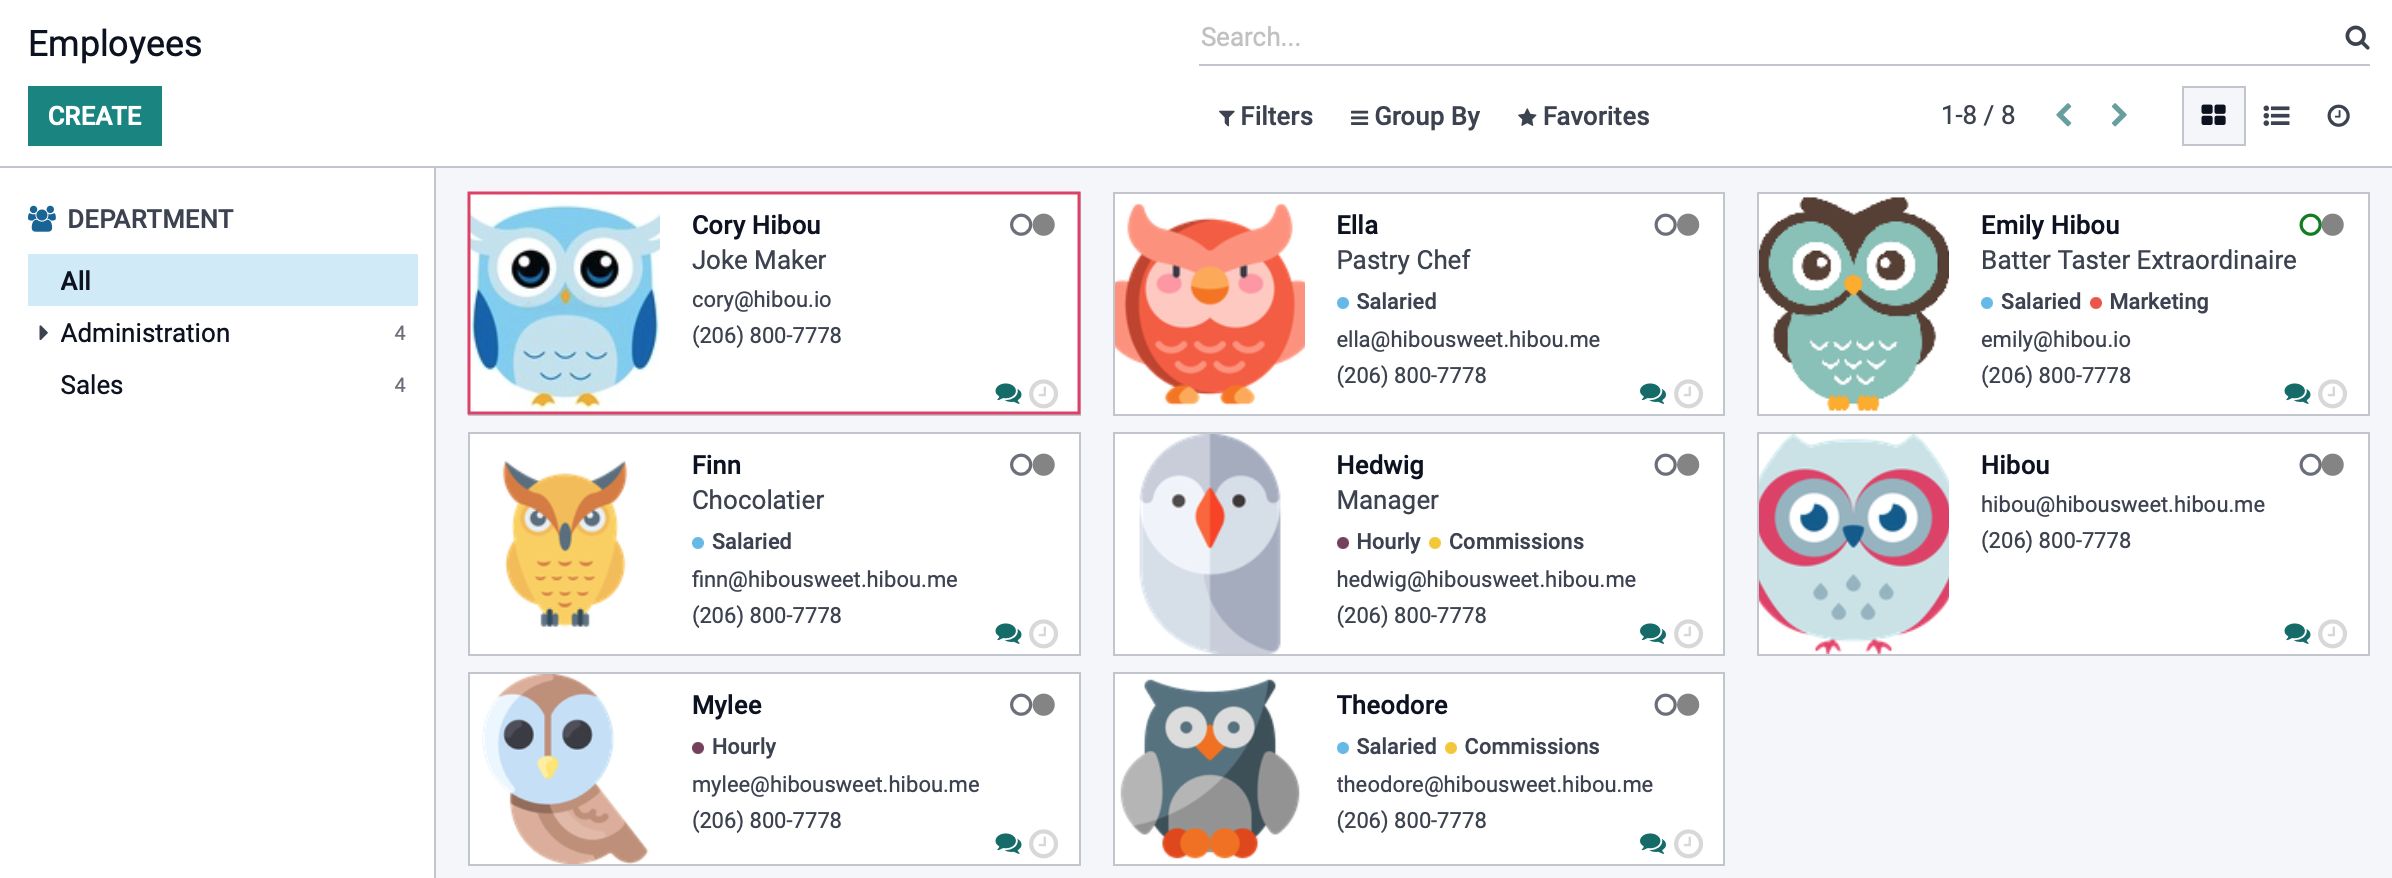
Once you've assigned skills to your employees, you'll be able to find them easily within the Employee Directory, or from Employees > Employees.
From either of these pages, type the skill name into the search bar, then select the Search Skills for: entry from the drop-down.
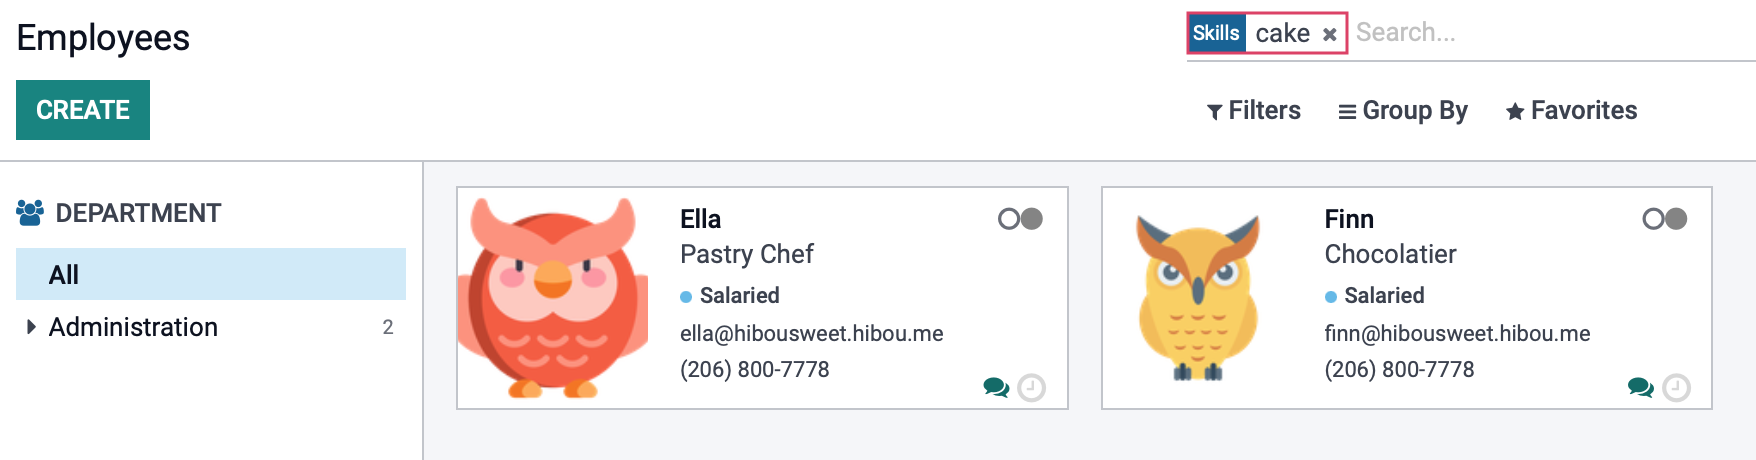
This will bring up all employees who match this Skills filter.
Configuring Resumé Line Types
Click Configuration > Resumé > Types. This page shows the types of resumé entries accepted on the employee's resumé tab and will represent the type of experience you're adding.
To add a new resumé type, click Create. This will open a new line where you can add the new entry.
When you're done, click SAVE. Repeat this process for all resume line types you'd like to have available on the employee's record.

Add Resumé Details to an Employee Record
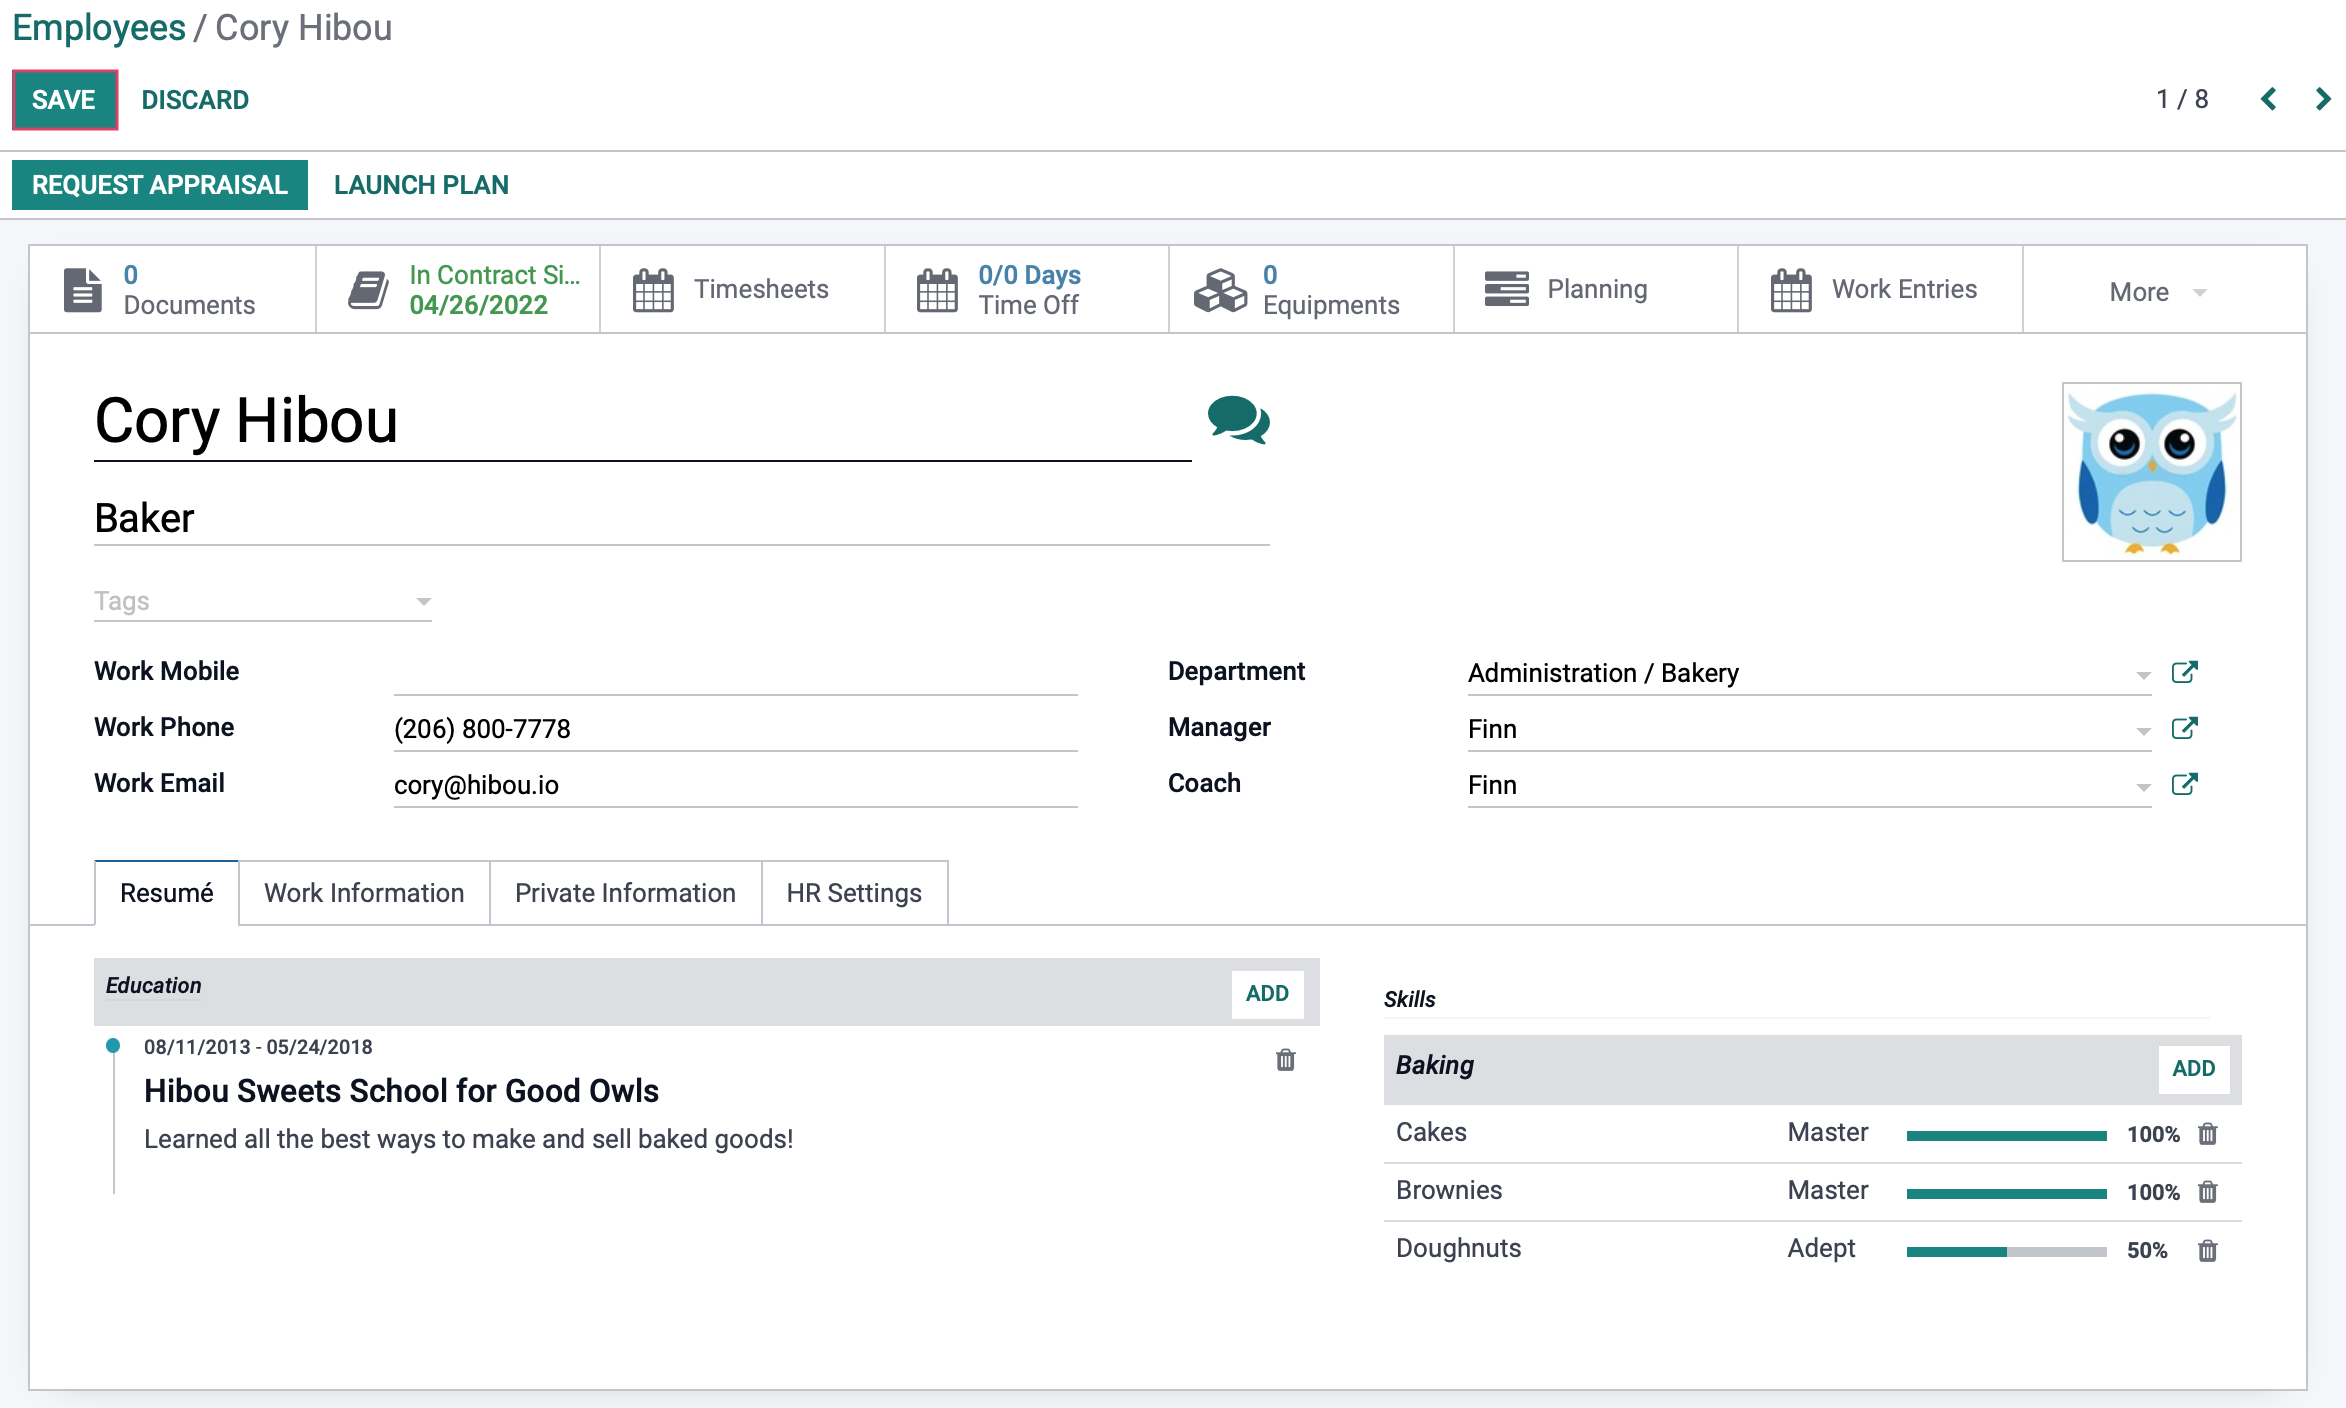
Navigate to EMPLOYEES > EMPLOYEES and select the employee who you'd like to add a skillset to. Once there, click EDIT.
Under the RESUMÉ tab, click CREATE A NEW ENTRY under Resumé empty heading.

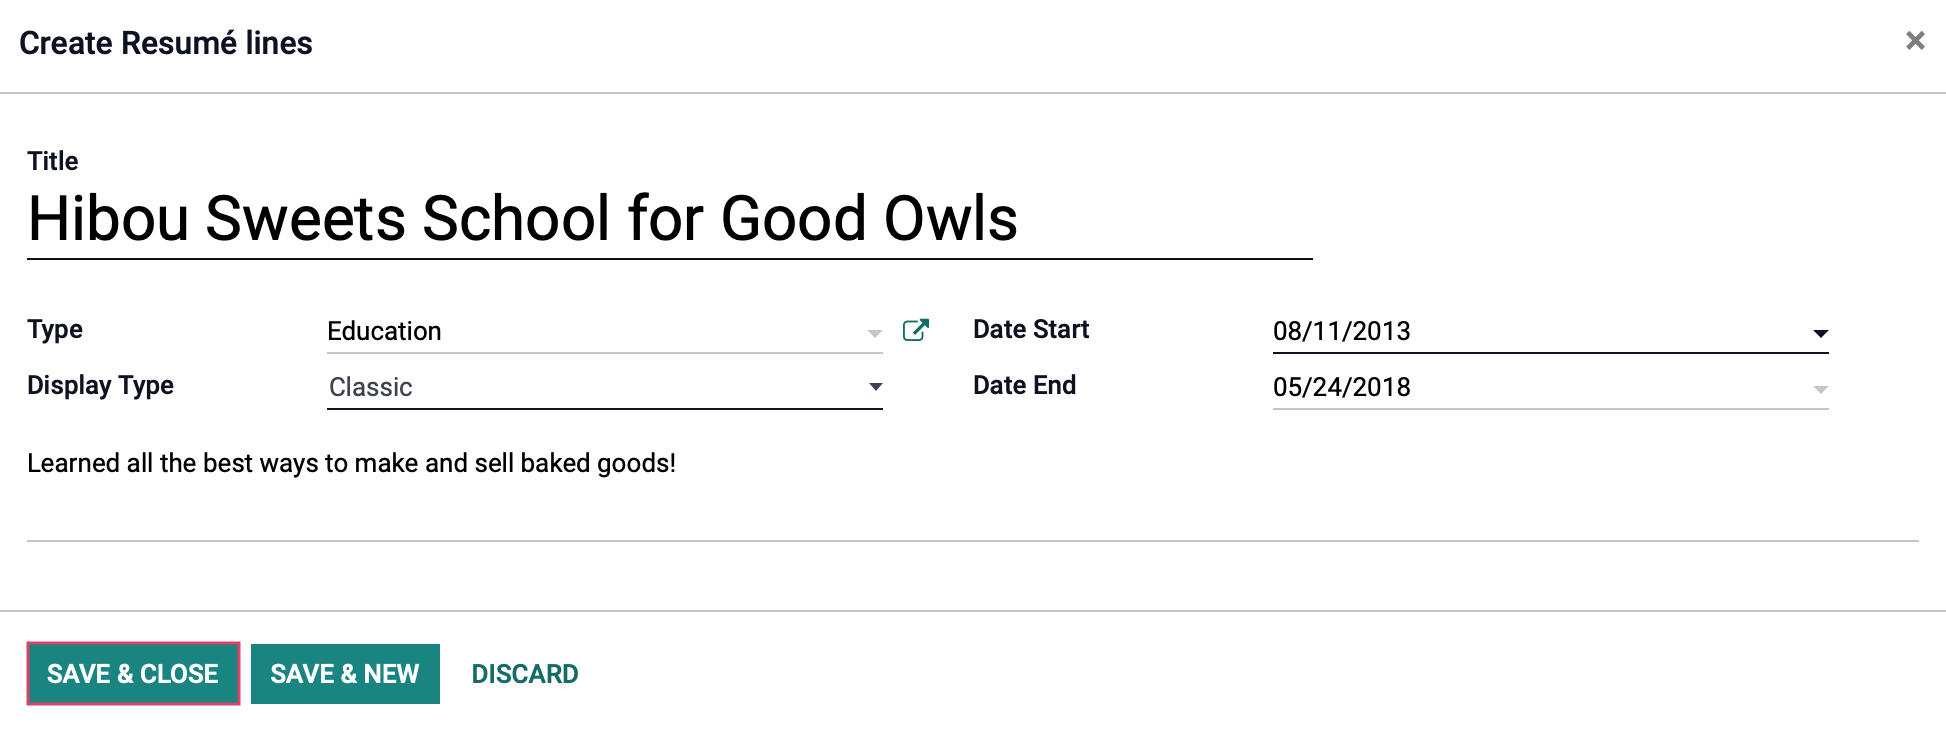
This will bring up the Create Resumé lines form.
Name: This line represents the employer, organization, or institution where this entry took place.
Type: Select the type of entry being added.
Display Type: This will default to the only option, "Classic".
Date Start: Select a start date for this entry.
Date End: If applicable, select an end date for this entry. If left empty, it will display as Current.
Description: Enter details for this entry. This could include job duties, a field of study, or certification details.
When ready, Click SAVE & CLOSE to exit the modal window or click SAVE & NEW to immediately create a new entry.
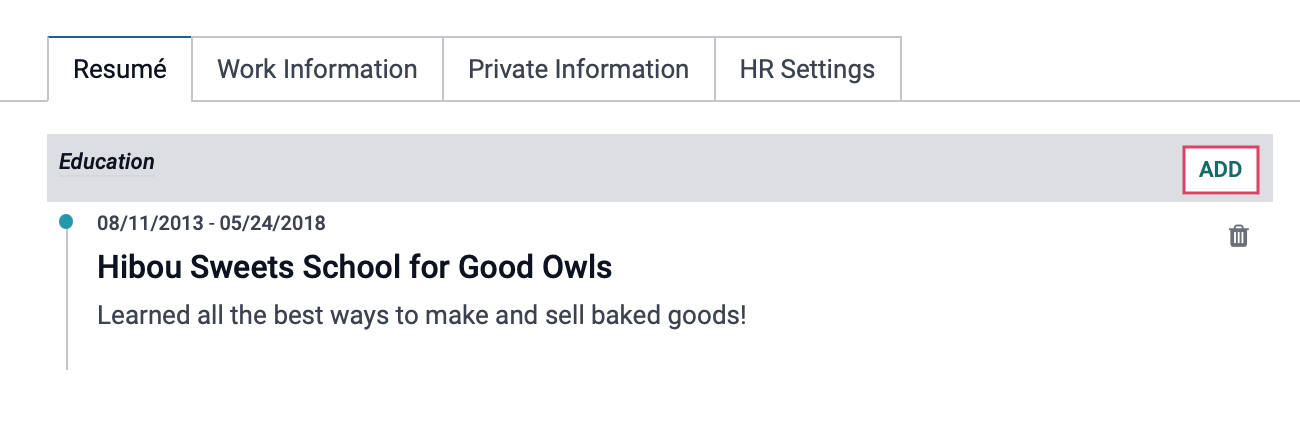
Once you've saved an entry, you can add new records by clicking the Add button on an existing record. Repeat this process for all resumé entries you'd like to enter.
When you're done, be sure to click Save on the employee record.
Finding Employees by Resume Entries
Once you've added resumé lines to your employee's record, you'll be able to find them easily within the Employee Directory, or from Employees > Employees.
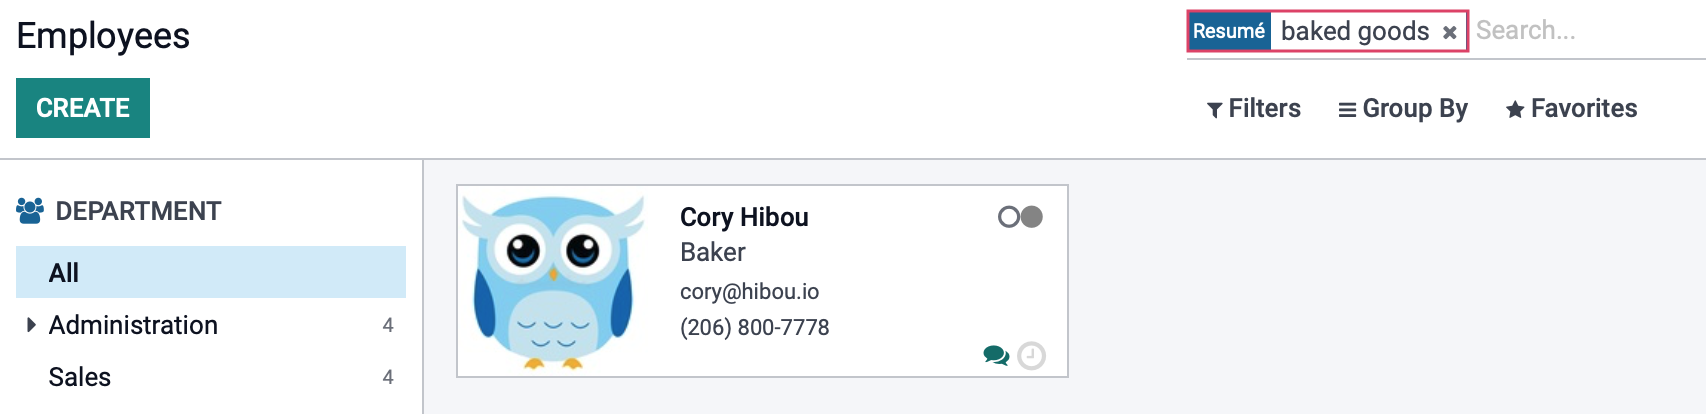
From either of these pages, type the skill name into the search bar, then select the Search RESUMÉ for: entry from the drop-down.
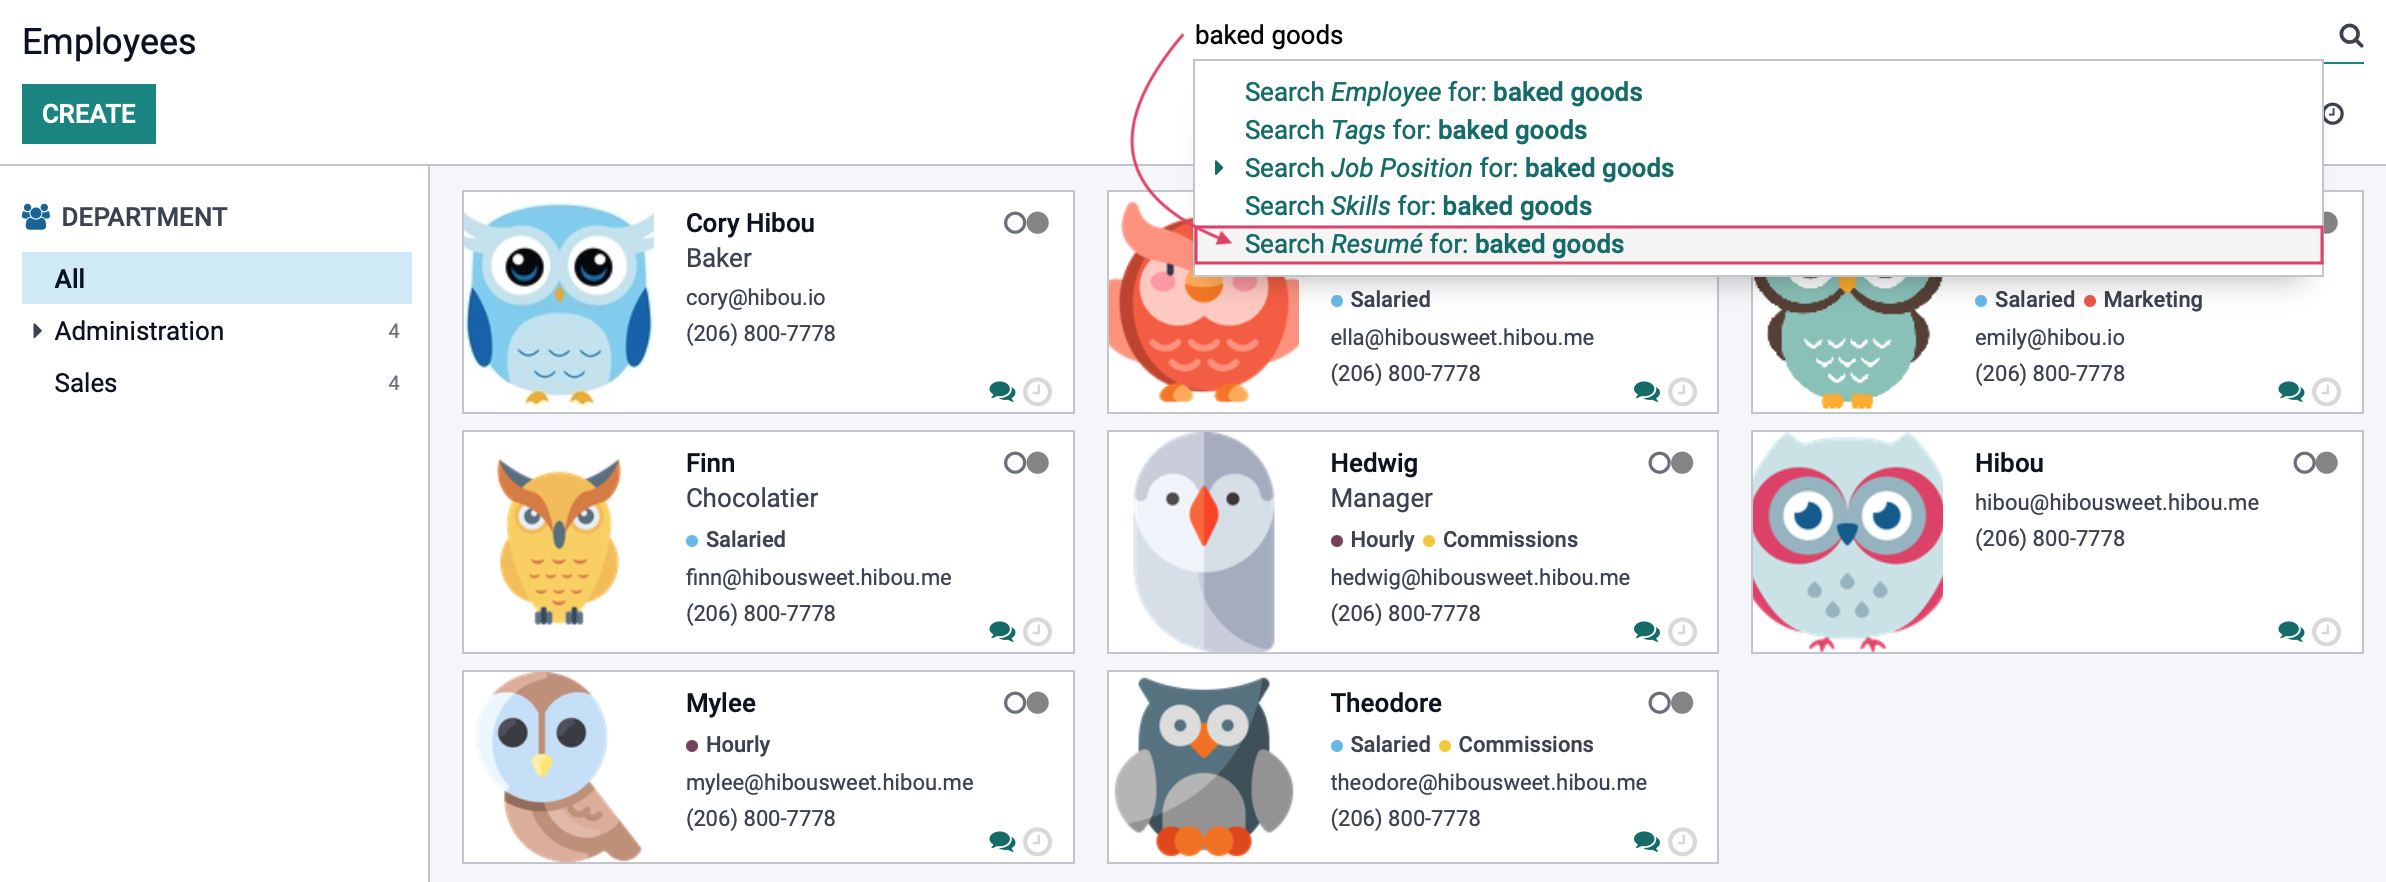
This will bring up all employees who match this resumé filter.