Employees: Employees: Contracts
Purpose
The purpose of this documentation is to outline the use and processes associated with setting up and maintaining employee contracts in the Odoo 13 Employee application.
Getting Started
The first step is to navigate to the Apps application.

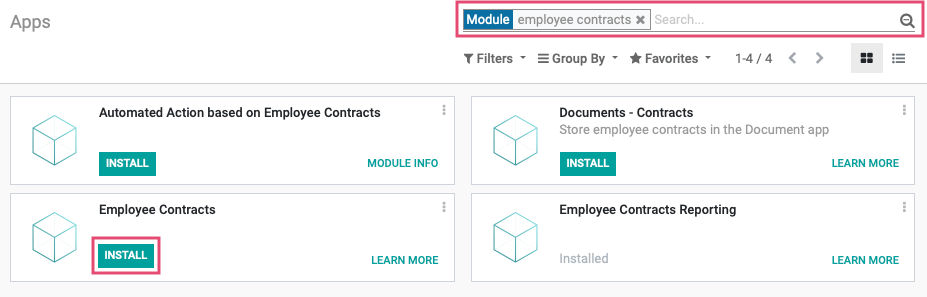
Once there, remove the Apps filter in the search field by clicking the icon.

In the search box, search for the "Employee Contracts" module. If it isn't installed, you can do so by clicking the Install button.
United States of America - Payroll with Accounting
Next, in the search box, search for the "United States of America - Payroll with Accounting" module. If it isn't installed, you can do so by clicking the Install button.

Process
To get started, navigate to the Employees app.
Setting Up the Employee Contract
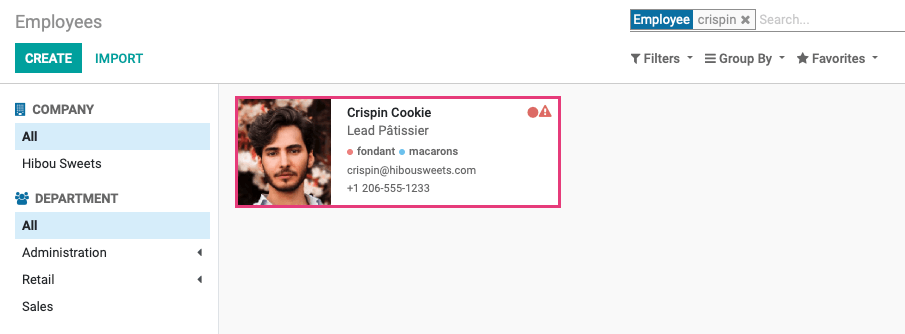
The easiest way to set up a contract is to start at Employees > Employees, then select the employee to create the contract for. Going this route will auto-populate the employee's details into the contract form and save you some time.
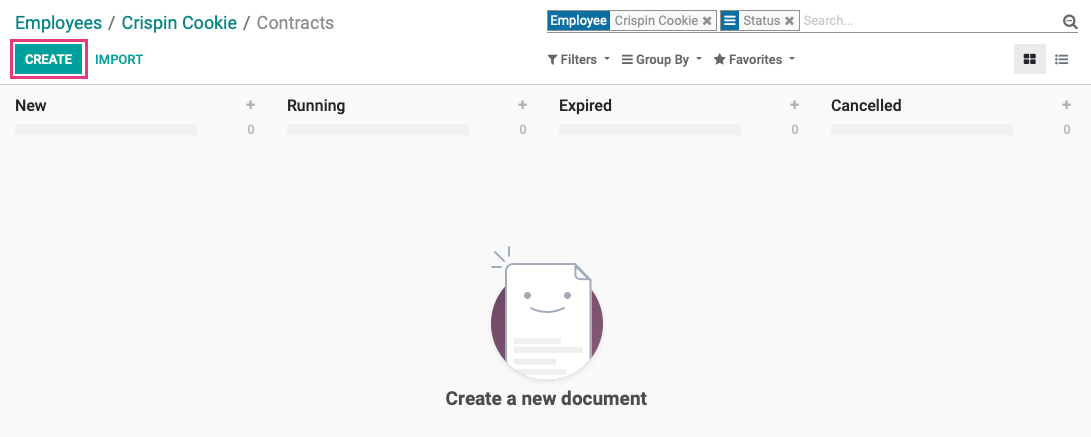
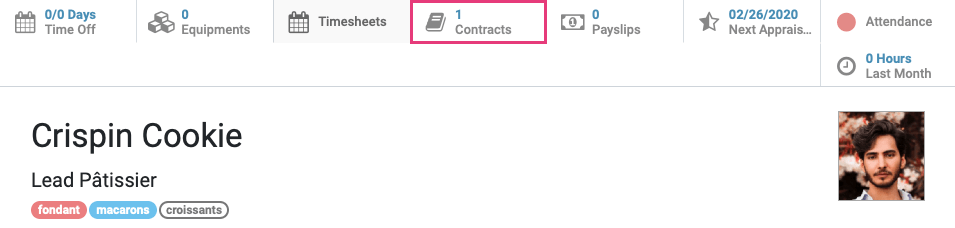
From the employee record, click the Contracts smart button.
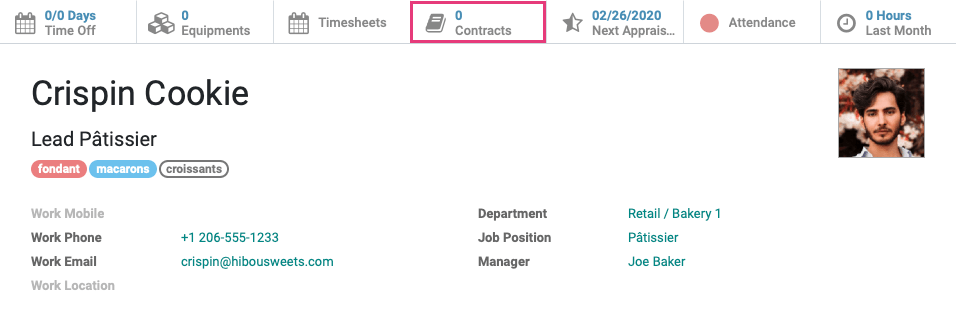
From this page, click Create.
This brings you to the blank contract form. On the top section of the form, complete the following general fields:
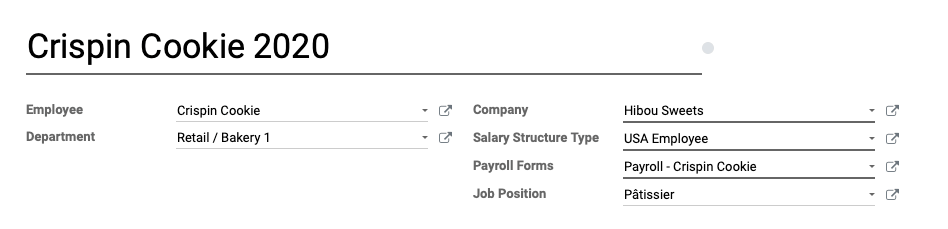
Contract Reference: Choose a unique reference name for a specific time period. (e.g. <employee name> 20XX)
Employee: The employee's name will be populated based on the employee record.
Department: This field will be populated based on the employee record; however, you can change it or leave it blank.
Salary Structure Type: For all states in the US, select USA Employee. This Salary Structure Type includes data for all states in the US.
Payroll Forms In the United States, this field refers to Federal Forms 940, 941, and/or W4, and this is a required field. From the drop-down, select Create and Edit... to create an entry for this employee. Doing so will bring up a modal window where you'll enter all applicable information.
Creating Payroll Forms
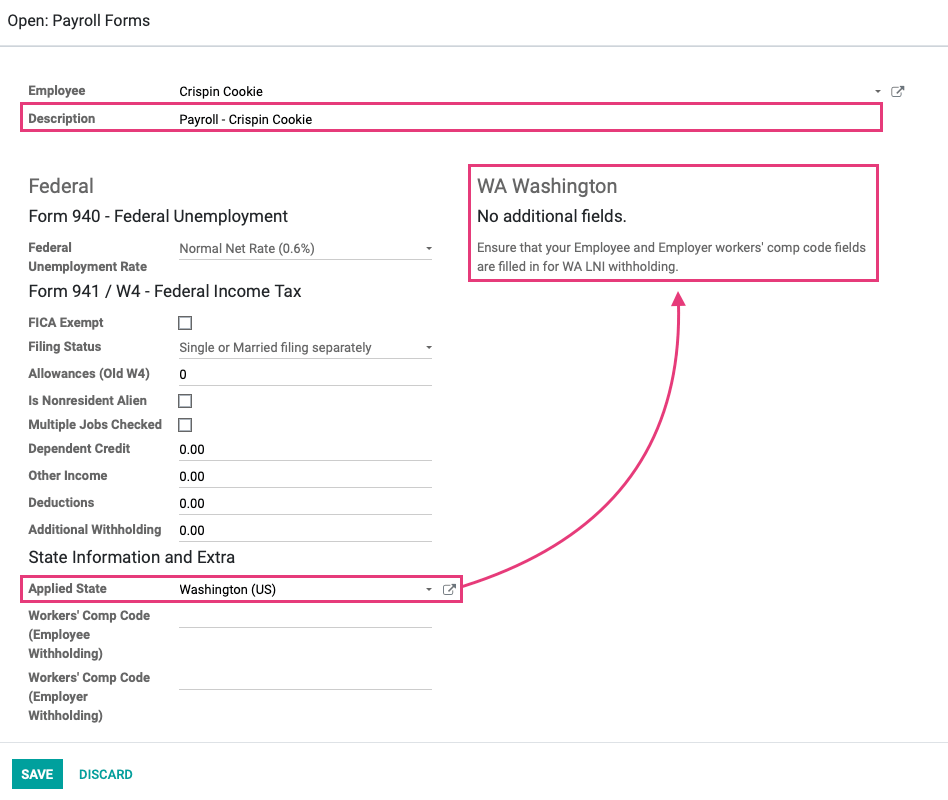
Employee: The employee's name will be populated based on the employee record.
Description: Enter a short name for this form as this is what will appear in the drop-down options on the previous page. (e.g. Paul Williams Payroll Forms)
Federal
Form 940 - Federal Unemployment
Federal Unemployment Rate: This will be auto-populated based on federal data. Verify the unemployment rate entered.
Form 941 / W4 - Federal Income Tax: Fill out each field with the employee's provided information.
FICA Exempt: Select if the employee is exempt from social security and medicare withholding (eg. F1 student visa, ex-patriot, etc.).
Filing Status: Select federal income tax filing status per employee's most current W4.
Allowances (Old W4): Enter the number of allowances per employee's most current W4.
Is Nonresident Alien: Select if appropriate.
Multiple Jobs Checked: Select if the employee has indicated they work multiple jobs.
Dependent Credit: Enter the calculated dollar amount for tax-credit for Dependants.
Other Income: Enter the calculated dollar amount for Other Income.
Deductions: Enter the calculated dollar amount for Deductions.
Additional Withholding: Enter the calculated dollar amount of additional withholding per employee's most current W4.
State Information and Extra: Select the Employee's state in the Applied State dropdown, and further form fields may appear. Complete those fields with information from the employee's state-specific withholding forms.
For more information on the US state Filing information, please refer to our Hibou Odoo Suite Enterprise documentation.
Job Position: Select the employee's Job Position if you'd like it to appear on the contract.
When all information has been entered, click SAVE. This will bring you back to the employee's contract form where you'll continue entering information.
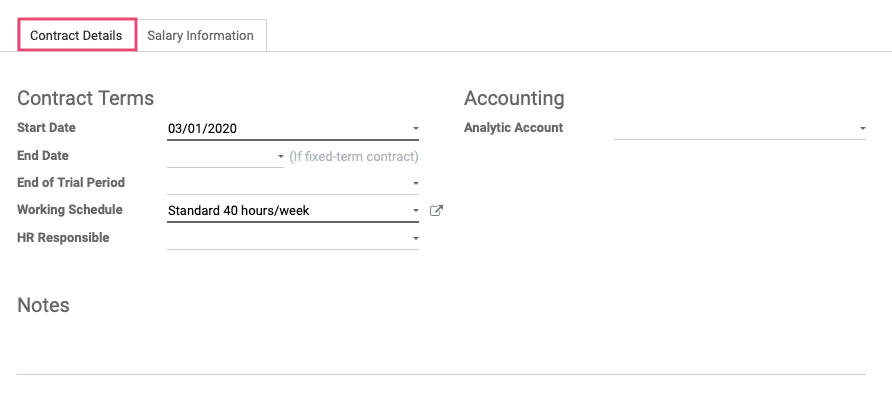
Under the Contract Details tab:
Contract Terms
Start Date: Enter the beginning date for the contract term.
End Date: If this is a fixed-term contract, enter the ending date for the contract term.
End of Trial Period: If this contract is based on a trial period, enter the date which that period ends.
Working Schedule: Select the employee's working schedule.
HR Responsible: Select the person responsible for validating the employee's contracts.
Accounting
Analytic Account: Not required, but can be used to assign a project to this contract.
Notes: Enter any other applicable information.
Good to Know!
Contracts typically cover a period ending when salary reviews/re-negotiations are performed.
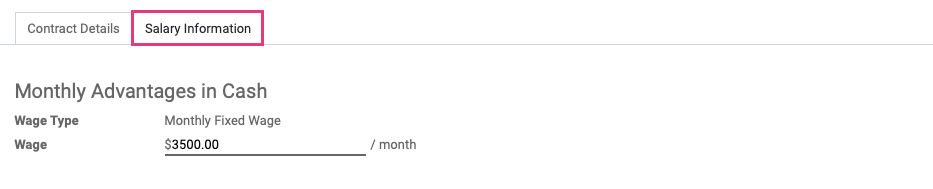
Under the SALARY INFORMATION tab:
Monthly Advantages in Cash
Wage Type: Indicates the type of wage or salary (e.g. fixed or hourly). This is determined in the Salary Structure Type.
Wage: Enter employee's gross wage per pay period.
When all details for this employee's contract have been entered, click Save.
Activating an Employee Contract
By default, a newly created contract is in New status (i.e. draft). To activate their contract, click RUNNING from the stages on the top-right.

Verify Contract Status
To verify the status of an employee contract, go to Employees > Employees and select the employee whose contract you'd like to verify.

Once there, click the Contracts smart button.
This employee's contract will be listed under one of the four status columns.
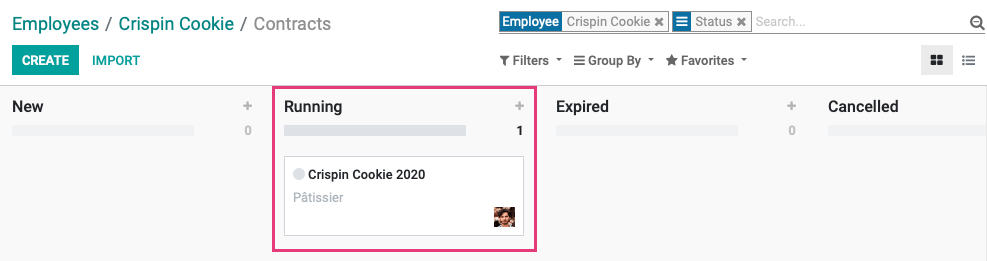
Aside from Running, the available statuses are:
New: Newly created Contract. In this status, the Payroll application will not use this Contract to calculate a Payslip.
To Renew: A Contract that is nearing its End Date. In this status, the Payroll application will not use this Contract to calculate a Payslip.
Expired: A Contract that has reached its End Date. In this status, the Payroll application will not use this Contract to calculate a Payslip.