CRM: CRM Configuration: Sales Teams
Purpose
The purpose of this document is to walk you through the steps needed to create Sales Teams in Odoo's CRM application. Sales Teams enable you to easily organize, manage, and assign sales opportunities to specific members of your sales organization. Sales Teams are used to track your sales agents by location, region covered, or if you want to assign agents to a specific sales goal (events, for example) at any time.
Processes
To get started, open the CRM application.
Creating Your Sales Team
Once you open the CRM application, navigate to Configuration > Sales Teams .
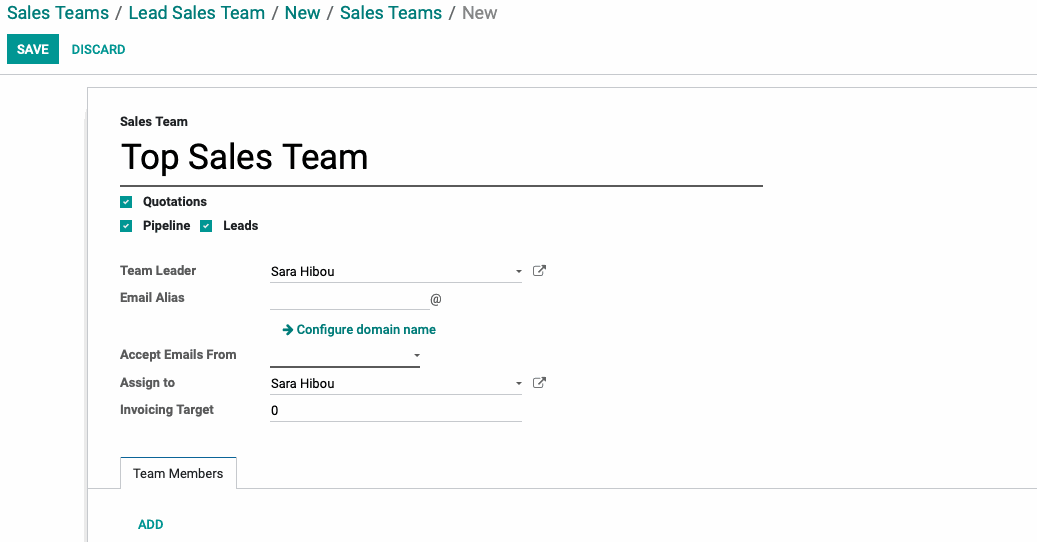
On the next screen, select create. This will open the New Sales Team form where you'll fill in the following fields:
Sales Team: This is what you want your Sales Team to be called within your CRM application. You can break this down by region covered, office location, or any other organization method you choose.
Quotations: Selecting this option will add the ability for your team to create new quotes from the Sales > Team Pipelines page under the Menu for that Sales Team.
Pipeline: This should be left selected if you want to use the Pipeline data for your Sales Channel's reports. You set this parameter on the Dashboard tab which we discuss in more detail below.
Leads: Selecting this option will allow you to pre-qualify leads that get routed into your system. For more information on managing leads and opportunities, please refer to the Managing Your CRM Pipeline documentation.
Team Leader: This is the sales agent or manager that is in charge of this Sales Team.
Email Alias: If you create an email alias, then any emails sent to that address will create an opportunity/lead and add it to your pipeline for your Sales Team to follow up with.
Accept Emails From: Allows you to specify who will be allowed to send emails to the Alias and create leads and opportunities. This feature allows you to stop unwanted lead/opportunity creation from rogue emails being sent to the email alias.
Assign To: Will be the user assigned to the leads/opportunities that are created from emails being sent into the Alias.
Invoice Targeting: This allows you can set the target amount in untaxed revenue from confirmed invoices that this sales team generates every month.
Company: This field will display in a multi-company database and auto-populate with the company you're currently working in.
Good to Know!
If you don't see the option for Leads underneath your Sales Team's Name, this means that you need to activate the Leads feature in your settings.
Navigate to CONFIGURATION > SETTINGS. On the Settings page, activate Leads and click Save. Now, you'll have the option to manage Leads in your CRM application.
Adding Team Members
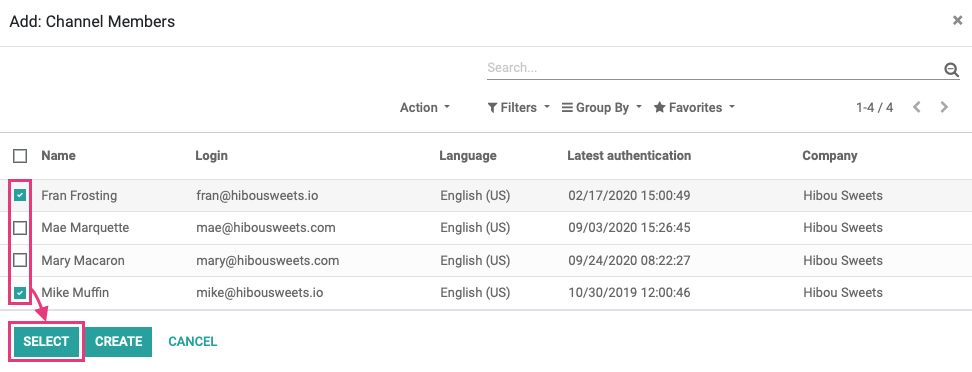
Once you have the above details filled in, you need to assign Team Members to the Sales Team. Click the ADD button underneath the Team Members tab to assign your sales agents to this team.

This opens a modal window with a listing of all database users. Select the sales agents that you want to add to this team, then click the Select button.
Now your Sales Team members have been added and you can click Save.
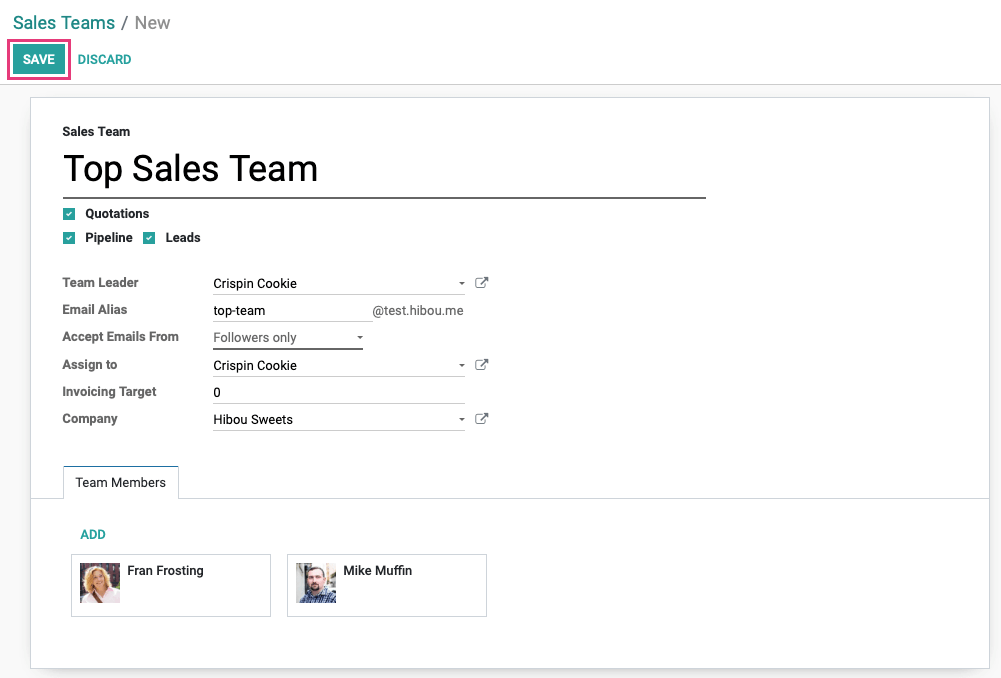
Your team is now ready to manage leads and quotations in their CRM pipeline!