Recruitment: Recruitment Overview
Purpose
The Odoo 13 Recruitment application streamlines the hiring process and provides a large degree of customization to your HR department. Posting new jobs online becomes as simple as publishing a new page on the website. Select how many positions are available for each role/job title and how the interview process is structured.
Applicants can submit resumes for review, and the next steps can be outlined via activities. Paired with the Documents app, it's easy to acquire signatures, send and receive contracts, tax forms, written interviews, and more!
This document covers the first steps to building your recruitment pipeline.
Process
To get started, navigate to the Recruitment app.
Configuration
Go to Configuration > Settings. Here you'll see two configuration options:
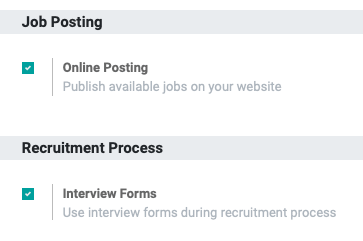
Job Posting
Online Posting: Select this option if you'd like job posts to be accessible on your website.
Recruitment Process
Interview Forms: Select this option if you'd like to use interview forms during the recruitment process.
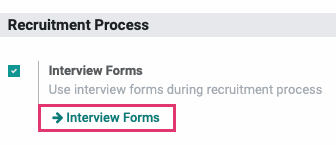
Once the Interview Forms option has been enabled and you have clicked SAVE, you’ll see the INTERVIEW FORMS button. This takes you to your currents surveys. For more information, see our Surveys documentation.
For this documentation, we'll enable both options and click SAVE.
Job Positions
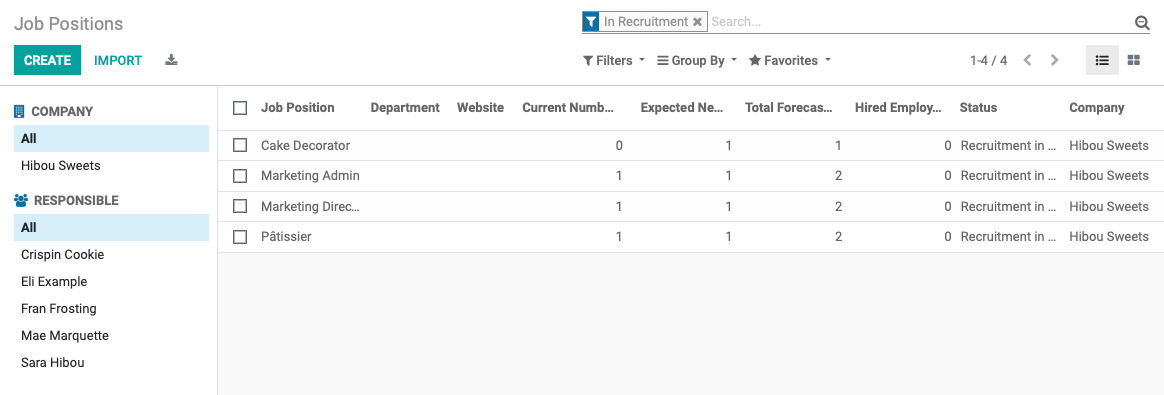
To create a job posting, go to Configuration > Job Positions. Here you'll find a list of Job Positions already active within your company.
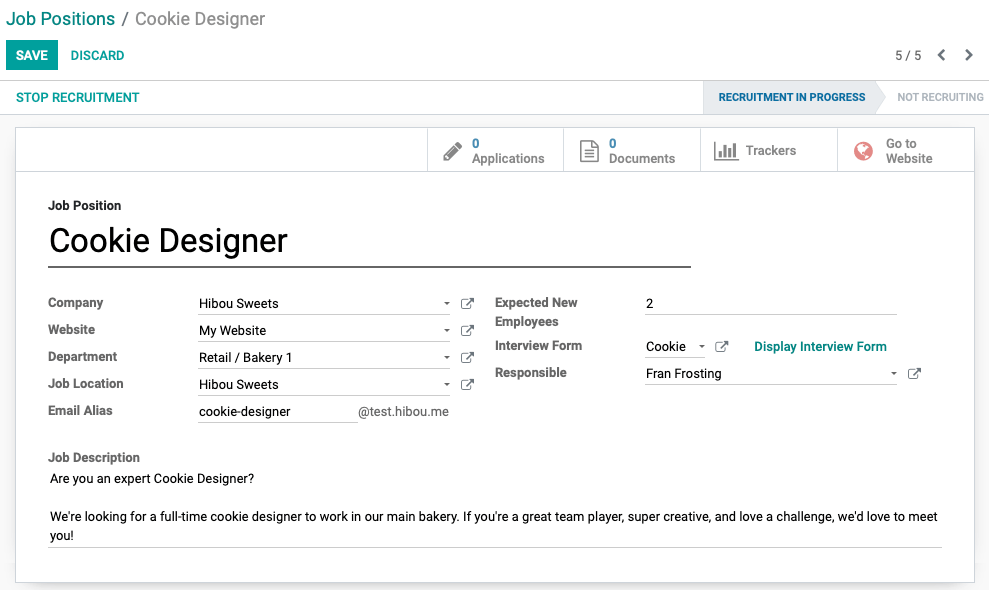
To create a new Job Position, click Create and enter the details of the new position.
Job Position: Enter the title of this position.
Company: In a multi-company database, this field will auto-populate with the name of the company you're working in.
Website: Select which of your websites to display this job posting, if applicable.
Job Location: Enter the location of this position.
Email Alias: If you'd like to have correspondence pertaining to this job position route through a specific email address, indicate that here.
Expected New Employees: Enter the number of employees you'll be hiring for this position.
Interview Form: Select the Interview Form to be used for this position.
Responsible: Select the name of the employee responsible for this job position's applications.
Job Description: Here you're able to outline the goals and requirements the applicants must have in order to qualify for the position, as well as a short overview of what the job entails.

Departments
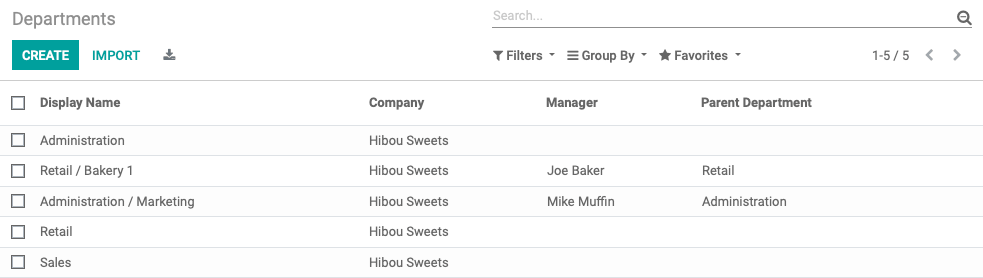
To access your departments, navigate to configuration > Departments. Departments allow you to create a general business structure to organize your employees.
For more information on Departments, please refer to our Adding Departments documentation.
Activity Types
Activities can be customized for the hiring process, such as creating a Second Interview task that is scheduled based on the timeline of the first interview. This way, applicants are sure to get an answer regarding your interest.
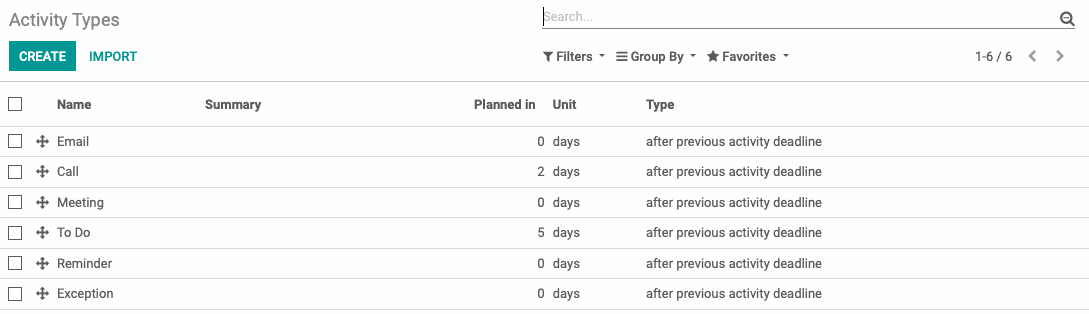
To create a new activity, click Create. You will be taken to a new form to enter the details of the new activity.
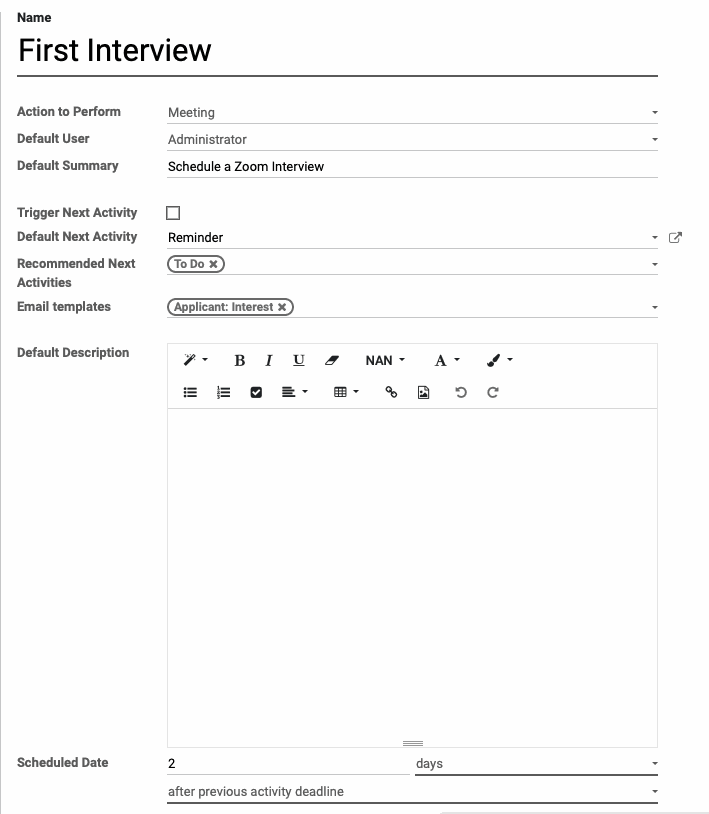
If you'd like to, go ahead and create an Activity Type configured like that in the image below. You'll use it to follow along in the Workflow: Recruitment documentation!
Name: Enter a short description of the activity type.
Action to Perform: Actions may trigger specific behavior, liken opening a calendar view or automatically mark as done when a document is uploaded. If applicable, select an action to perform with this Activity Type.
Default User: If this task generally falls to one contact, select them here. It can be overridden when an activity is created.
Default Summary: Enter the default summary for this task. It can be overridden or modified when an activity is created.
Trigger Next Activity: Enable this option If the completion of this task should automatically trigger another activity.
Default Next Activity: Select an activity that would generally follow this one in succession. If Trigger Next Activity is not selected, this will serve as a suggested next step in the workflow. If it is enabled, this activity will trigger automatically.
Recommended Next Activities: Select one or more activities that should follow this one based on your business model. You can select as many as apply.
Default Description: Enter the default description for this task. It can be overridden or modified when an activity is created.
Email templates: To send an email when this activity is scheduled, select or create the template to send from the drop-down.
Scheduled Date: Enter the number of days/weeks/months to schedule the next activity, and which criterion you'll be basing this date on from the drop-down list.
When done, click SAVE.
That summarizes the components of Recruitment! See our Workflow: Recruitment document to get started!
Good to Know!
Administrators have extra configuration options.
In Debug mode, the Configuration menu will also contain the following:
Stages: Edit the stages contained within the Recruitments kanban. It is possible to arrange an email to be sent when the stage changes, streamlining communication.
Tags: Admins can add and edit tags to allow searching by tag.
Degrees: Admins can add and edit the various degree requirements and definitions, for use on job postings.
Sources of Applicants: Use this menu to create channels to Monster, Indeed, and other hiring resources.
Applications
This menu offers two different views.
Applications by Job Position
Applications > By Job Positions: This view organizes applications by position. Each position is shown its own card, and when recruiting is active, may show some or all of the following fields:
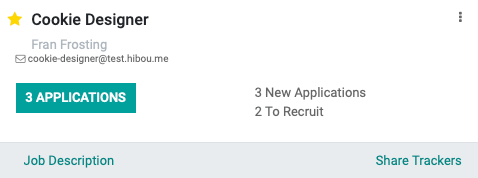
Job Position is at the top of the card. You can mark this card as a priority by clicking the icon.
Responsible: The employee responsible for the recruitment of this role is listed below the title.
Alias: If an alias email address has been added, it will display under the title.
# Applications: This button will take you to a kanban view of applications for this job position, organized into stages.
# New Applications: Indicates the number of new applications awaiting review.
# To Recruit: Indicates the number of positions still open for this role.
Job Description: This link takes you to the frontend of the website where the job is posted.
Share Trackers: This link takes you to the share trackers for this position. Learn more in our Share Trackers documentation.
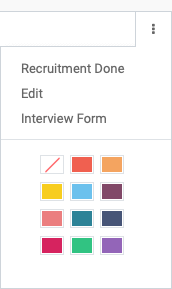
Menu: The top-right menu on each card gives you three further options:
Recruitment Done: Select this menu item to stop active recruitment for this role.
Edit: Select this menu item to edit the job posting.
Interview Form: Select this menu item to open the associated Interview Form. If no form is available, this will read No Interview Form and will not be clickable.
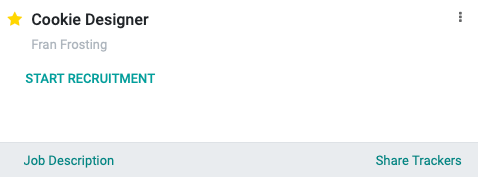
When recruiting for the position is not active, the card have fewer options. To start actively recruiting for this role, click START RECRUITMENT.
All Applications
APPLICATIONS > ALL APPLICATIONS: This view shows all applications in a kanban view, organized in stages.
In our example, we have three new applications pending review so they're listed under the Initial Qualification stage.
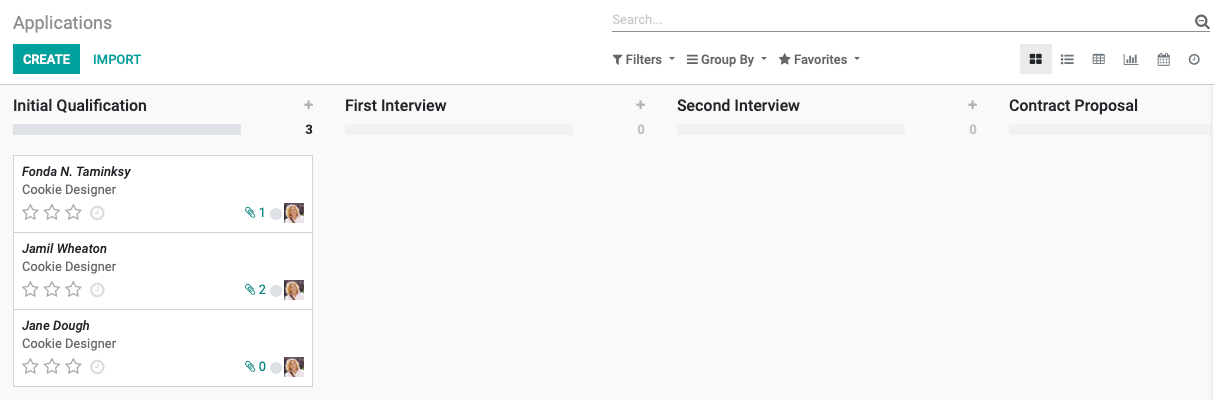
To see this all in action, review our Workflow: Recruitment documentation.