Recruitment: Recruitment Overview: Workflow: Recruitment
Purpose
This document will cover the basic workflow of hiring an employee through the Odoo Recruitment application in Odoo 16. Throughout, there will be links to other relevant documentation as needed to preserve the flow of this document from start to finish.
Process
To get started, navigate to the Recruitment application.
Posting Positions
To start searching for new employees, you must first create a job position to fill. By default, when opening the Recruitment app, Job Positions is the first view that you land on. Here, you can see the number of positions you are currently hiring for and edit their website components. On each Job Position card, there is a green button to view outstanding applications.
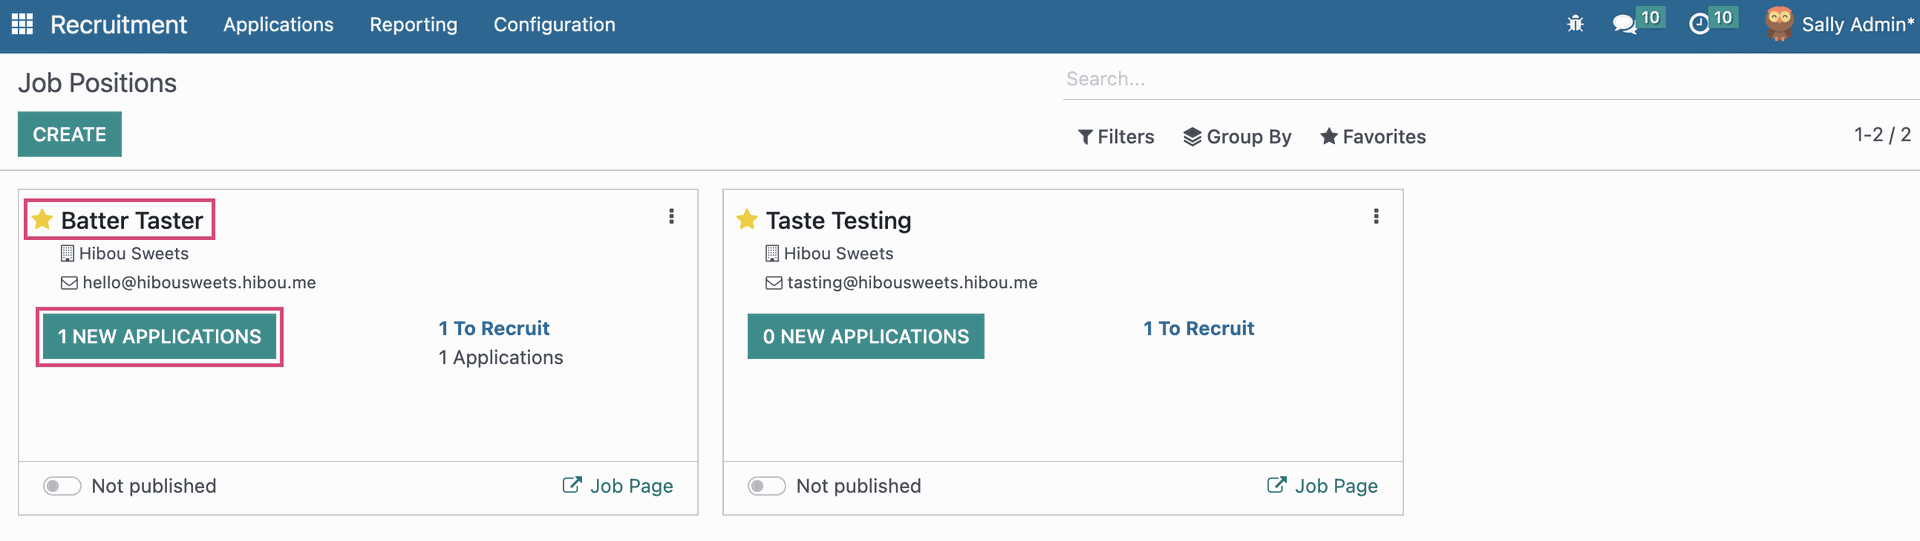
To view the Job Posting on your website, click the Job Page link in the lower-right corner of the kanban tile.
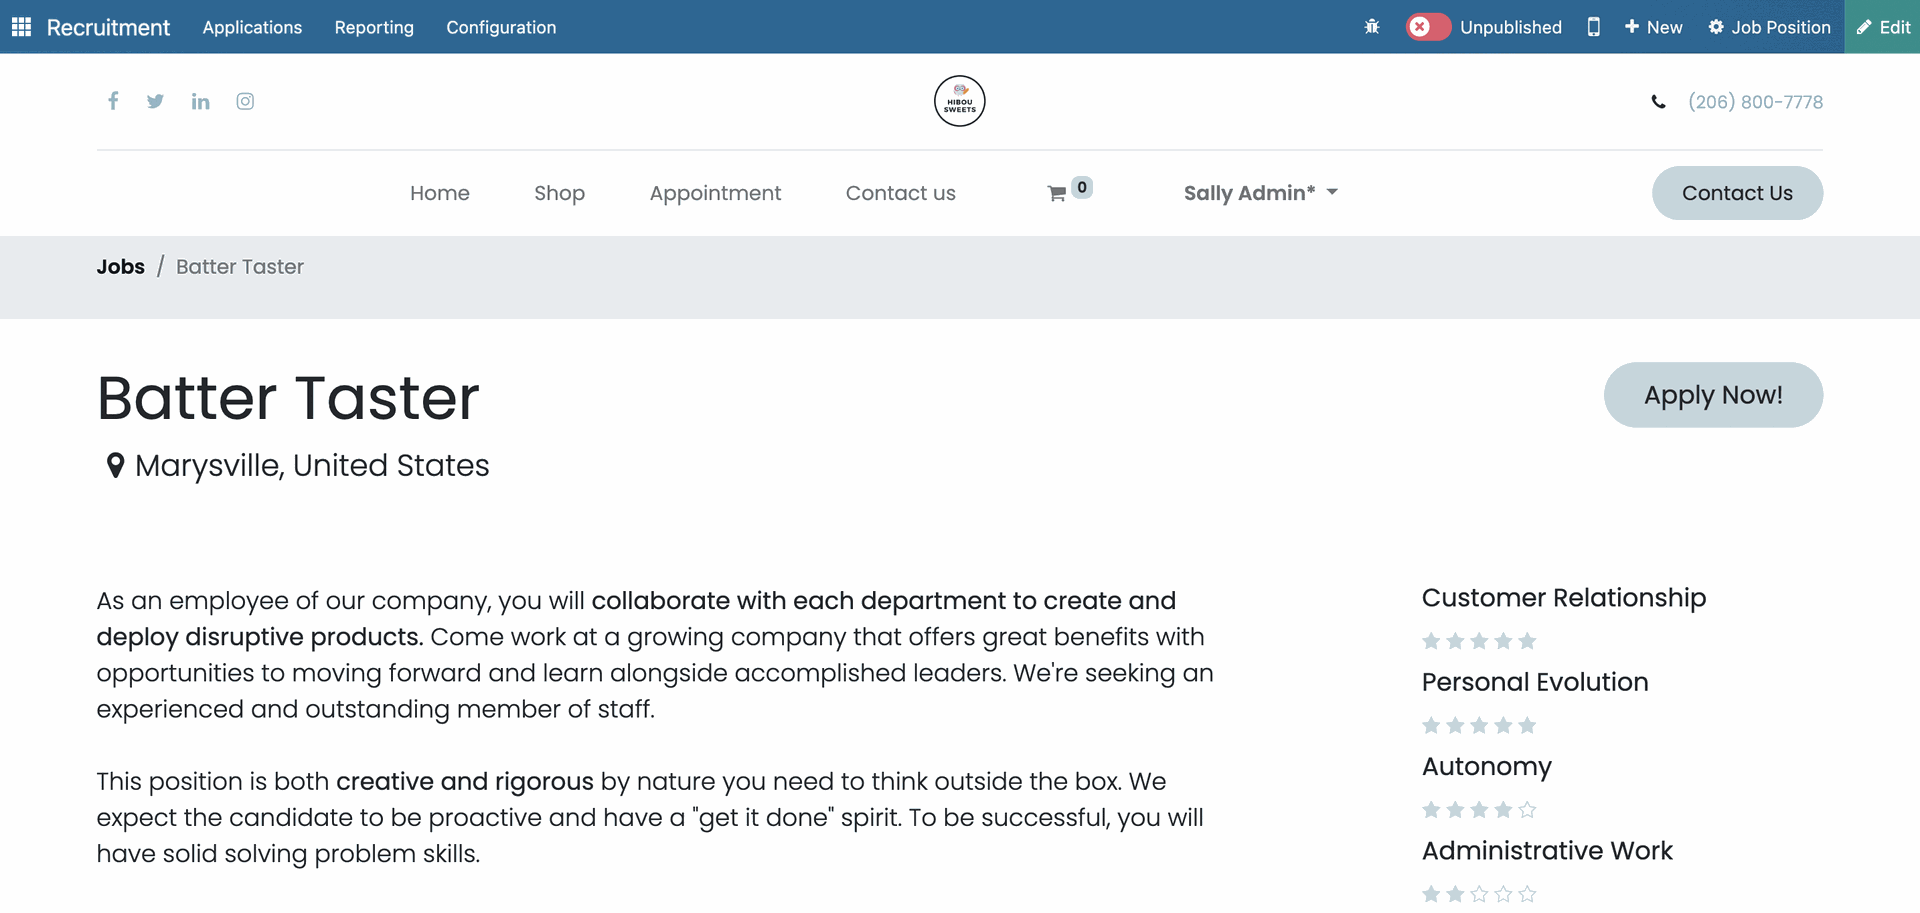
There is a default job posting template in place that can be customized using the Edit smart button at the top-right corner of the screen. This will open a widget menu column on the left and allow for drag-and-drop additions or rearrangement of the template. For more information, see our Website documentation.
Once the posting is saved, click on the toggle next to Unpublished and this will publish the page so that external users can view the webpage and apply to the job posting.
The Apply Now button on the post will open the following window:
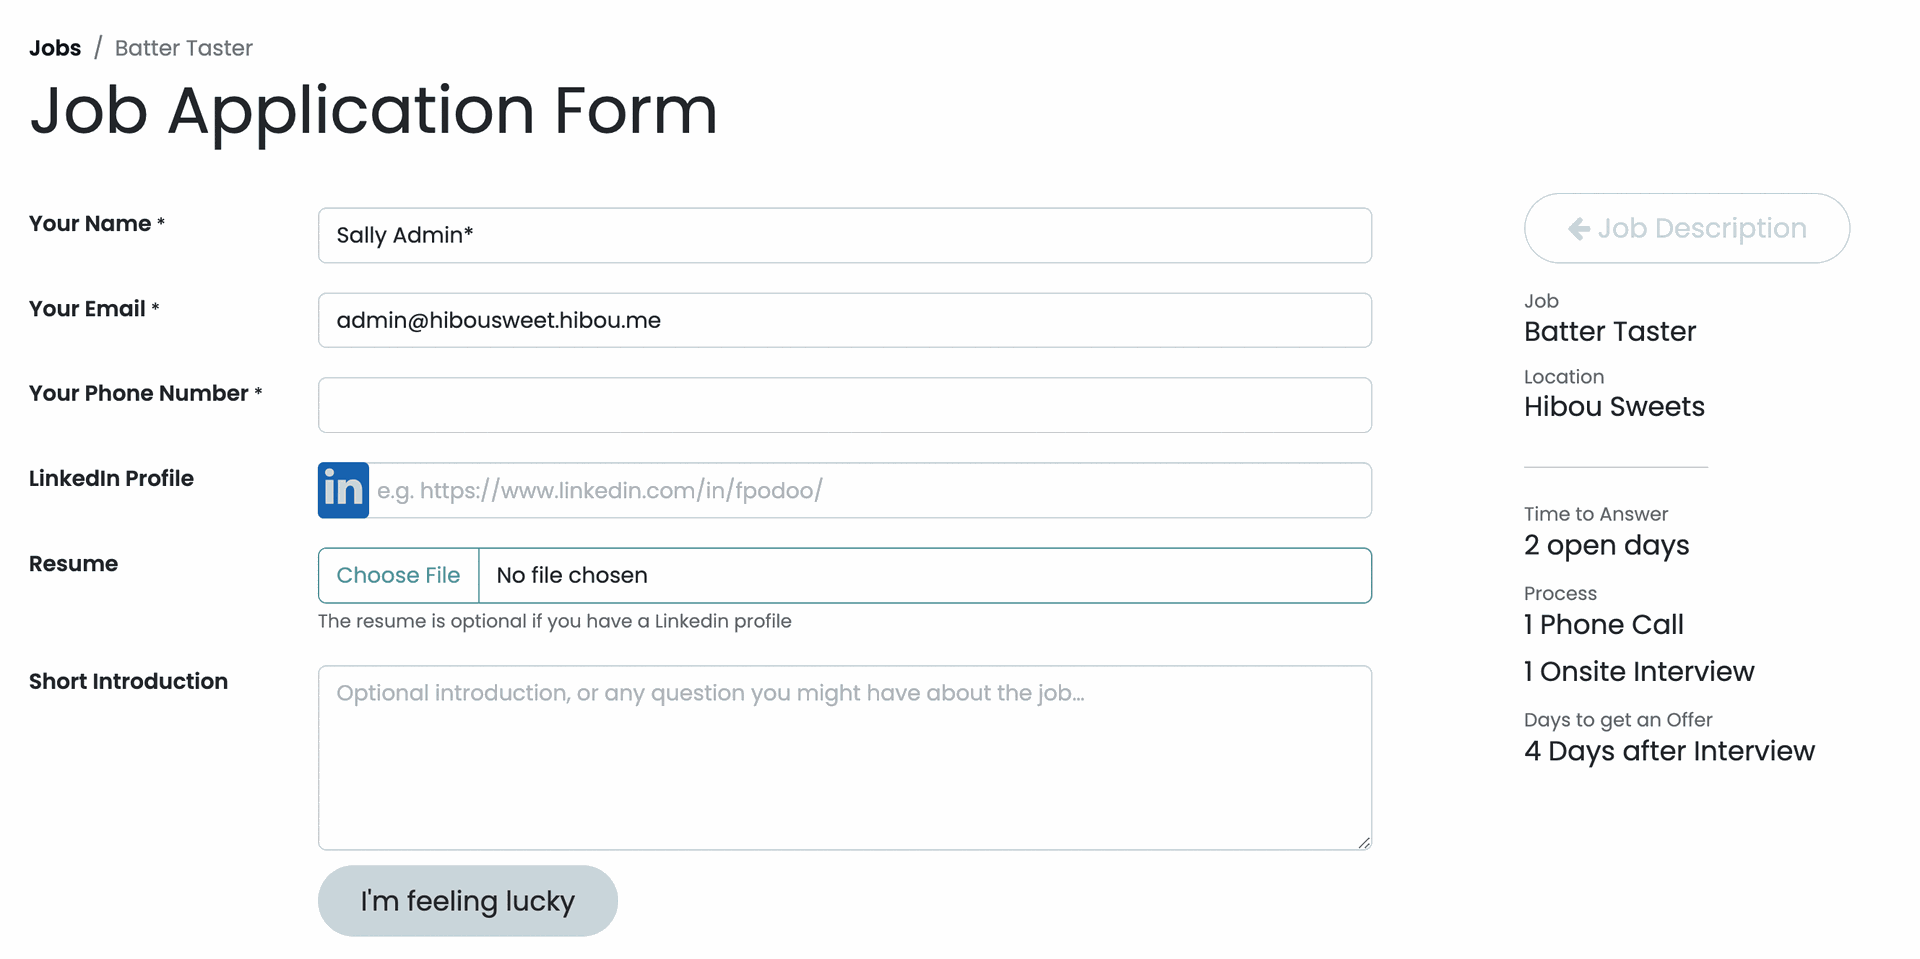
This page is also customizable via the website editor. More importantly, it will allow your applicants to upload their resumes!
When Sally submits their resume as seen above, it will be uploaded to our database.
Let's look at the applications we've received so far, either by clicking on the Applications(s) button on the job position card or by going to Applications > All Applications in the navigation menu.
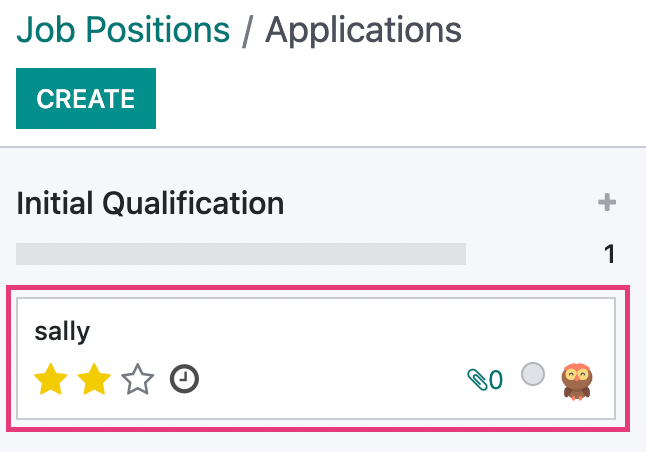
Here we can see that Sally has expressed interest. We can view the resume by opening the application and looking at the documents attached in the chatter. This also gives you some extra options:

Delete: This will delete the resume from the chatter.
Download: Select this if you would like to save a copy.
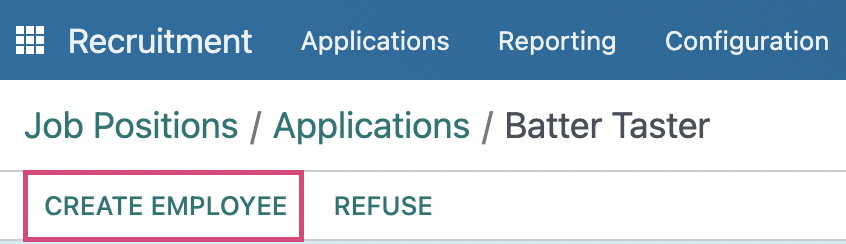
When you open an application it will look similar to what is pictured below. Edit f you would like to add notes about the applicant or if you have met with the applicant, and you believe they're the perfect fit for your team, you can skip the rest of the process and select Create employee.
In similar fashion, you may also select Send Interview if you would like to meet with applicant and Refuse if you do not wish to hire this applicant.
Under Applications > All Applications, open any record and you will see the following.
Subject/Application Name: This is where the applicant would specify which position or posting they are applying for.
Applicant's Name: If there is a contact record available, it will display here for reference.
Email: Filled from application.
Phone: Filled from application.
Mobile: Applicant's personal cell number, if available.
Degree: Applicant's educational history, if known.
Tags: This is where you can add tags that will help you sort and file your applicants.
- Interviewers: List the people responsible for conducting the interview.
Recruiter: HR Employee that is handling the application.
Appreciation: A three star rating used to determine best-fit as well as for filtering.
Medium: How the applicant applied for the position.
Source: If the applicant was referred by a third-party hiring resource such as Monster or Indeed, it will appear here. Note these must be configured before use.
Job:
Applied Job: The position/job posting the applicant responded to.
Department: The parent department where the job was posted.
Contract:
Expected Salary: Salary that the applicant is seeking.
Proposed Salary: Salary proposed by your company for this position.
Availability: The date on which the applicant is available to start working.
Scheduling an Interview
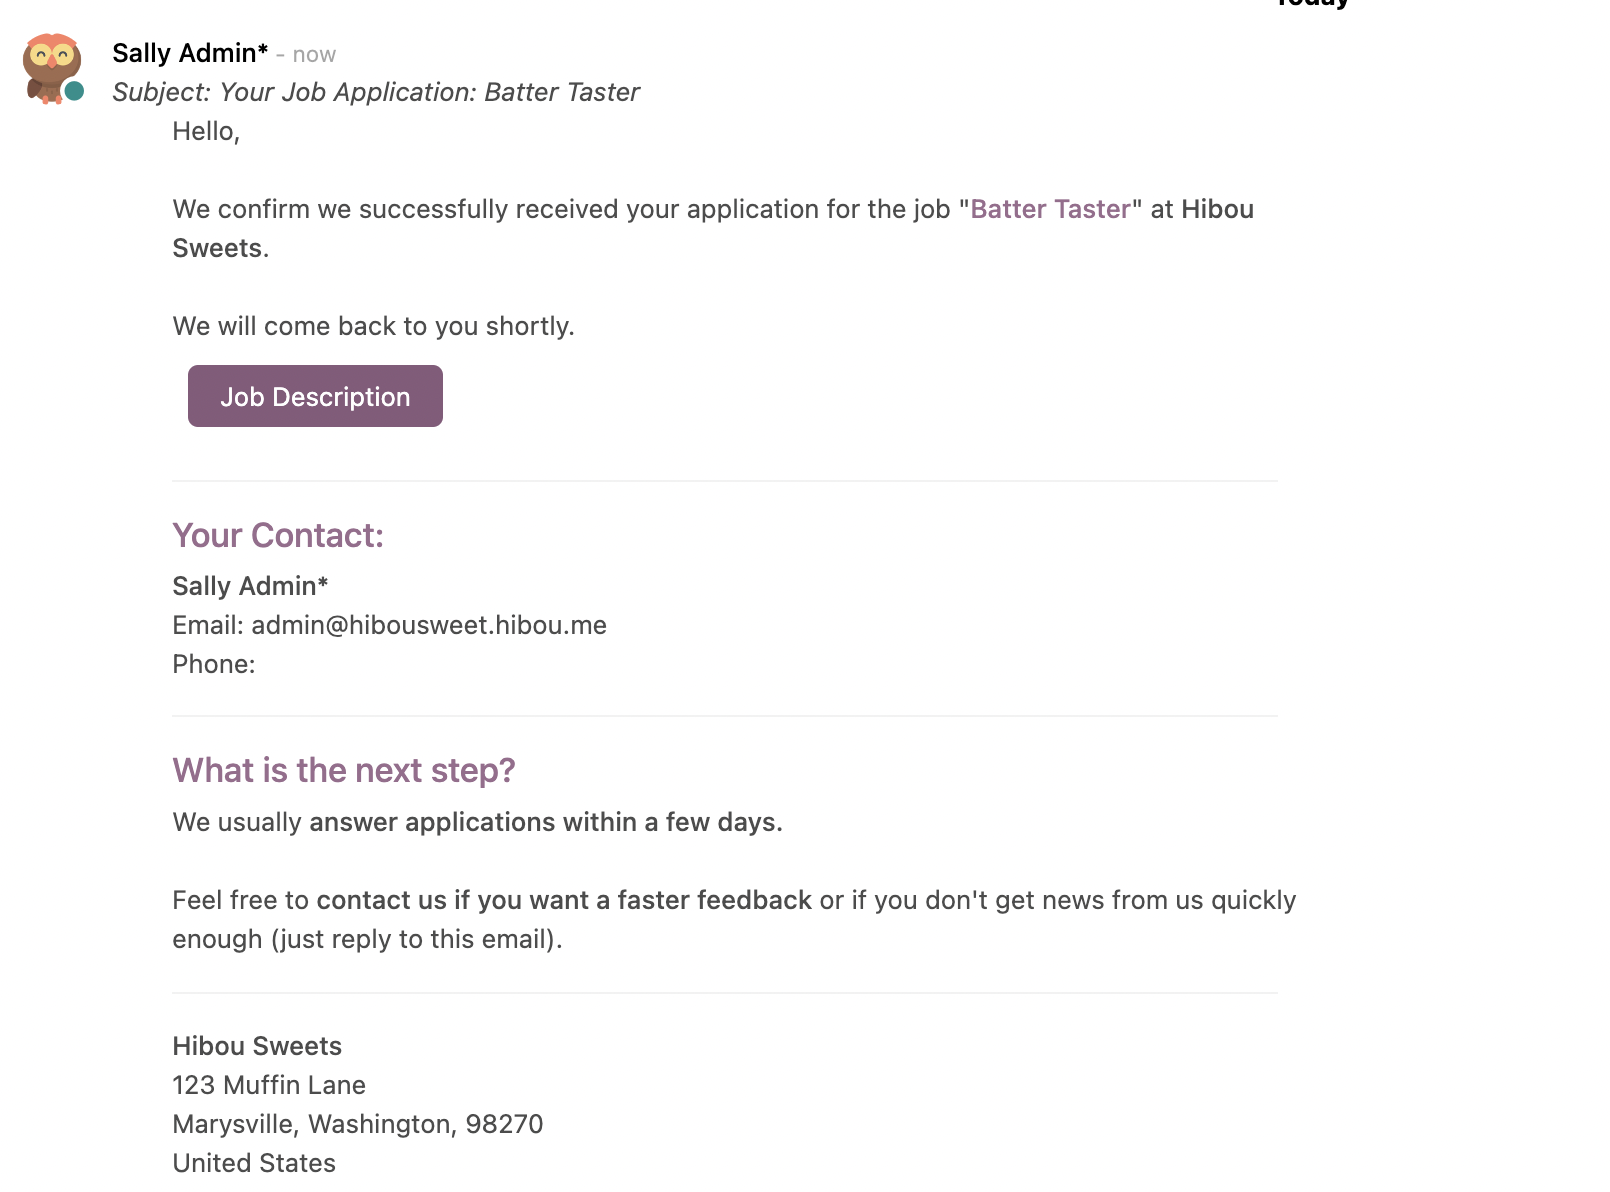
There are a few ways to schedule an interview with a potential hire. The application will remain within the Initial Qualification stage until it is moved. By default, simply moving the application to the First Interview stage will send the below email to the applicant and a copy will be attached in the chatter.
Sent in this manner, there will not be an option to edit the generic template before it is sent. If this function is not desired, the automation can be turned off in your Stage settings.
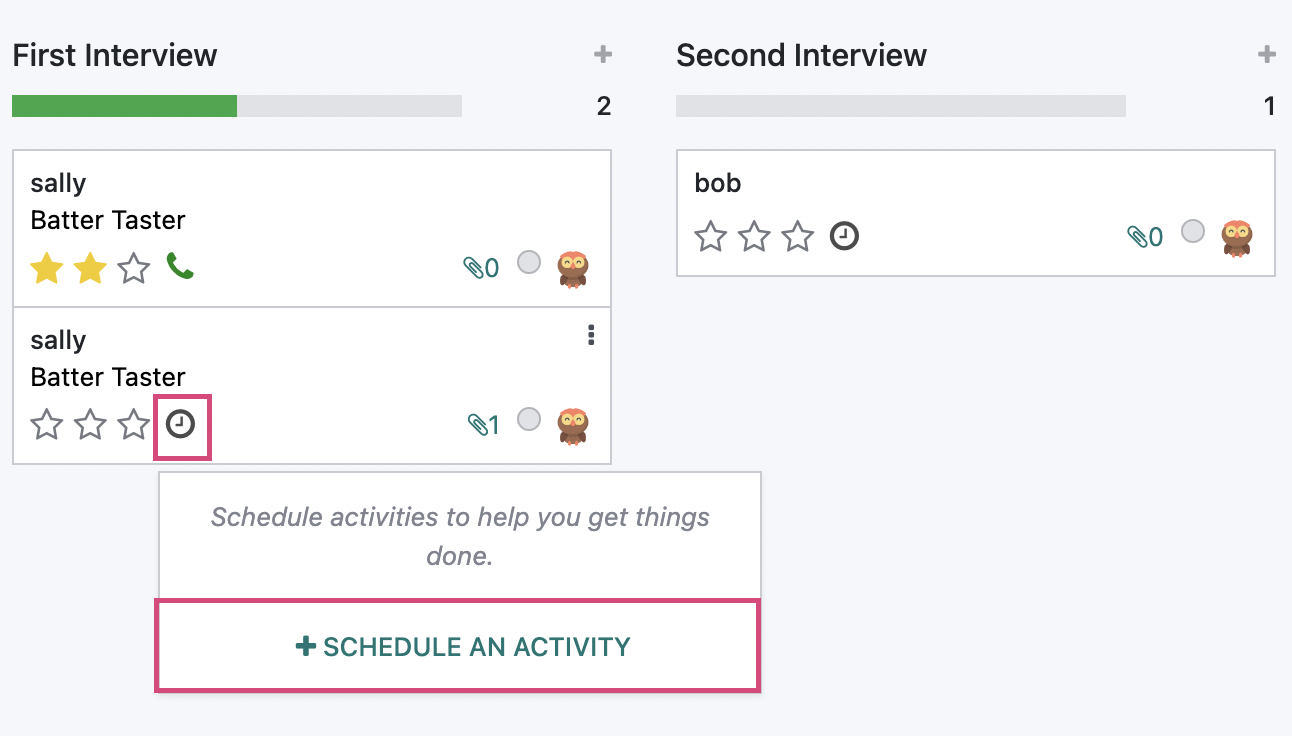
Another method is to schedule an interview is using Activities. To create a custom Activity, review the Activities section of our Recruitment Overview document.
At the bottom of Sally's application, select Schedule Activity. I've already scheduled them for an interview, so let's say after the interview we'll take them on a tour of the facility.
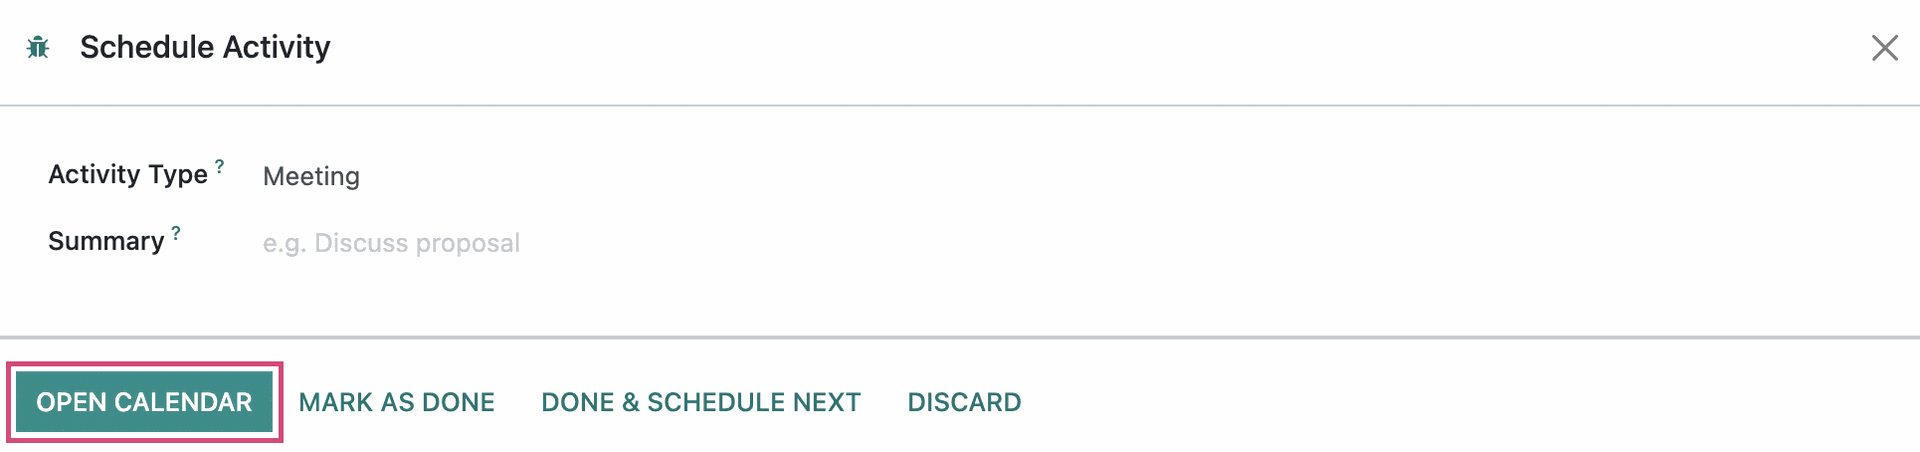
Clicking the Open Calendar button will take us to the Calendar app. Select a time slot and the meeting title will be pre-filled with the Summary of the meeting activity. Click CREATE to save the record.
If you would like to add attendees other than the applicant, click the EDIT button to add them to the record.
Scheduling an interview via a meeting activity has the added bonus of a documents link appearing on the meeting record, returning the user to the application and any related interview surveys quickly.
Returning to Sally's application via the Document button, we can see the new activity below Planned Activities. Because this activity type has an associated mail template, we have the option to PREVIEW and edit the assigned template before sending, or to email the generic template without editing using the SEND NOW link.

Interview Surveys
Let's take a quick detour to the Surveys application to review an interview form and its sharing options. We will not cover the various configurations available in this document, so for more information, see our Surveys documentation.
The surveys will display in the Kanban view, and their cards will display how many people have participated, how many have passed, and what the percentage of success is.

Clicking to open the survey card, you will be able to share, see results, create a live session, test, print, and close.
Share: Share via an email link.
See Results: If this survey has had participants, you will be able to review their answers.
Create Live Session: This is similar to hosting a video call. You prompt the participants with each question in a slideshow.
Test: Select this if you would like to run a test to see if the survey flows properly.
Print: Select this if you would like a physical copy of the survey that can be done in person.
Close: When you no longer need a survey available, select this and Odoo will archive it for you.

If employment is contract-based, review our Documents information to learn about sending contracts and receiving signatures.
Creating Employees from Applications
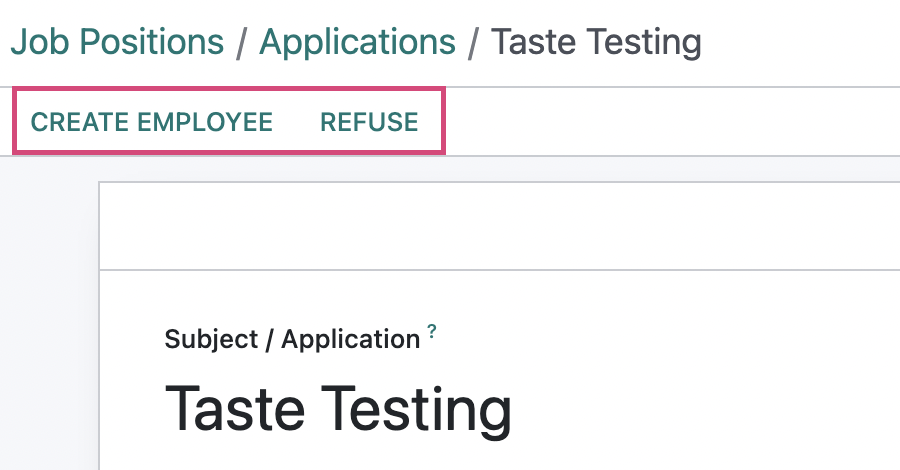
As previously mentioned, you have the option to bypass this workflow by immediately hiring or refusing an applicant.
To create a new employee directly from their application, click on Create Employee.
If Sally does not meet our requirements, we can instead choose Refuse, and the application will be archived. Archived applications can be reopened at any time if the position becomes available again, and we want to give Sally another opportunity to apply. It may be worthwhile to make use of the Appreciation field on the application template so that more qualified applicants can be sorted and reopened.
Clicking on Create Employee will open the Employee record template where the required information will be stored. For more information, see our Employee Setup Guide documentation.
After meeting with Sally and getting to know them, I do believe they will make a fine Batter Taster at Hibou Sweets. Once we make them an employee, their application will become archived.
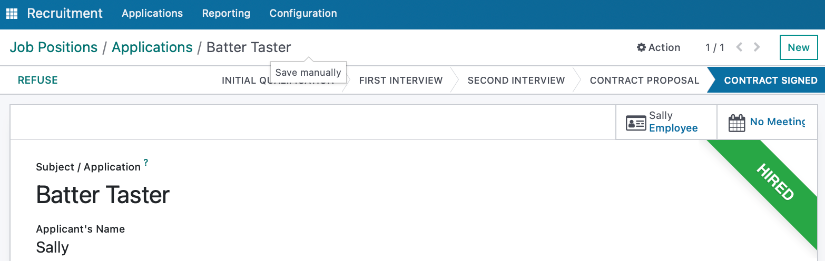
Great job, Sally.