Helpdesk: Configuration: Helpdesk Teams
Purpose
This document reviews the configuration and settings of the Helpdesk application in Odoo 14.
Process
To get started, navigate to the Helpdesk app.
Helpdesk Teams
Helpdesk Teams allow you to create departments to manage specific types, or topics, of tickets. To create a new team, go to Configuration > Helpdesk Teams. Once there, click Create. This opens the Helpdesk Team form in a new window.
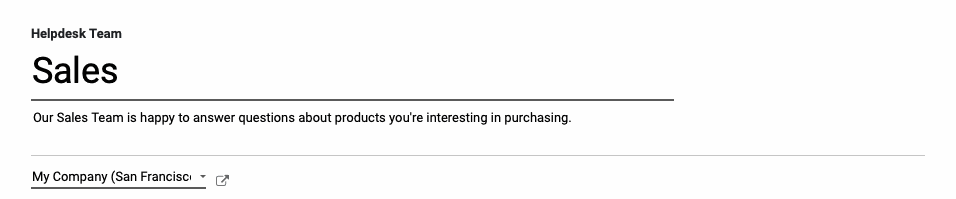
Helpdesk Team: Enter a name for your team.
Description for customer portal: Enter a description to display on the front-end of the website.
Company: In a multi-company environment, this field will display and be auto-populated with the company you're working in. Change it to a different company, if needed. You must select only one company for this required field.
Productivity & Visibility
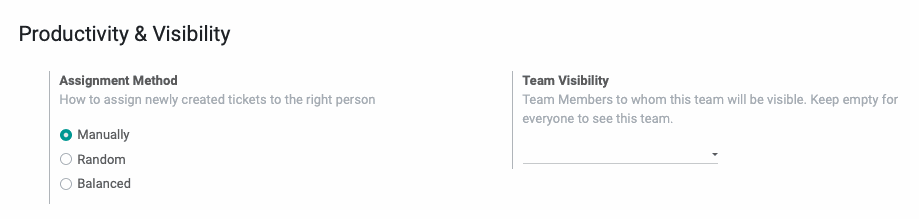
Assigment Method: Select the method in which tickets are assigned to Helpdesk agents.
Manually: Tickets will be assigned to tickets manually.
Random: Users will be assigned the same number of tickets. Selecting this option will display the Team Members field where you'll select the users to which tickets will be randomnly assigned with this method.
Balanced: Tickets will be assigned to the user with the fewest number of tickets. Selecting this option will display the Team Members field where you'll select the users to which tickets will be assigned with this method.
Team Visibility: Select the users who will be able to see this team. Leave the field empty if it should be visible to all agents.
Channels
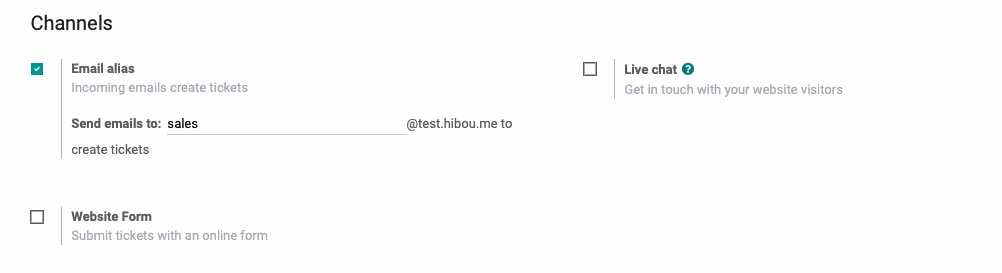
Email alias: Enter a prefix to complete the email address. Once configured, emails sent to this email address will create tickets within the Odoo Helpdesk.
Email alias: Enter a prefix to complete the email address. Once configured, emails sent to this email address will create tickets within the Odoo Helpdesk.
Important!
Configure a Custom Domain
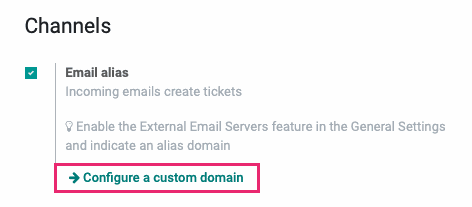
If you see this message, you'll need to first configure an Alias Domain . To do so, navigate to the Settings app.
Once there, scroll down to the Discuss section and enter an Alias Domain.
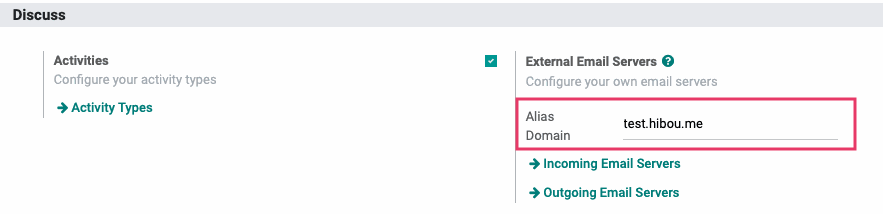
When you're ready, click Save.
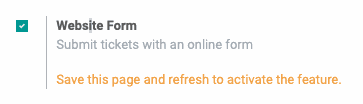
Website Form: Adds a form to your website for ticket submission. If this is the first time you've enabled Live chat, you may see the prompt to SAVE THIS PAGE AND REFRESH TO ACTIVATE THE FEATURE. Click SAVE, then refresh the page.
Enabling Website Form will install the Website application to your database, if it's not already present.
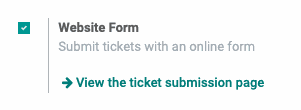
After saving and refreshing, you'll see see the View the ticket submission page button where you can customize the public-facing form used to submit tickets to this team.
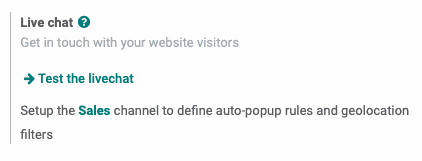
Live chat: Adds a Live Chat form to your website that your visitors can use to chat with this team. If this is the first time you've enabled Live chat, you may see the prompt to Save this page and refresh to activate the feature. Click SAVE, then refresh the page.

Enabling Live chat will install the Live Chat application to your database, if it's not already present.
After saving and refreshing, you'll see see the test the livechat button where you can test the functionality of this Live Chat channel. You'll also see a link to the respective Live Chat channel where you can configure how Live Chat functions.
Sell & Track Hours
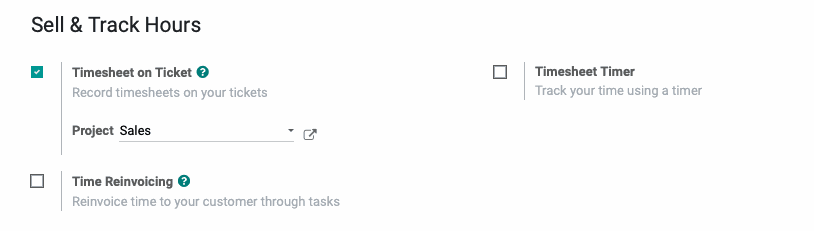
Timesheet on Ticket: Enables time spent on tickets to be tracked on timesheets. If this is the first time you've enabled Live chat, you may see the prompt to Save this page and refresh to activate the feature. Click SAVE, then refresh the page.
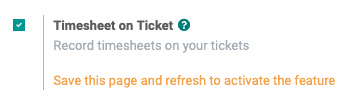
Enabling Timesheet on Ticket will install the Project, Timesheets, and Employees applications to your database, if they're not already present.
Once saved and refreshed, there will be a Project field where you can indicate which project should be used to track time for this Helpdesk Team.
Time Reinvoicing: This field displays when Timesheet on Ticket is enabled. This allows you to charge customers for the time spent on tickets for their company.
Timesheet Timer: Adds Start, Stop, and Pause buttons to this team's support tickets track time more accurately. When the timer is stopped, the user will be prompted to enter a description for the time spent and the entry is added to the respective timesheet.
Performance
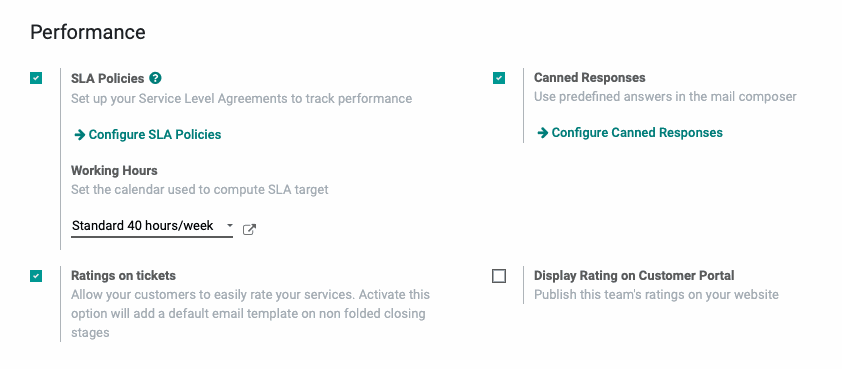
SLA Policies: Enables the use of Service Level Agreements (SLA), which are a documented agreements between the provider and customer outlining the services and levels of service they've agreed upon. Once enabled, you can click the Configure SLA Policies to fine-tune this setting. Additionally, you'll need to select the Working Hours to be used to compute the SLA target for this team. See our SLA Policies documentation for further details.
Ratings on Tickets: Gives customers the opportunity to rate the service they received for each ticket. This adds a default email template on non-folded, closing stages. When a ticket reaches this configured stage, the email will send to the customer requesting a rating. When enabled, there will be one additional option:
Display Rating on Customer Portal: Publishes ratings for this team on your website. This page is visible to the public.
Canned Responses: Enables the configuration of predefined responses, which can save your team time and keep communication consistent. When enabled, use the Configure Canned Responses button to add and manage these responses.
Self-Service
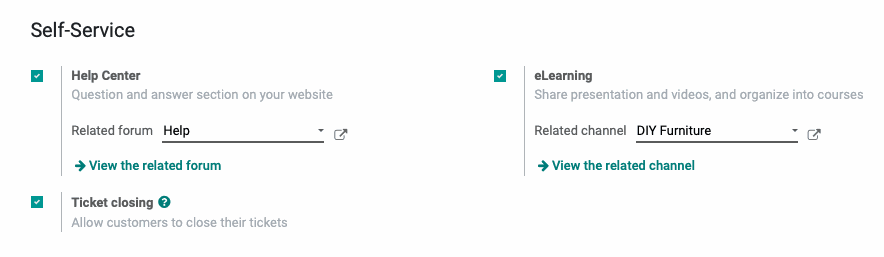
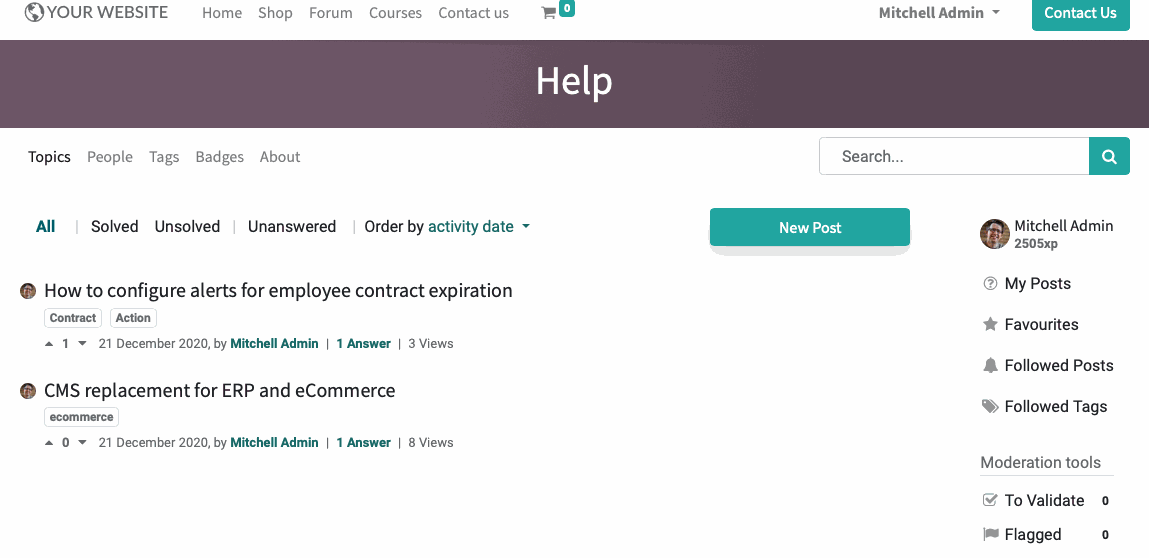
Help Center: Creates a question + answer section on your website where members of the community can offer feedback and/or answers to posted questions. This does not display answers added by your Helpdesk users.
If this is the first time you've enabled Live chat, you may see the prompt to SAVE THIS PAGE AND REFRESH TO ACTIVATE THE FEATURE. Click SAVE, then refresh the page.
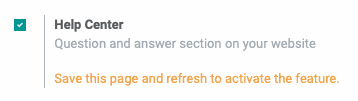
Enabling Help Center will install the Website application to your database, if it's not already present.
Once saved and refreshed, there will be a Related Forum to associate with this team. You can then use the View the related forum button as a quick-link to the forum selected. It will look similar to the following screenshot:
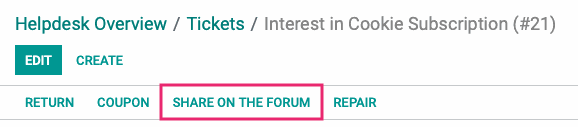
Aditionally, tickets for this team will display a share on the forum button when Help Center is enabled.
Ticket closing: Allows customers to close their own tickets.
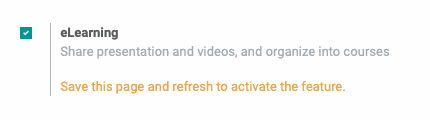
eLearning: Installs the eLearning application, which allows you to share slides, videos, documents, and other training content to your customers as it relates to this team. If this is the first time you've enabled eLearning, you may see the prompt to SAVE THIS PAGE AND REFRESH TO ACTIVATE THE FEATURE. Click SAVE, then refresh the page.
Once saved and refreshed, you'll need to select a Related Channel in eLearning to associate with this team. You can then use the VIEW THE RELATED channel button as a quick-link to the channel selected.
After Sales

Refunds: Enables this Helpdesk Team to generate credit notes from tickets. Once enabled, Odoo will prompt you to save and refresh the page. Once enabled, tickets for this team will display a Return button, and also permit the agent to refund the customer. For a detailed walkthrough, see our After Sales Actions: Refunds documentation.
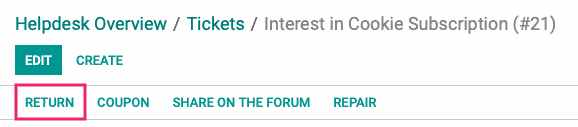
Returns: Enables this Helpdesk Team to manage and process product returns from tickets. Once enabled, Odoo will prompt you to save and refresh the page. Once enabled, tickets for this team will display a Return button. For a detailed walkthrough, see our After Sales Actions: Returns documentation.

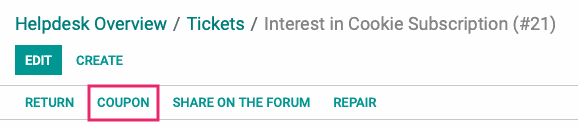
Coupons: Enables this Helpdesk Team to grant coupons from tickets. Once enabled, Odoo will prompt you to save and refresh the page. Once enabled, tickets for this team will display a coupon button. For a detailed walkthrough, see our After Sales Actions: Coupons documentation.
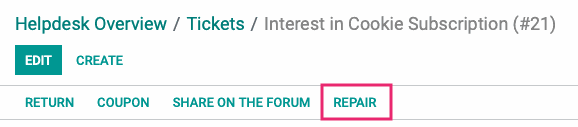
Repairs: Installs the Repairs application and enables this Helpdesk team to manage and schedule repairs. Once enabled, Odoo will prompt you to save and refresh the page. Once enabled, tickets for this team will display a REpair button. For a detailed walkthrough, see our After Sales Actions: Repairs documentation.
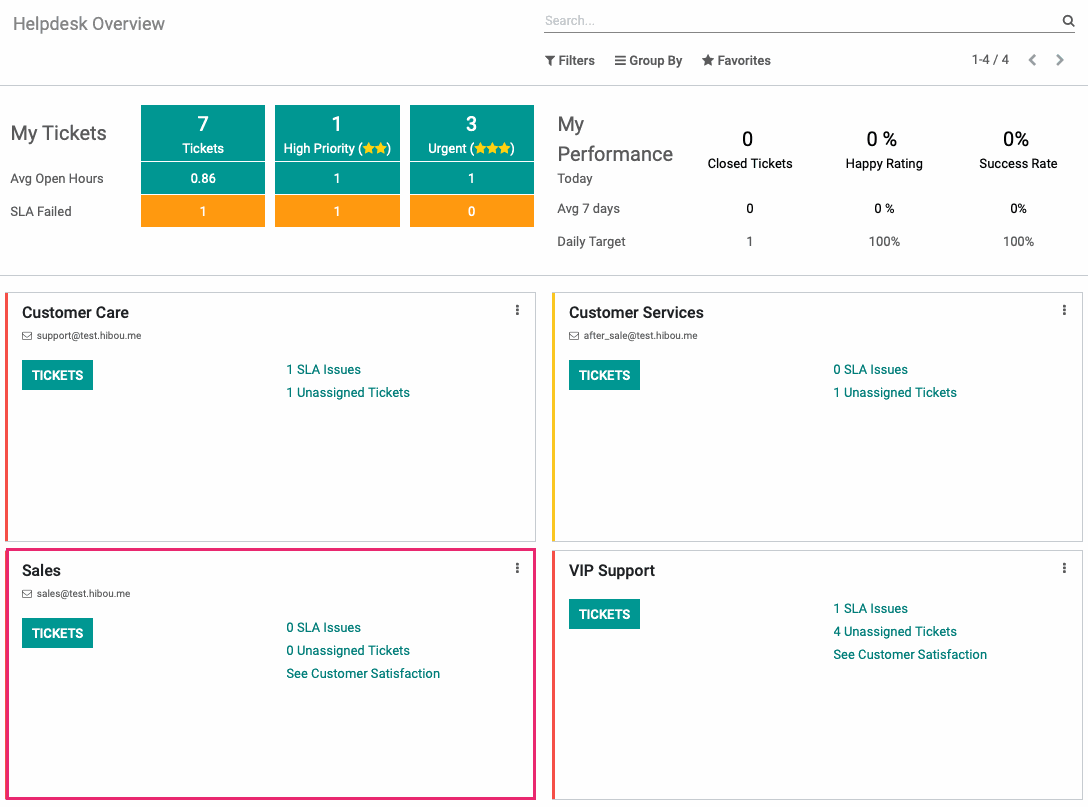
When you're done making your configuration selections for this page, click Save. Your new Helpdesk Team will now display on the application overview page.
Good to Know!
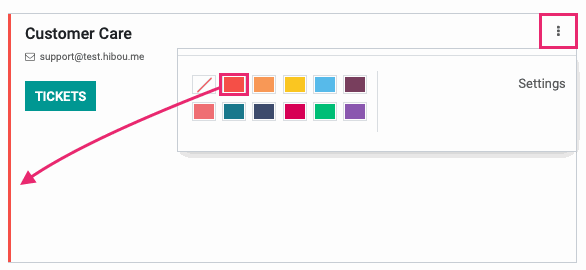
Categorize by Color
Use the ellipses icon on the Helpdesk Team kanban card to select a unique color for that team. This is simply for your visual referance, but can be helpful when there are several teams present.