Helpdesk: Workflows: After Sales Actions
Process
To get started, navigate to the Helpdesk app.
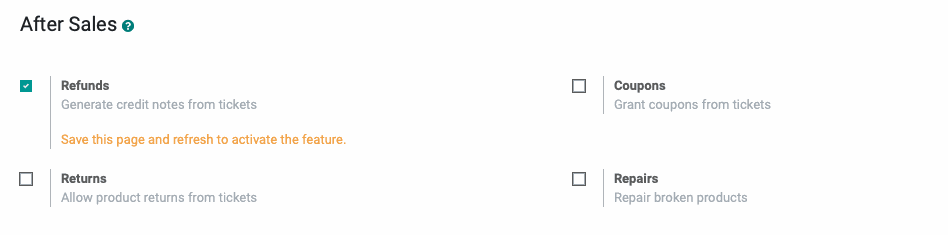
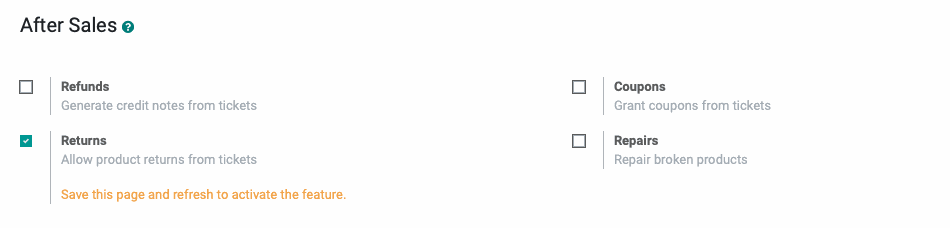
Once there, go to Configuration > Helpdesk Teams. Select and Edit an existing team, or click Create to create a new team. Scroll down to the After Sales section. If you've chosen to create a new team, follow the instructions in the Configuration > Helpdesk Teams documentation.
Refunds
From the Helpdesk Team configuration, enable Refunds. If this is the first time you've enabled Refunds, you may see the prompt to Save this page and refresh to activate the feature. Click Save, then refresh the page.
Enabling Refunds will install the Sales and Invoicing applications to your database, if they're not already present.
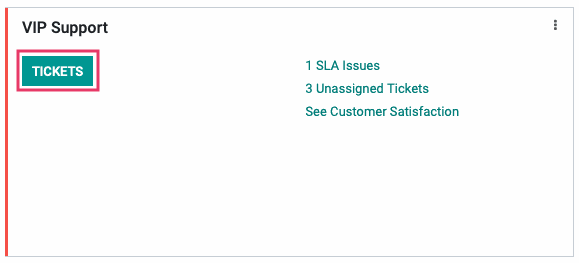
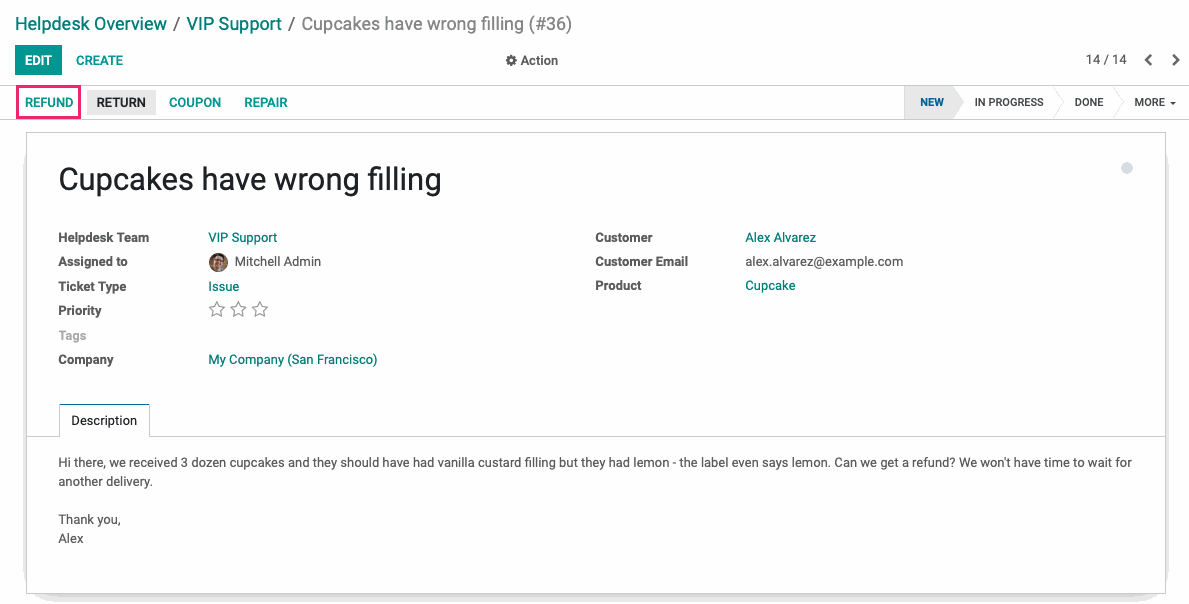
From the Overview page, click Tickets on your preferred Helpdesk Team.
Next, select the ticket in which you'd like to issue a refund for. From within that ticket, click Refund.
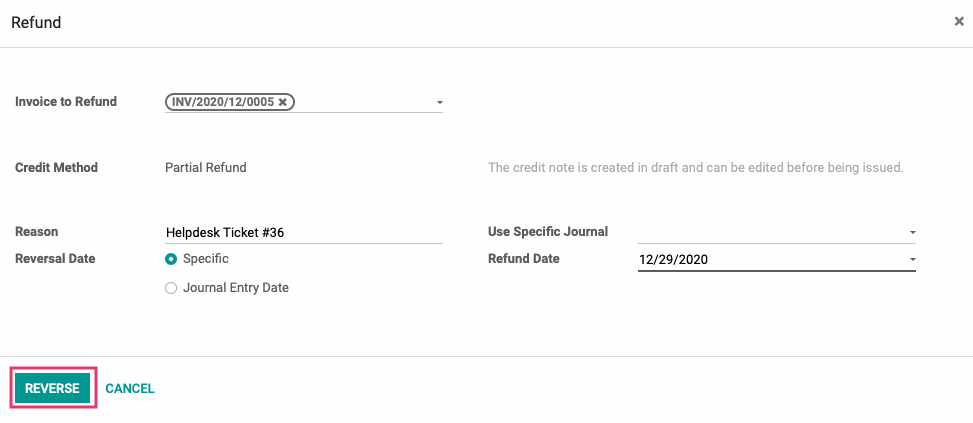
This brings up a Refund modal window where you'll complete the following fields:
Invoice to Refund: This list is filtered by customer. Select the invoice to refund.
Credit Method: This field is auto-populated to "Partial Refund" and cannot be changed.
Reason: This field is auto-populated with the Helpdesk ticket ID but can be overwritten, if needed.
Reversal Date: Select the date for this refund.
Specific: This allows you to enter a date into the Refund Date field.
Journal Entry Date: This uses the date of the initial journal entry.
Use Specific Journal: If you'd like to record the refund to a specific journal, select it here.
When you're ready, click Reverse.
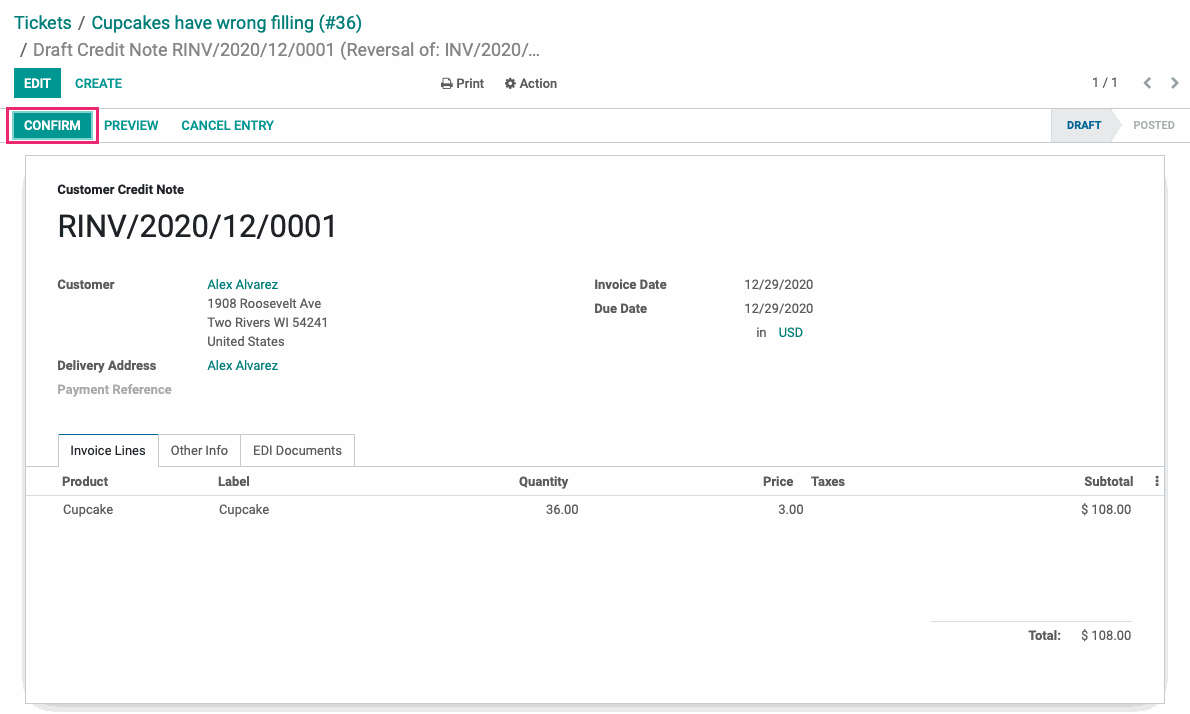
This brings you to the refunded Invoice where you can click Confirm to complete the process.
Follow-up by clicking Register Payment to ensure the customer receives the funds.
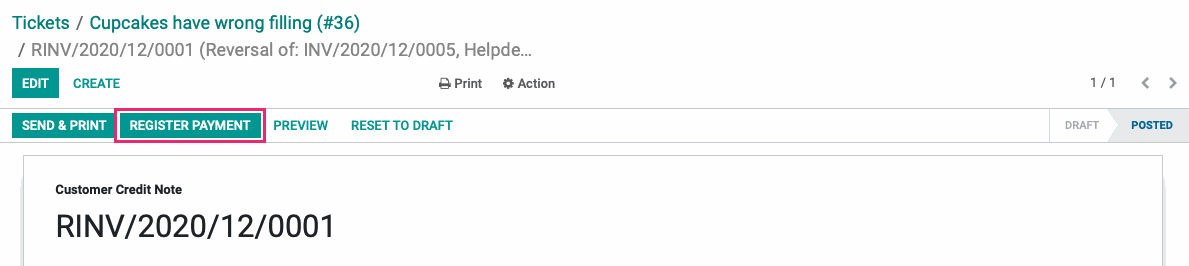
Use the breadcrumbs to navigate back to the ticket.

You'll now see the Credit Notes smart button on the ticket, indicating there has been a refund issued.

Returns
From the Helpdesk Team configuration, enable Returns. If this is the first time you've enabled Returns, you may see the prompt to Save this page and refresh to activate the feature. Click SAVE, then refresh the page.
Enabling Returns will install the Sales, Inventory, and Invoicing applications to your database, if they're not already present.
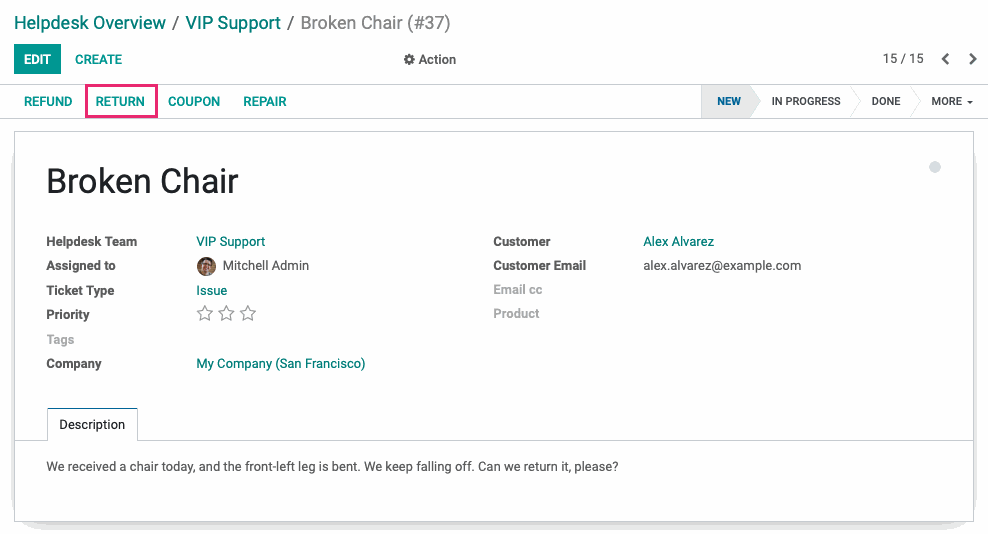
From the OVERVIEW page, click TICKETS on your preferred Helpdesk Team.

Next, select the ticket you'd like to create a return for. From within that ticket, click RETURN.
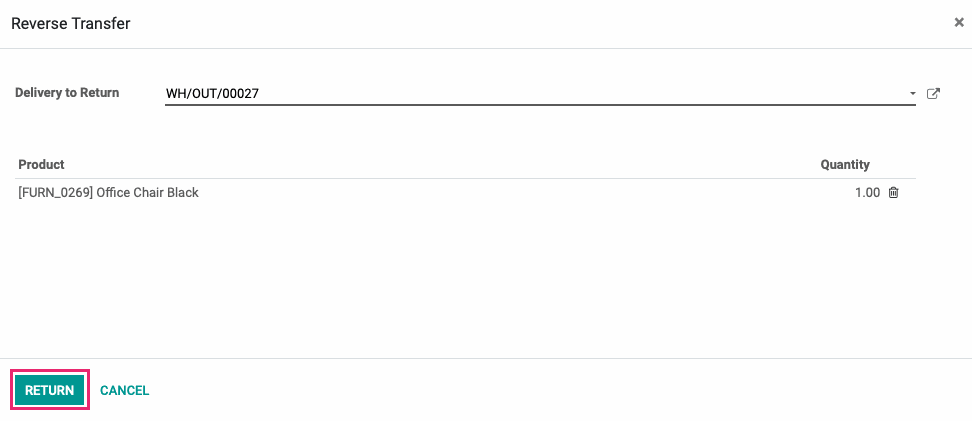
This opens the Reverse Transfer modal window where you'll complete the following fields:
Delivery to Return: This list is filtered to display deliveries for this customer, only. Select the delivery to return. Once selected, the product(s) on that delivery will auto-populate, below.
Product & Quantity: Click the trash icon to remove products that are not being returned. Click into the Quantity field(s) to adjust amounts for product(s) that are being returned.
When you're ready, click Return.
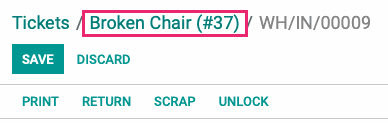
This creates and opens an incoming transfer record. In the Done field, indicate the number of items received, then click Validate.
![]()
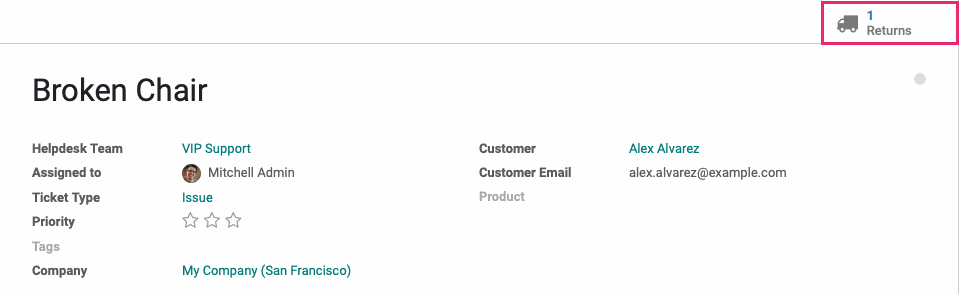
Use the breadcrumbs to navigate back to the Helpdesk ticket.
You'll now see the Returns smart button on the ticket, indicating there has been a return based on this ticket.
Coupons
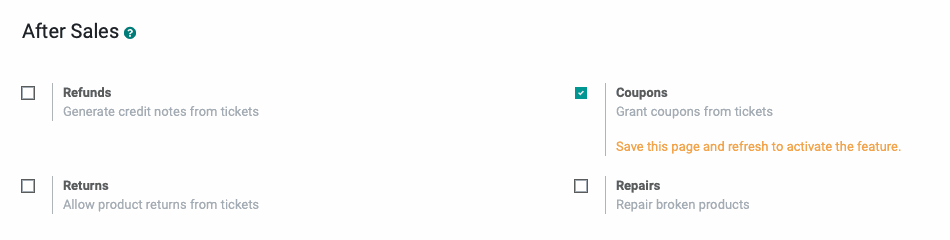
From the Helpdesk Team configuration, enable Coupons. If this is the first time you've enabled Coupons, you may see the prompt to Save this page and refresh to activate the feature. Click SAVE, then refresh the page.
Enabling Coupons will install the Sales and Invoicing applications to your database, if they're not already present.
From the OVERVIEW page, click TICKETS on your preferred Helpdesk Team.
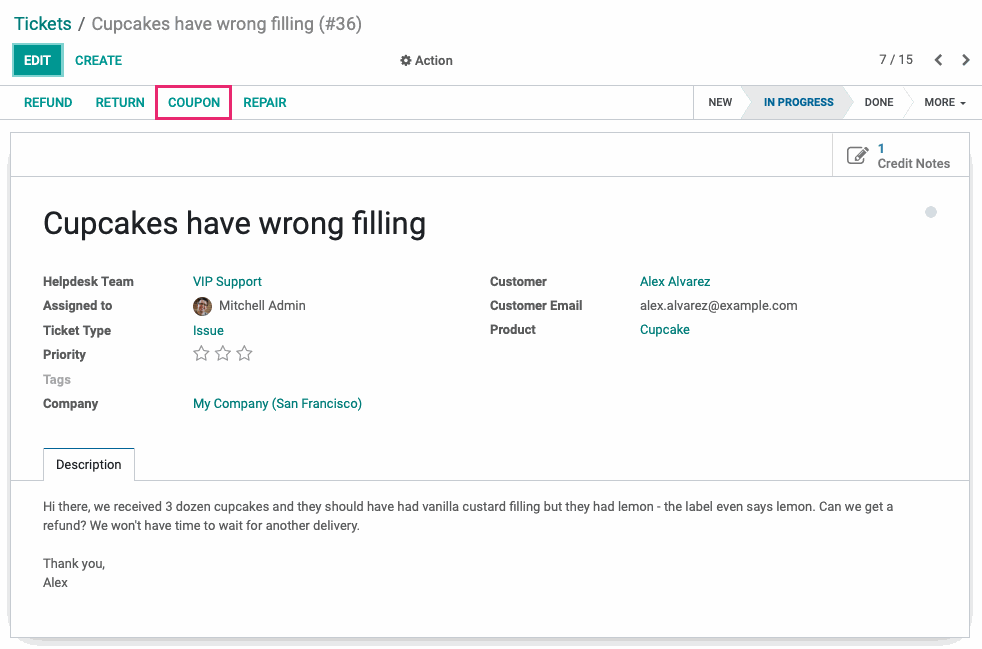
Next, select the ticket you'd like to issue a coupon for. From within that ticket, click coupon.
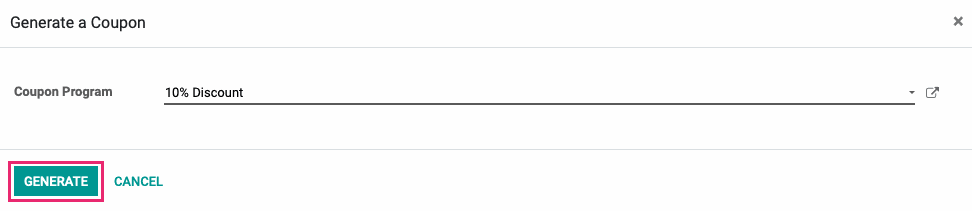
This brings up the Generate a Coupon modal window where you'll select the Coupon Program to use, then click Generate.
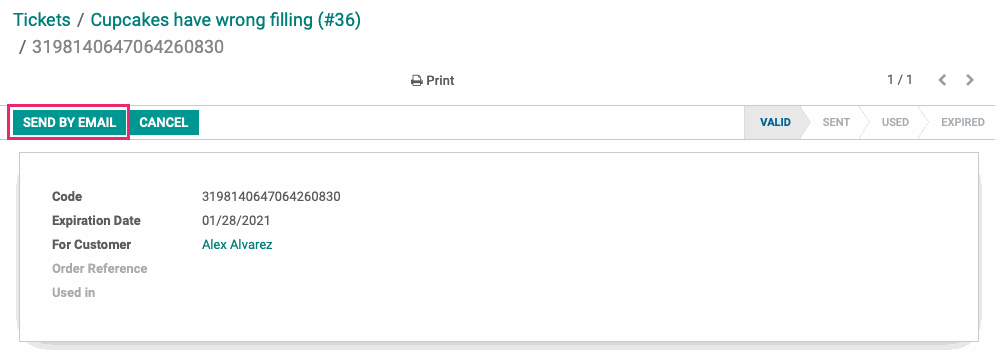
Odoo will open the newly created record with the generated code for this customer. Click Send by Email to email the coupon to the customer.
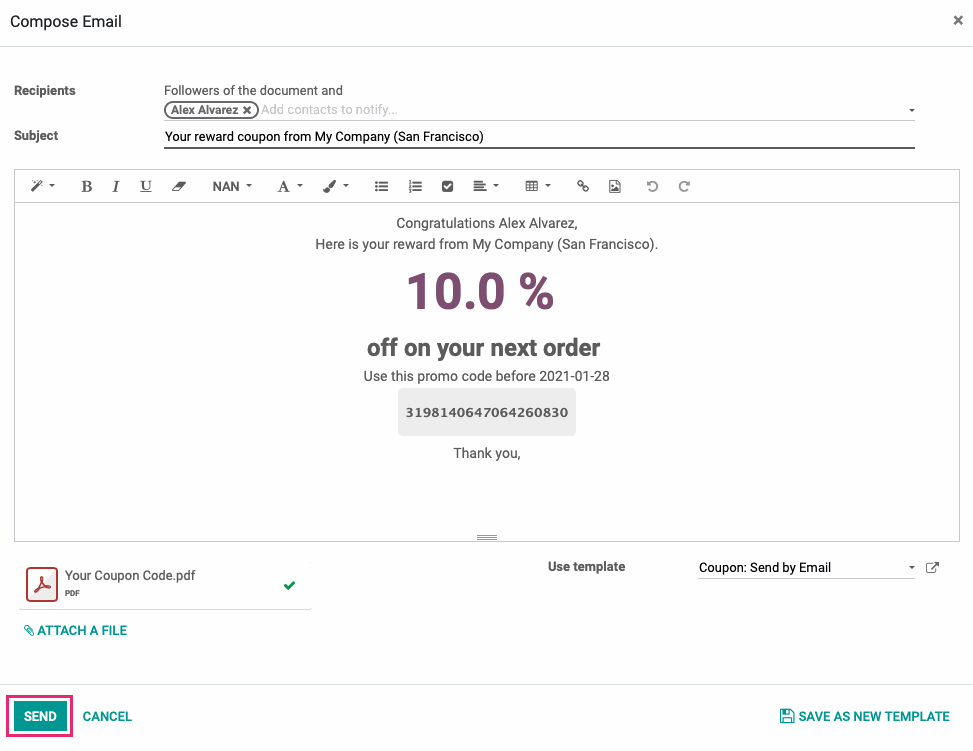
Again, click SEND on the following page.
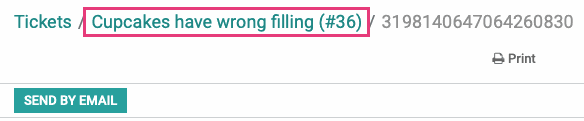
Use the breadcrumbs to navigate back to the Helpdesk ticket.
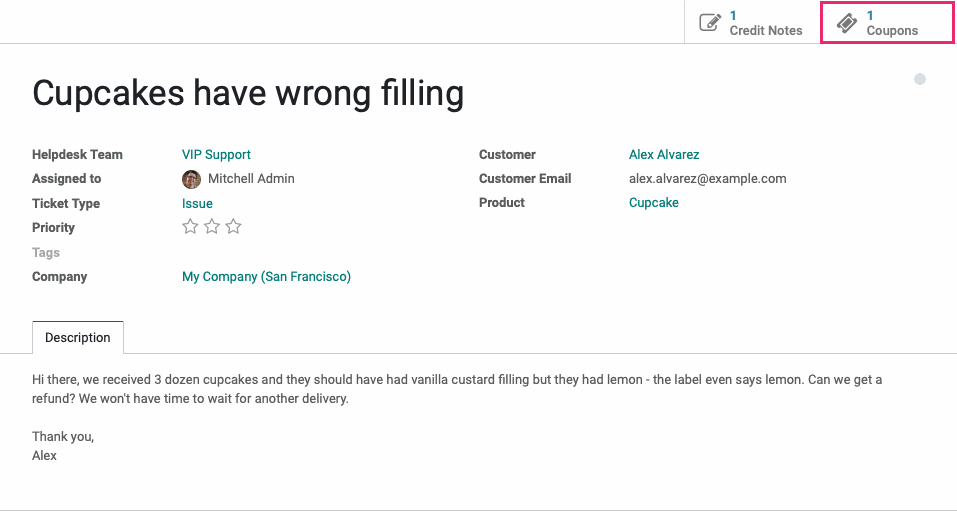
You'll now see the Coupons smart button on the ticket, indicating there has been a coupon issued to this customer based on this ticket.
Repairs
From the Helpdesk Team configuration, enable Repairs. If this is the first time you've enabled Repairs, you may see the prompt to Save this page and refresh to activate the feature. Click SAVE, then refresh the page.
Enabling Repairs will install the Sales, Inventory, Repairs, and Invoicing applications to your database, if they're not already present.

From the OVERVIEW page, click TICKETS on your preferred Helpdesk Team.
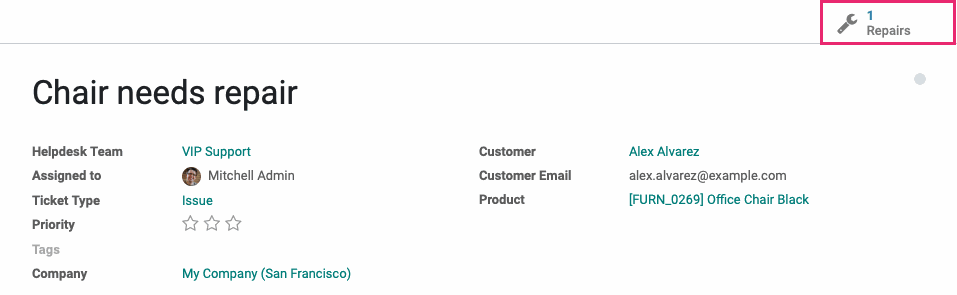
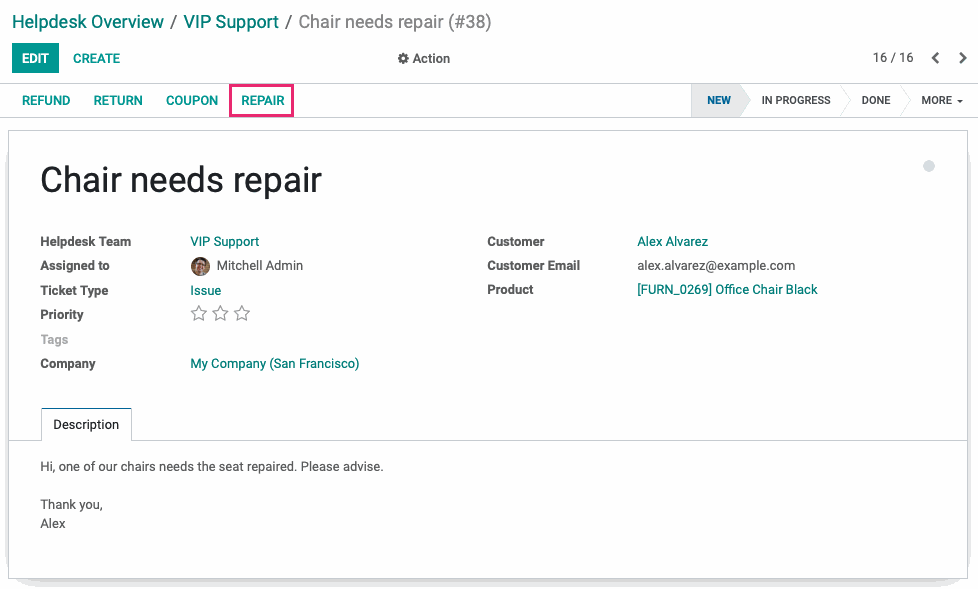
Next, select the ticket you'd like to scheduled a repair for. From within that ticket, click repair.
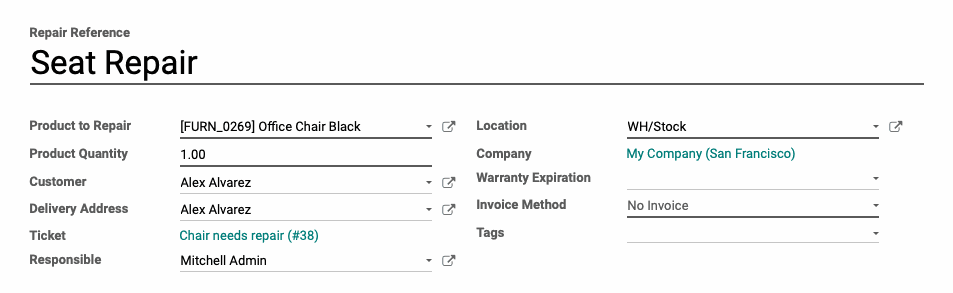
This opens a new Repair Reqest where you'll complete the following fields:
Repair Reference: Enter a name for the repair.
Product to Repair: Select the product to repair.
Product Quantity: Enter the quantity of the selected product to repair.
Customer: This field will auto-populate based on the customer who submitted the ticket.
Customer Address: This field will auto-populate based on the customer who submitted the ticket.
Ticket: This field will auto-populate with the ticket details, it cannot be modified.
Responsible: This field will auto-populate with your name.
Location: Select the location of the product to be repaired.
Company: This field will auto-populate based on the company you're working in.
Warranty Expiration: If a warranty exists for this product, select the expiration date.
Invoice Method: Select "No Invoice" if the customer is not paying for the repair. Otherwise, select whether to invoice the customer Before "Repair" or "After Repair".
Tags: Add any tags that apply.
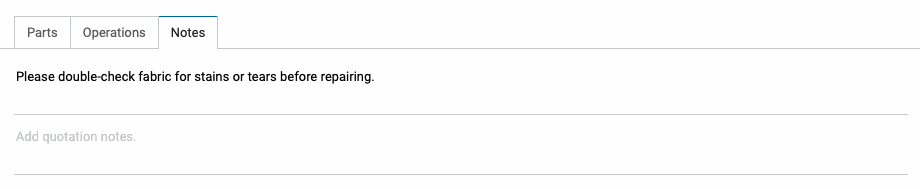
Under the Parts tab, click Add a Line and add/remove any part(s) required to complete this repair. This can be done during the repair process, as well.

Under the Operations tab, click Add a Line to add products that need to be purchased or transfers from another location. This can be done during the repair process, as well.

Use the Notes tab to add any internal notes relating to this repairj, or notes relating to the quotation.
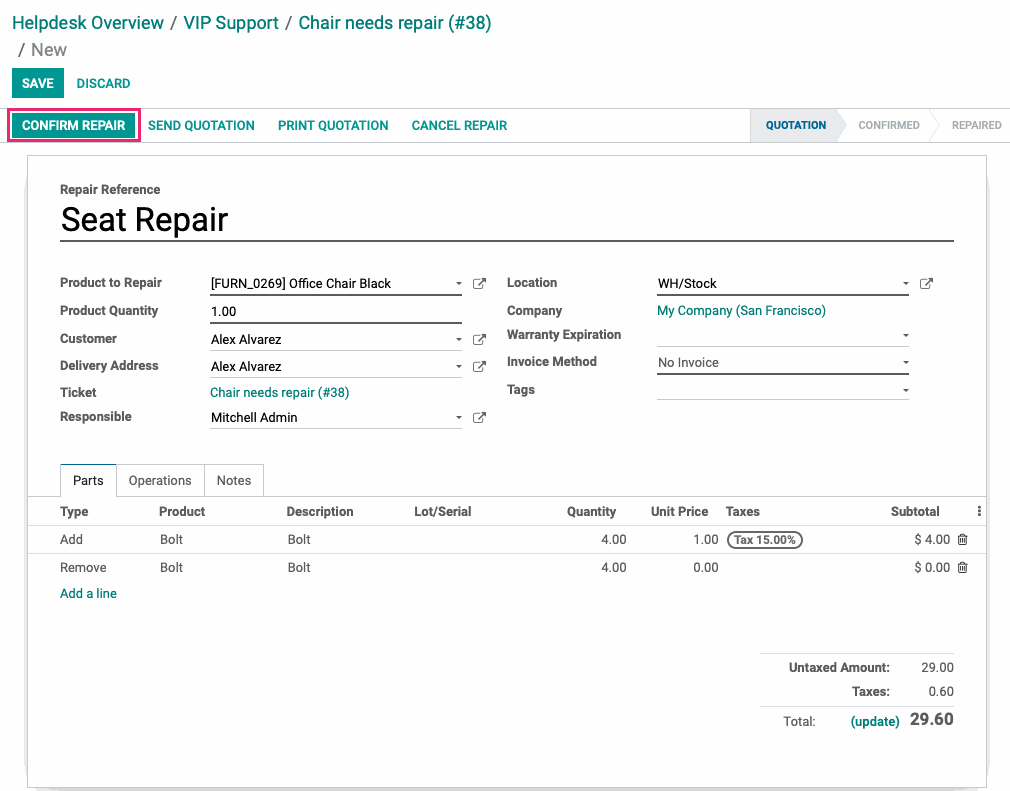
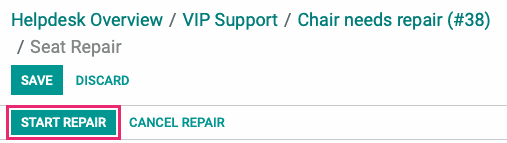
When you're done, click Confirm Repair.
For the purpose of this walkthrough, click Start Repair. This indicates the maintenance team has begun work.
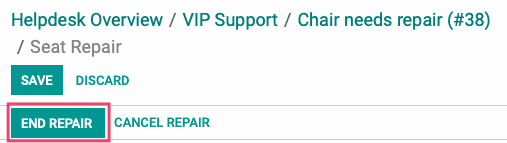
Then click End Repair. This indicates the maintenance team has finished work.
Use the breadcrumbs to navigate back to the Helpdesk ticket.
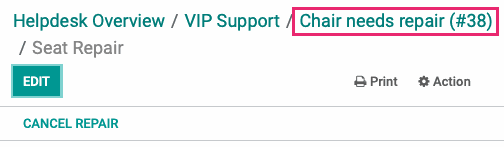
You'll now see the Repairs smart button on the ticket, indicating there has been a product repair.