Contacts: Configuration: Localization
Purpose
This documentation explains the Localization menu options in the Contacts application of Odoo 14. This includes Countries, Federal States, and Country Groups. Odoo comes with all of this information pre-installed, so you shouldn't need to change it.
Debug Mode
Some steps in this document will require you to be in Debug Mode.
Process
To get started, navigate to the Contacts app.

Countries
In each contact's address section, there is a field for the country. You can find country selections under Configuration > Localization > Countries. Here you'll see a list of existing entries.
To edit a country, click a country from the list to open the record. On this page, click Edit to open the editable form. You can also add a new country to clicking Create to open the same form. Here you'll see the following fields.
Image: Here you can upload an image to represent the country, such as their flag.
Country Name: Enter the full country name.
Currency: Select the currency for this country.
Country Code: Enter the short code for this country.
Country Calling Code: Enter the calling code for this country.
Vat Label: Enter a custom VAT label for this country.
Advanced Address Formatting
Input View: This section allows you to choose a subview of partners that includes only address fields, to change the way users can input addresses. If this country should use a different view, select that here. Otherwise leave it empty to use the default view.
Layout in Reports: Here you can modify the order in which the address details are displayed for this country.
Customer Name Position: Indicate whether a customer name should show before or affter the address in reports.
States: Here you can enter individual states for this country. To do so, click Add a Line (at the bottom of the form) and complete the following fields.
State Name: Enter the long name for the state.
State Code: Enter the short code for the state.
When you're done, click SAVE.

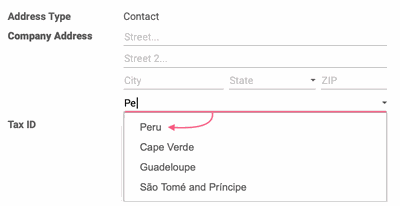
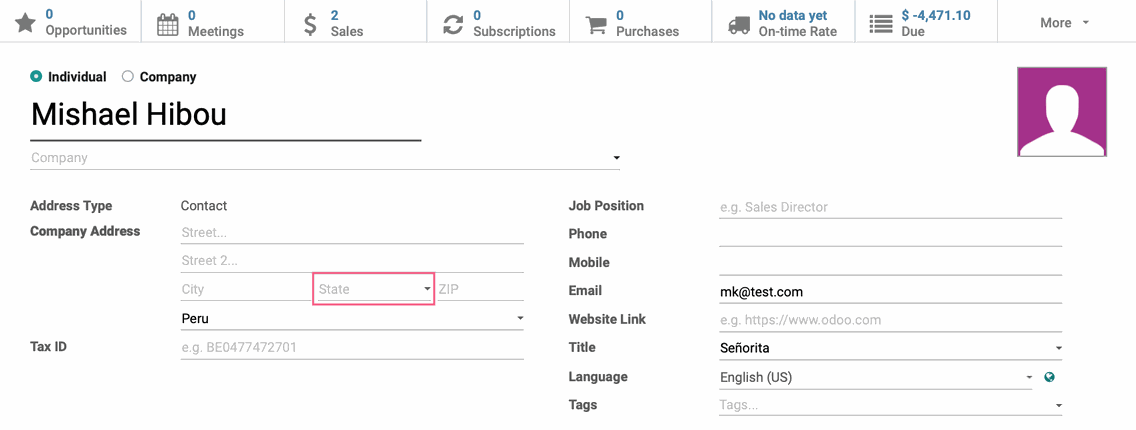
Apply a Country to a Contact
Next, go to Contacts and select a contact record from the list.

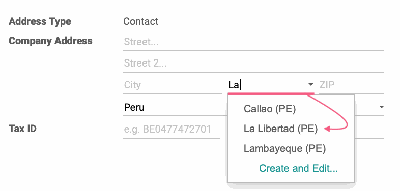
Once there, click Edit and find the address block. This is where you'll see the Country field and can choose the applicable country from the list.
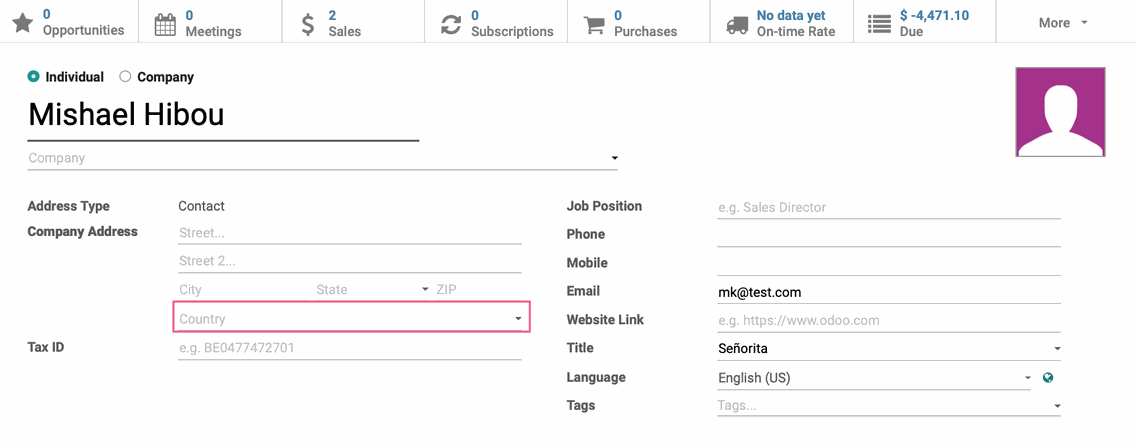
Once you've chosen a country, the State field selections will be narrowed to only those in that country.
If you've made changes, be sure to click SAVE.
Fed. States
In each contact's address section there is a field for state. States are defined under Configuration > Localization > fed. states.
To edit a state, click into the record from the list and edit the details on the same screen. Click Save when you're done.
You can also add a new state by clicking Create to open a blank line. Here you'll see the following fields:
State Name: Enter the full name for the state.
State Code: Enter the state code for the state.
Country: Select the appropriate country for this state.
When you're done, click SAVE.

Apply a Fed. State to a Contact
Go to CONTACTS and select a contact record from the list.

Once there, click EDIT and find the address block. This is where you'll see the State field and can choose the applicable state from the list.
Once you've chosen a state, the country field will populate if this was not selected already. If you've made any changes, be sure to click SAVE.
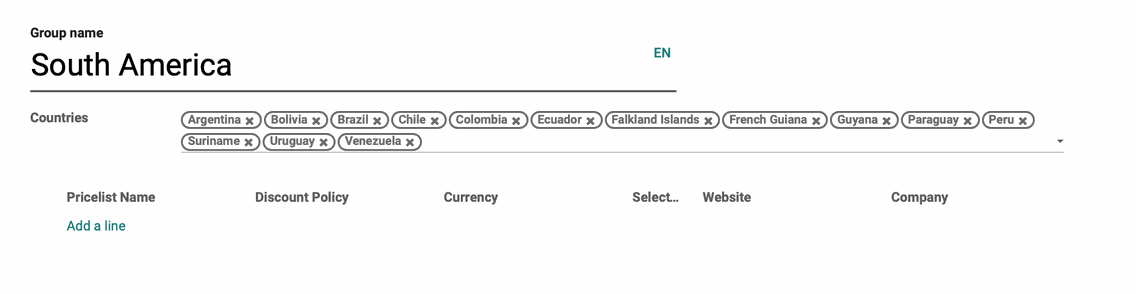
Country Groups
Country Groups are useful throughout Odoo, and you can organize them in the Contacts app as that is where countries and states are defined. A Country Group, as the name states, is a group of countries that certain rules will apply to, such as Pricelists. Country Groups are defined under Configuration > Localization > country group.
On this page you'll see a list of existing groups. To edit a group, select it from the list to open the record in a new window. Once there, click Edit to view the form in edit mode. To add a new group, click Create to open this same form. Here you'll see the following fields:
Group Name: Enter a name for your country group.
Countries: Select all countries to include in the country group. You can also start typing in the field and select from the drop-down results.
Pricelist Name: To apply a Pricelist to this country, click Add a Line and select it here. For more information, see Apply a Pricelist to a Contact.
When you're done, click SAVE.