Subscriptions: Subscriptions
Purpose
This document covers the use and configuration of the Subscriptions application in Odoo 15. Subscriptions are an easy way to sell a product or service to a customer on a set recurring basis.
Process
To get started, navigate to the Subscriptions app.
Subscriptions
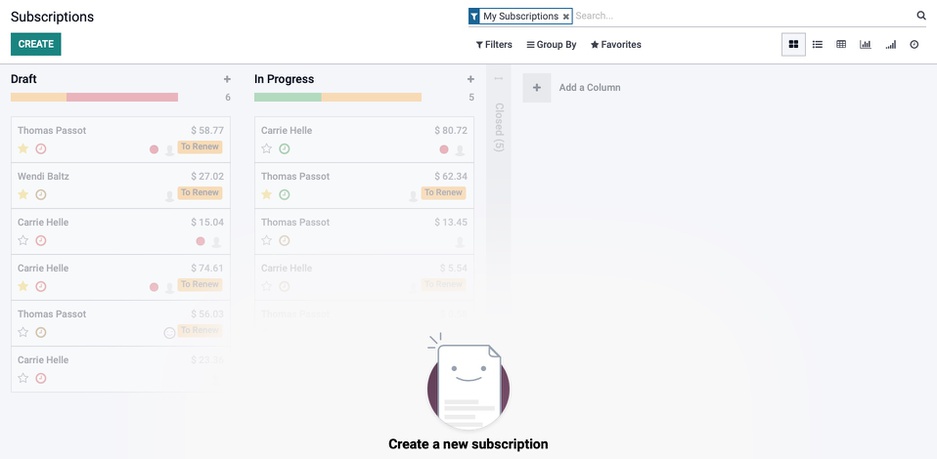
You will immediately land on your Subscriptions pipeline that will show a kanban view of the stages configured for the app. If we were on another screen, clicking Subscriptions > Subscriptions would take us back to the subscription pipeline and by default is filtered to MySubscriptions.
You can create a subscription by clicking on CREATE.
This will open up a new subscription, configure the following:
Customer: Enter the name of the customer.
Pricelist: Choose the pricelist to be used for this subscription. For more guidance, check out our Products: Pricelists documentation.
Subscription Template: Select a subscription template to be used. These will be covered below under configuration.
End Date: Select a date for subscription to end. If set, the subscription will be set to renew 1 month before the set date and will be closed on the date set in this field. Please note, this field will not be an option if the Subscription Template's Duration is set to Forever.
Also, note the two Smart Buttons:
Customer Preview: This will give you the ability to see what this subscription will look like from the customer portal.
Invoices: This will give a list of all the invoices generated for the subscription so far.
Under the SUBSCRIPTION LINES tab:
Click ADD A LINEto add a product.To learn how to create and configure a product, please review our Configuration: Product documentation.
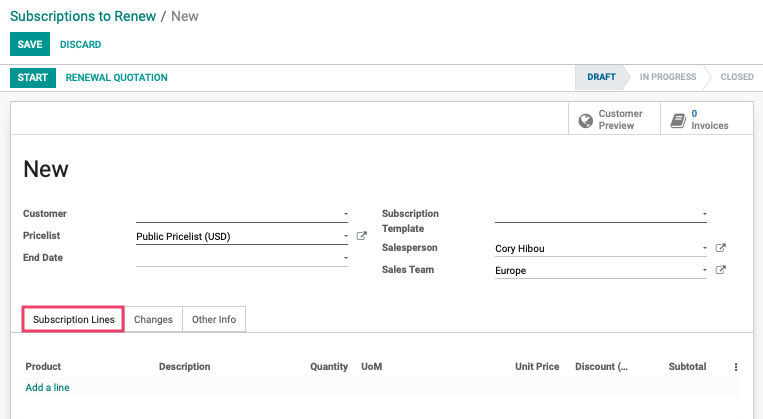
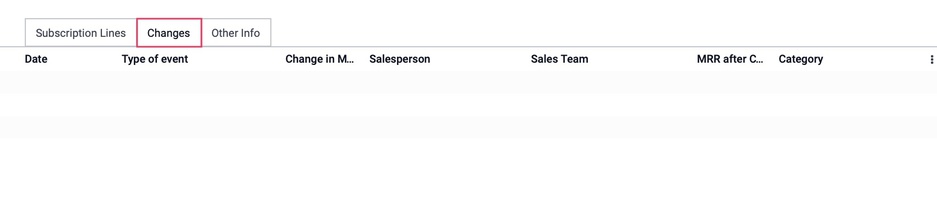
Under the CHANGES tab, any changes made to the subscription will be displayed here. This information is not editable, and automatically updates when a change is saved for this subscription.
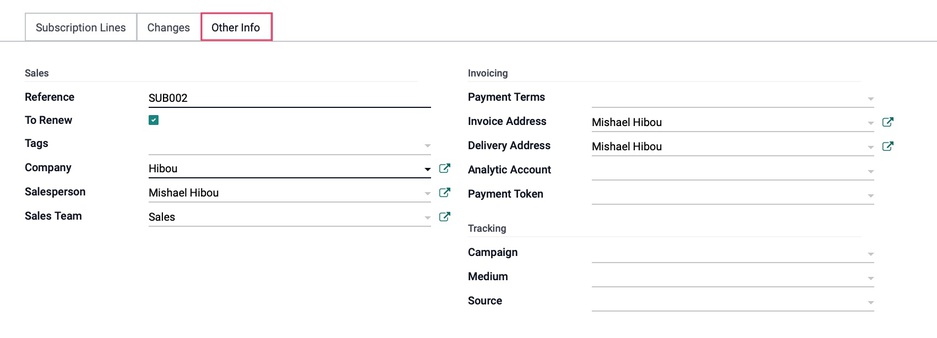
Under the OTHER INFO tab:
Sales
Reference: This field will be auto-filled with the subscription reference number once a subscription has been started.
To Renew: If marked as To Renew, a yellow alert message will be placed on the template.
Tags: Apply any tags that are used internally to help categorize this subscription.
Company: If you are in a multi-company database, this field will be auto-filled with the company your user was in at time of creation.
Salesperson: Select a salesperson to be associated with the subscription. By default, it will grab the user who created the subscription, but this field can be left blank. By leaving this field blank, it will be visible in everyone's subscription pipeline.
Sales Team: Assign a sales team, if applicable.
Invoicing
Payment Terms: Set the payment terms to be applied to the invoices on this subscription.
Invoice Address: This will be the invoice address of the customer. This will automatically get filled in, but it can be changed if necessary.
Delivery Address: This will be the delivery address of the customer. This will automatically get filled in, but it can be changed if necessary.
Analytic Account: Set an analytic account for this template. To learn more about analytic accounting, please check out our Use Case: Analytic Accounting documentation.
Payment Token: If this is not set, the automatic payment will fail.
Remember to SAVE all changes!
Subscriptions To Renew
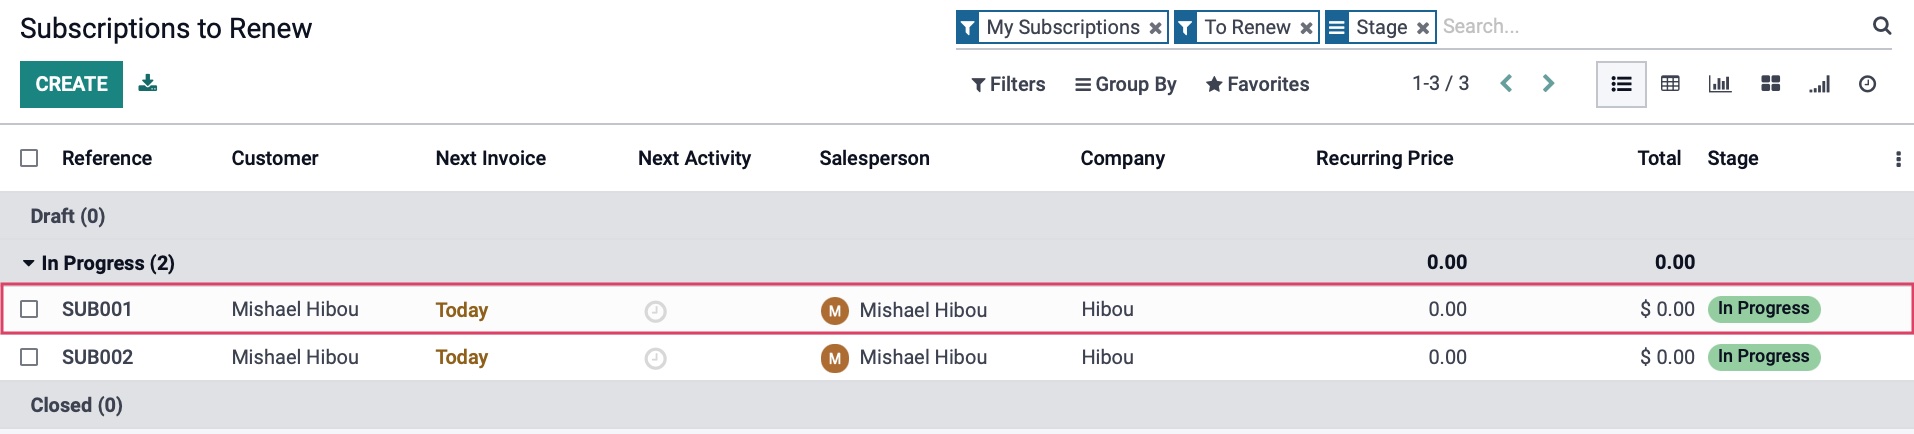
Clicking SUBSCRIPTIONS > SUBSCRIPTIONS TO RENEW will bring you to a view in which any subscriptions with an end date that is either nearing or passed will be listed to renew.
Odoo will automatically set subscriptions to be renewed in a pending state. After negotiations of selling a subscription, the salesperson should then close or renew any pending subscriptions. So let's go ahead and open one up.
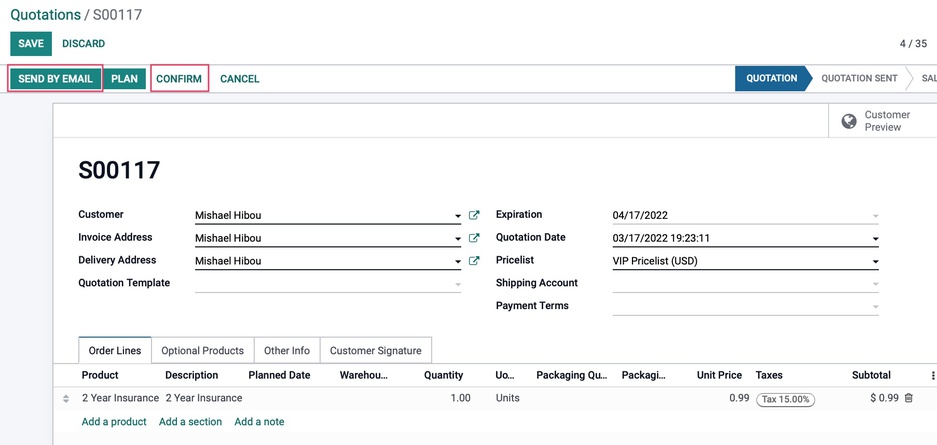
We'll take a look here at a subscription that is up for renewal (as indicated by the yellow callout To Renew on the right side) and click on RENEWAL QUOTATION.
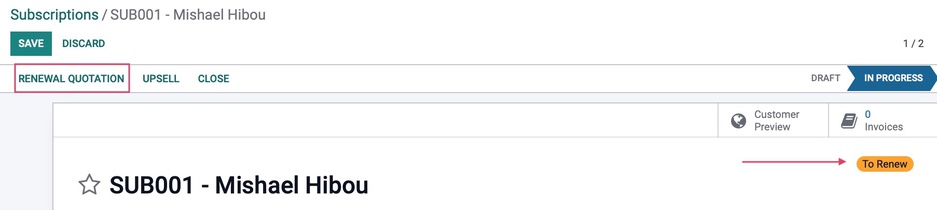
This will bring us to a new quotation where you can make any edits needed for the subscription. If we were sending this to a customer for approval, we would hit SEND BY EMAIL, but we will instead go ahead and CONFIRM the quotation. This will move the quotation to a confirmed Sales Order.
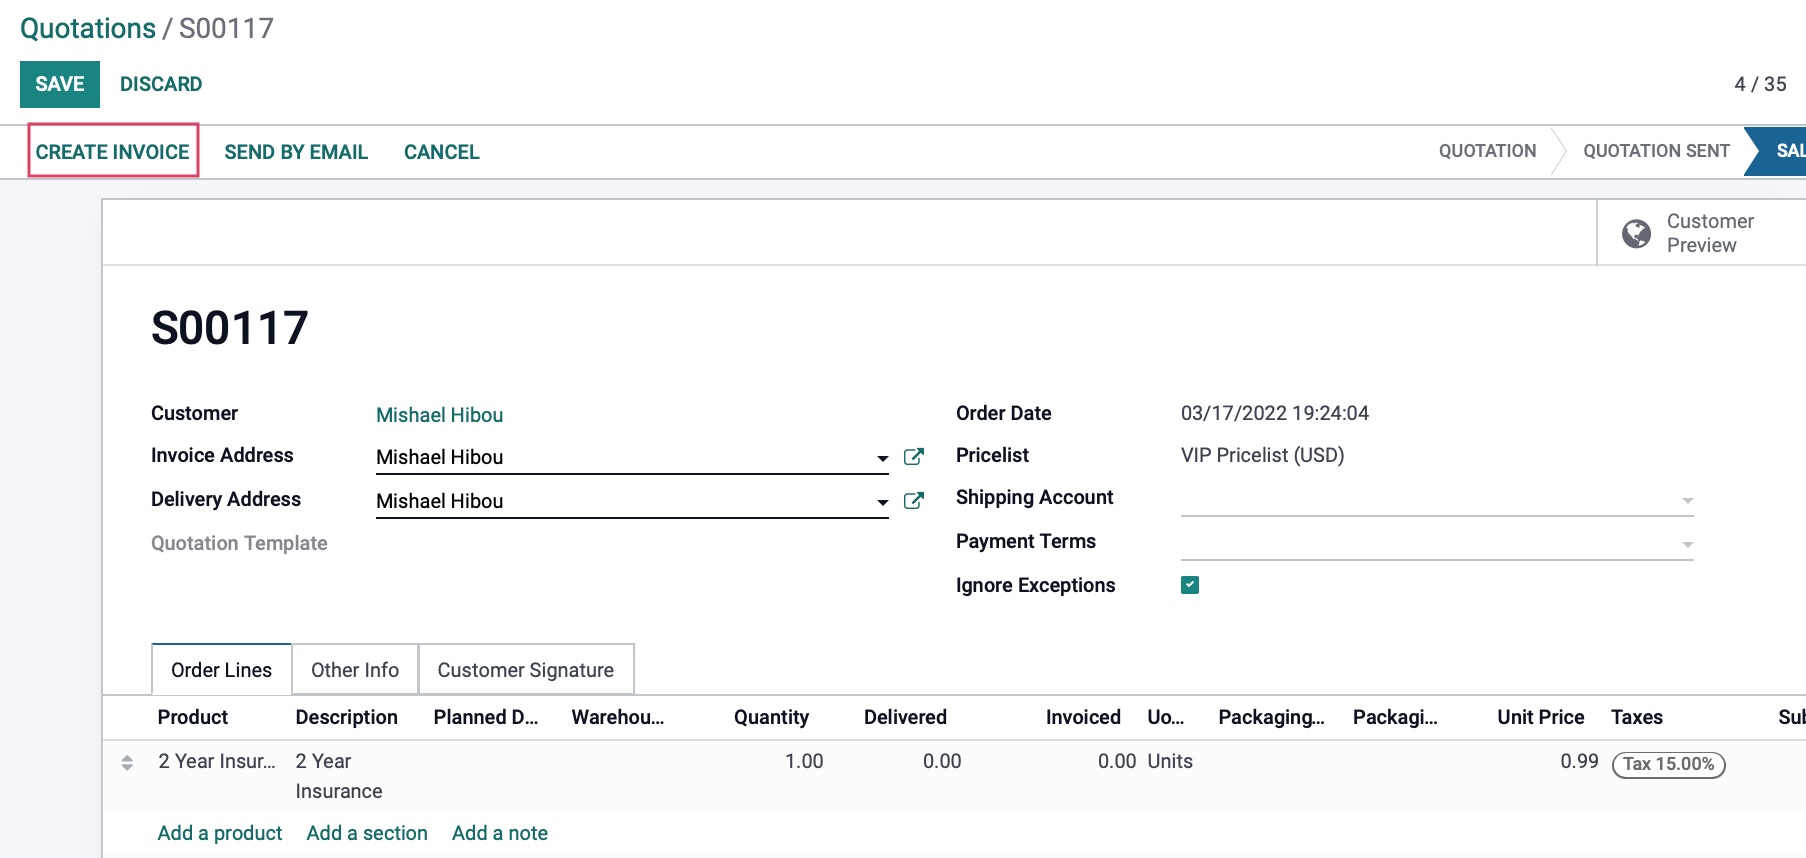
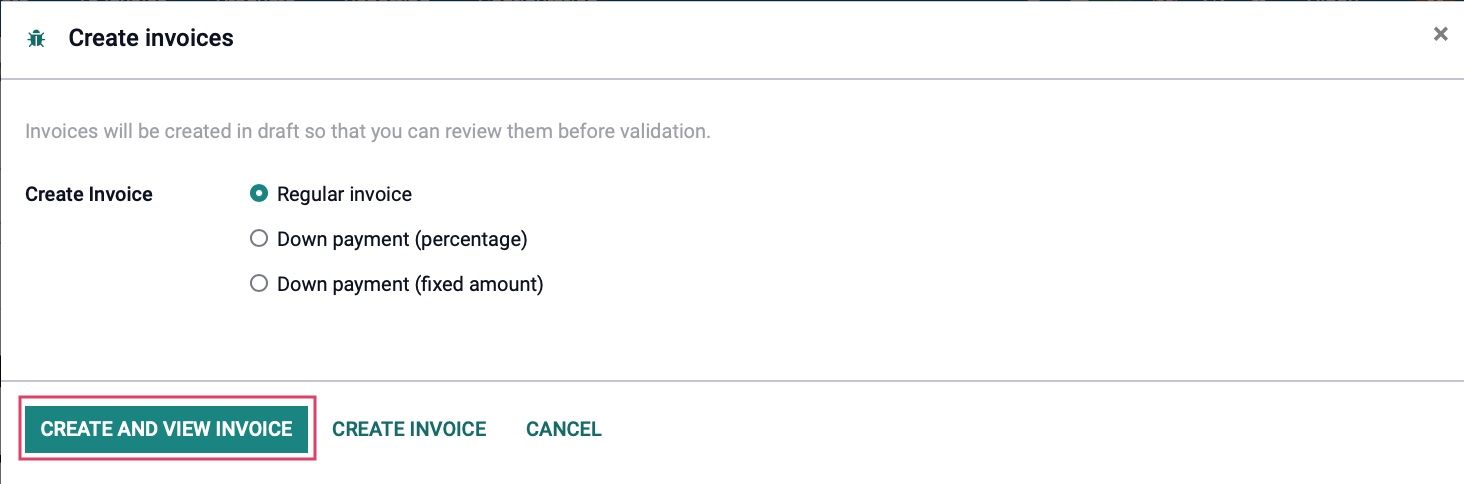
From here let's click CREATE INVOICE. This will take you to the Create Invoice popup.
In this popup, select how you wish to create the invoice, then select Create and View Invoice.
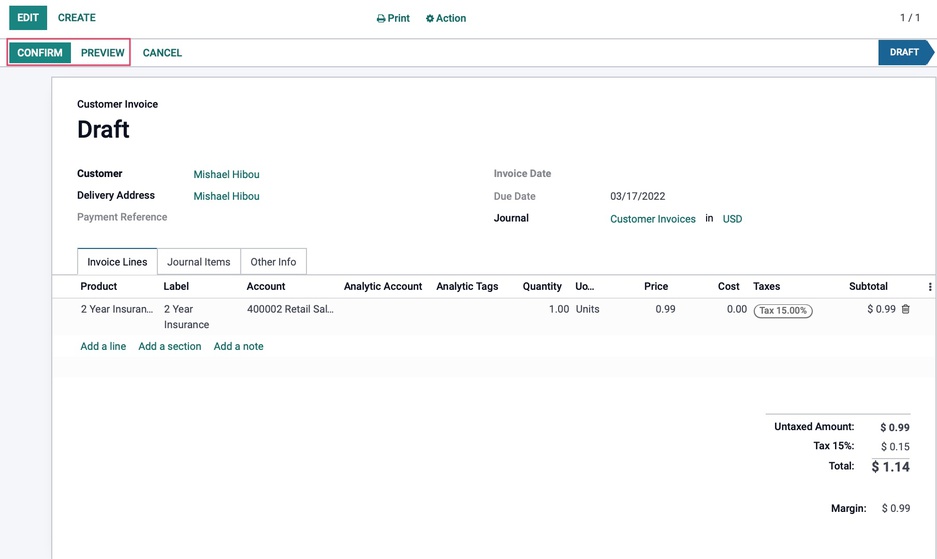
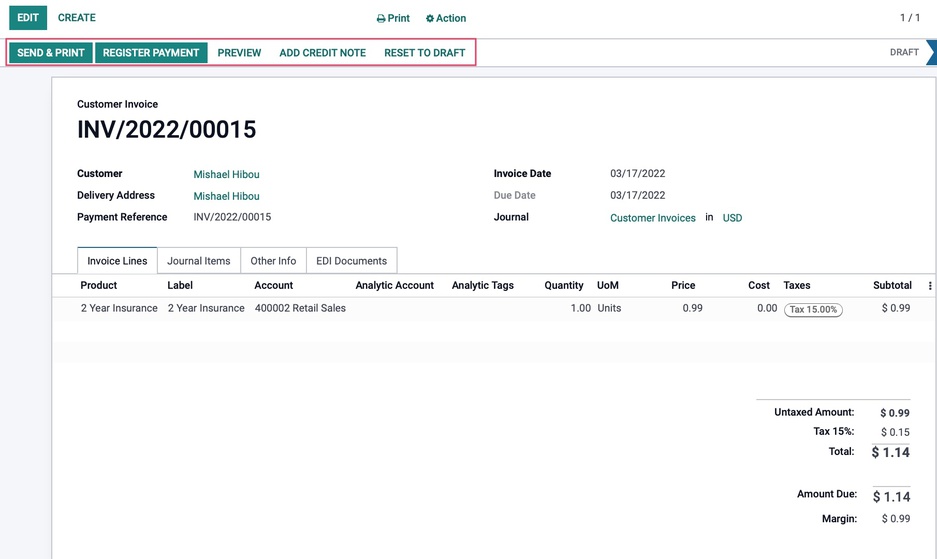
Here, you can PREVIEW and see how the invoice will appear to the customer, or click CONFIRM to move the invoice from Draftto Posted.
Once the invoice is Posted, you can SEND & PRINT a copy of the invoice to the customer, REGISTER PAYMENT to create a payment, PREVIEW to see the invoice from the front end, ADD CREDIT NOTE to issue a refund, or RESET TO DRAFT. This may also display a new smart button for Deferred Revenues, which are payments received before being earned, and those can be read about in greater detail in our Deferred Revenue document.
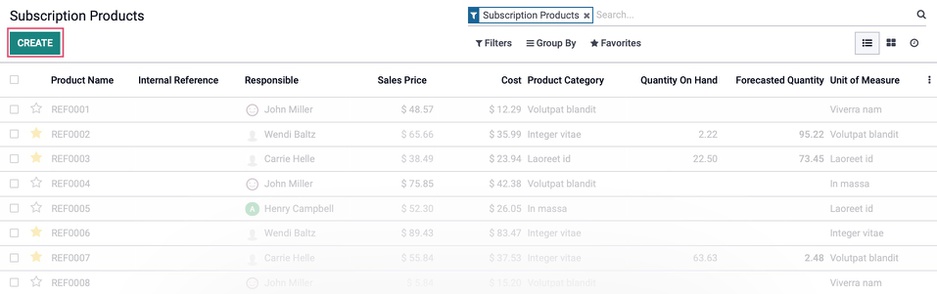
Subscription Products
Click on SUBSCRIPTIONS > SUBSCRIPTION PRODUCTS to see existing subscription products and services, or you can click CREATE to add a new one.
Again, to learn how to create and configuration, check out our Configuration: Product documentation
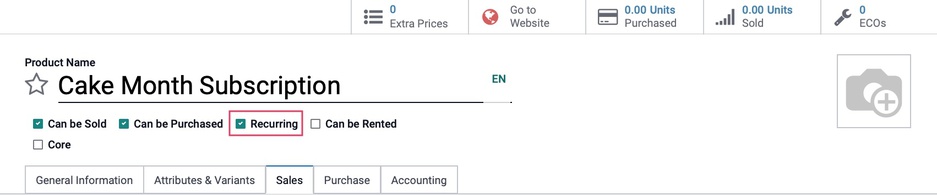
On the product, make sure that this is set to be Recurring, since this is what will generate the subscription when a sales order is confirmed.
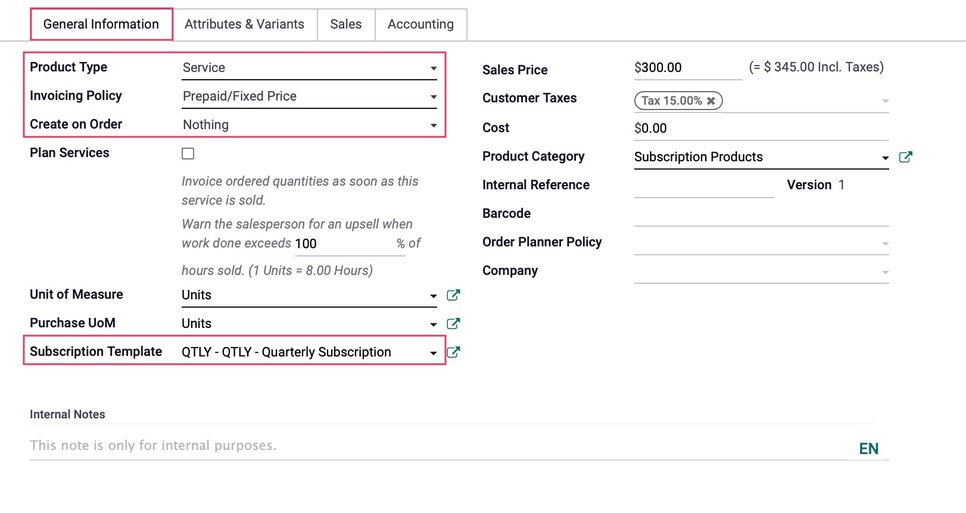
Under the General Information tab the following information needs to be configured in order for it to be a subscription product:
Product Type: Make sure this is set to Service.
Invoicing Policy: Services need to be set to Prepaid/Fixed Price in order to be processed on a sales order.
Create on Order: This will determine how the sales order handles the service product. Since it is a subscription, set this to Nothing since the Recurring option is what will generate a subscription when the sales order is confirmed.
Subscription Template: This links the subscription product to the template and it will be added in the list of products
When you're done, be sure to click SAVE .