Documents: Signing Documents
Purpose
Odoo 13 makes it easy to receive signatures on documents by way of the Sign application. You are able to upload a PDF, add custom fields, and send it to the signee. You can also link documents to the Documents application for easy storage.
Process
To get started, navigate to the Sign application.
Configuring Roles
In order to acquire signatures from specific sets of people, such as Customers, Employees, etc., you will need to create a variety of roles.
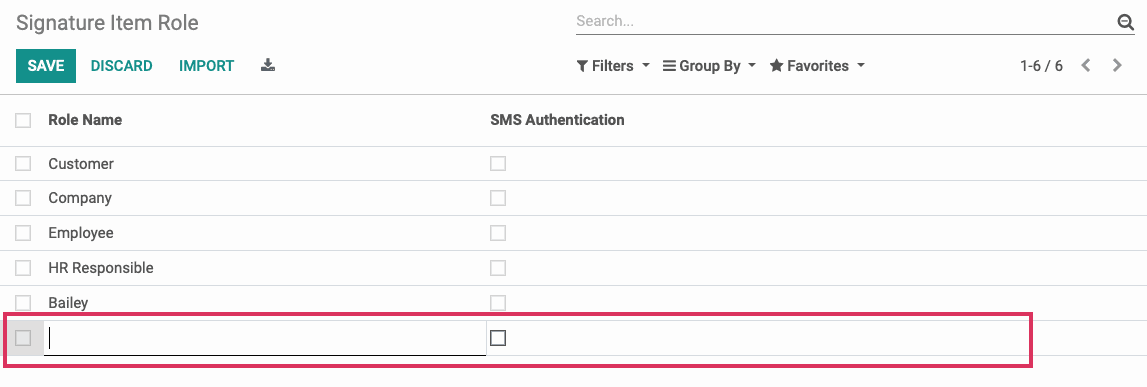
Navigate to CONFIGURATION > Roles.
You will land on the roles in a list view. To create a new record, click Create. You will be able to add a new line for the role at the bottom of the list. You can also select SMS Authentication, which allows document owners to require a text message verification before a signature can be recorded to verify the identity of the signee.
Templates
You can create new templates by simply uploading a PDF file. You then will be able to send that template to the signee or to sign it now.
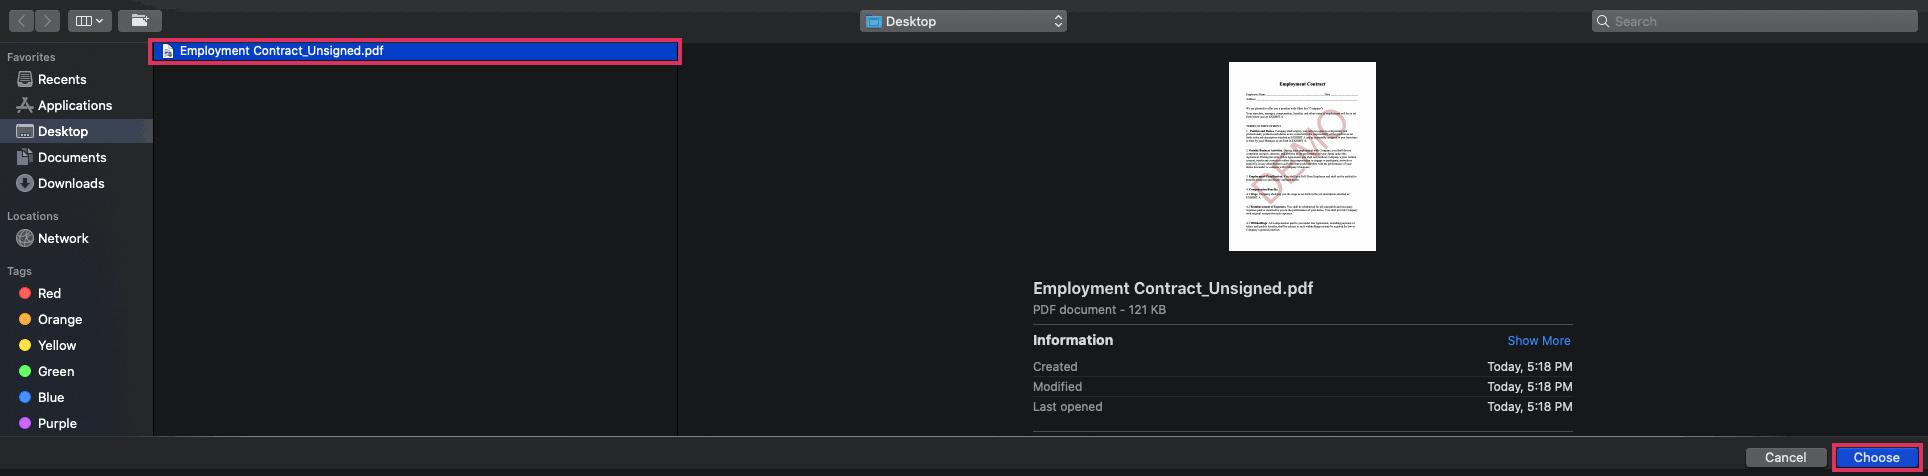
To upload a template, navigate to templates and click Upload a PDF Template.

Choose a file from your computer.
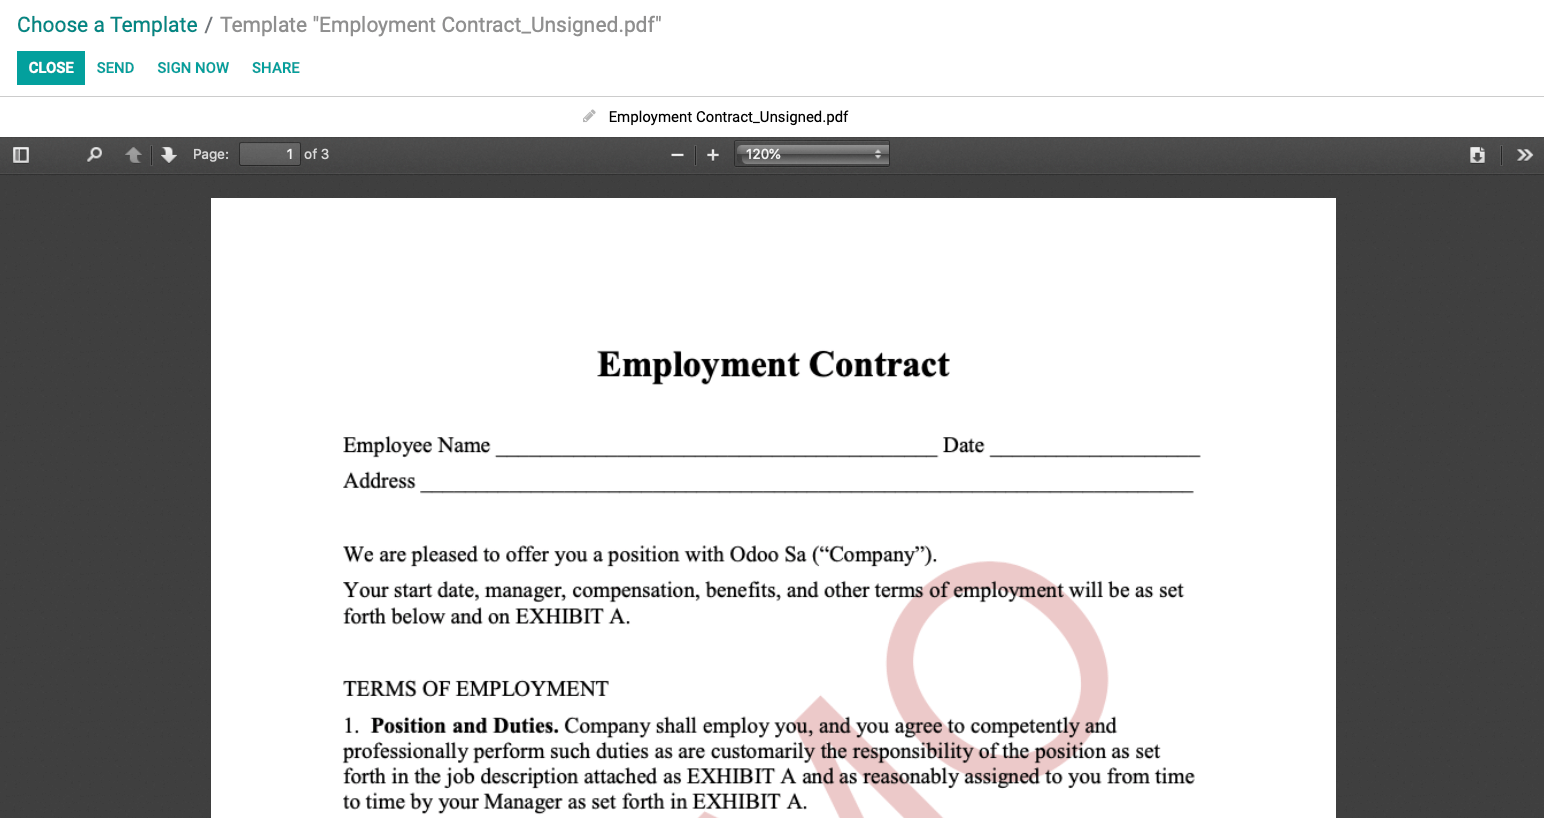
This will open up a PDF preview window.
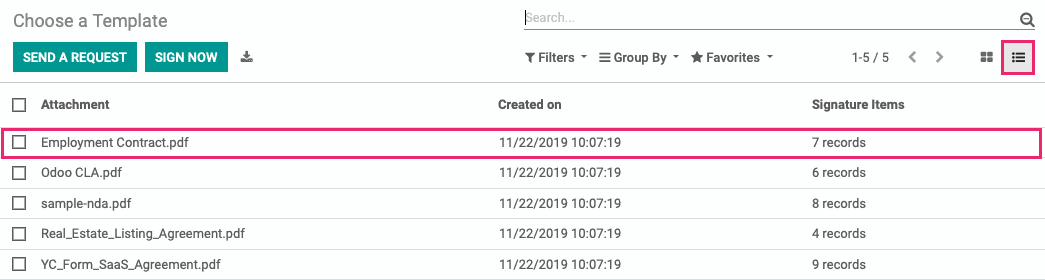
Return to Templates. Once there, select the list view from the top right corner. This is important to get you into the correct view for the next step.
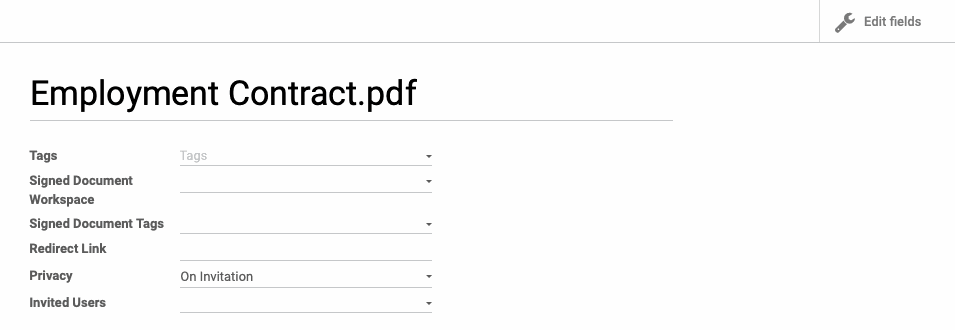
Once this document is open, click Edit to see all possible options in the form view.
Name: Here you will choose a new title for the document with the enforced file type (.pdf).
Tags: Add as many descriptor tags as you'd like.
Signed Document Workspace: Choose the Documents Workspace to which you will assign this document once it has been signed. For more information on the Documents app, see the Documents Overview.
Signed Document Tags: Assign tags to the signed document. These are based on the Workspace you have chosen.
Redirect Link: After the signature has been made, you can redirect the signee to a new page.
Privacy: Select if the document can only be signed on invitation or by all users.
Invited Users: Select the users you wish to invite to sign the document.
Editing Fields
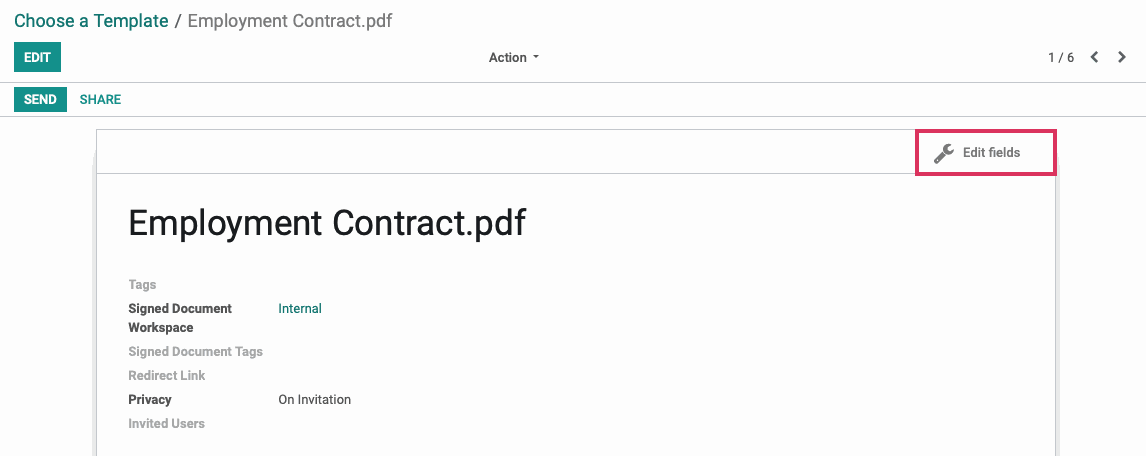
You can create editable fields on the document for signatures, dates, and more. From the template, select the Edit Fields smart button in the top right corner.
This will open a field editor window as seen below. Mousing over the black navigation window in the top of the PDF viewer will present a ribbon of fields as purple blocks. Drag and drop the desired items into place.
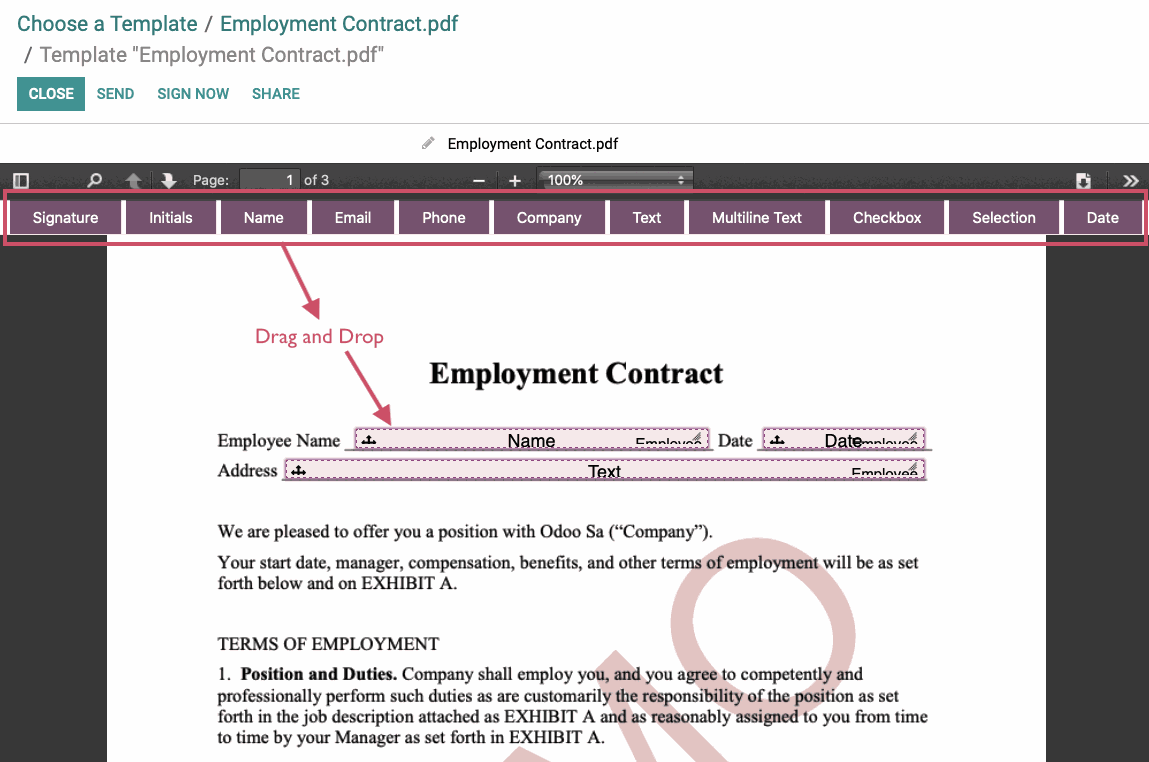
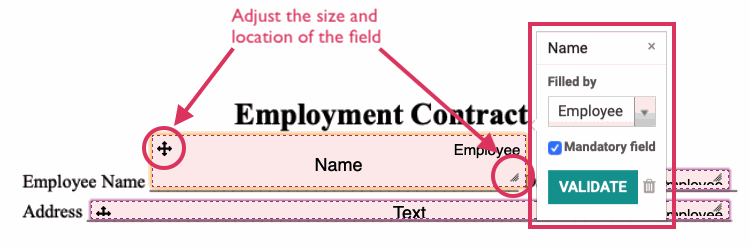
Once the field has been dropped in the correct spot, click on it. A window pops up giving you the option to change the role. You also have the option to make the field mandatory. To remove a field, click the bin icon in the right of the window.
Using the in the upper left corner of the field, you can move the field, and by grabbing the grey triangle in the lower right corner of the field, you can adjust its size. Once you are satisfied with the appearance of your document, you can select the box again and in the pop-up window click validate.
Sharing the Document
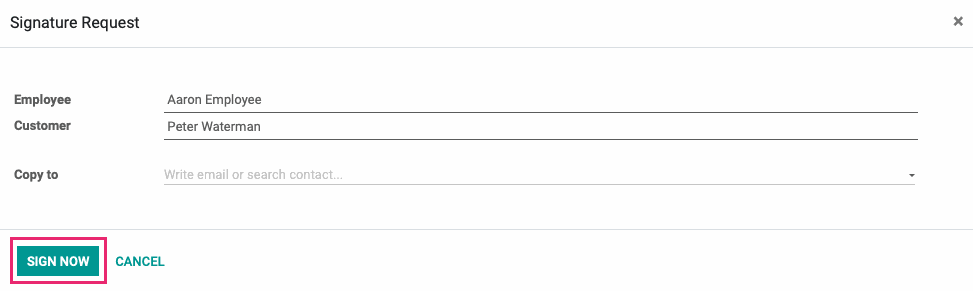
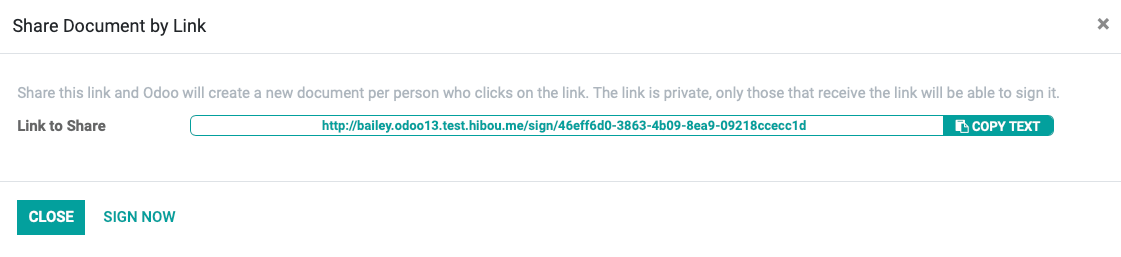
From the Edit Fields view, accessed in the previous step, it is possible to Send, sign now, or Share the document.
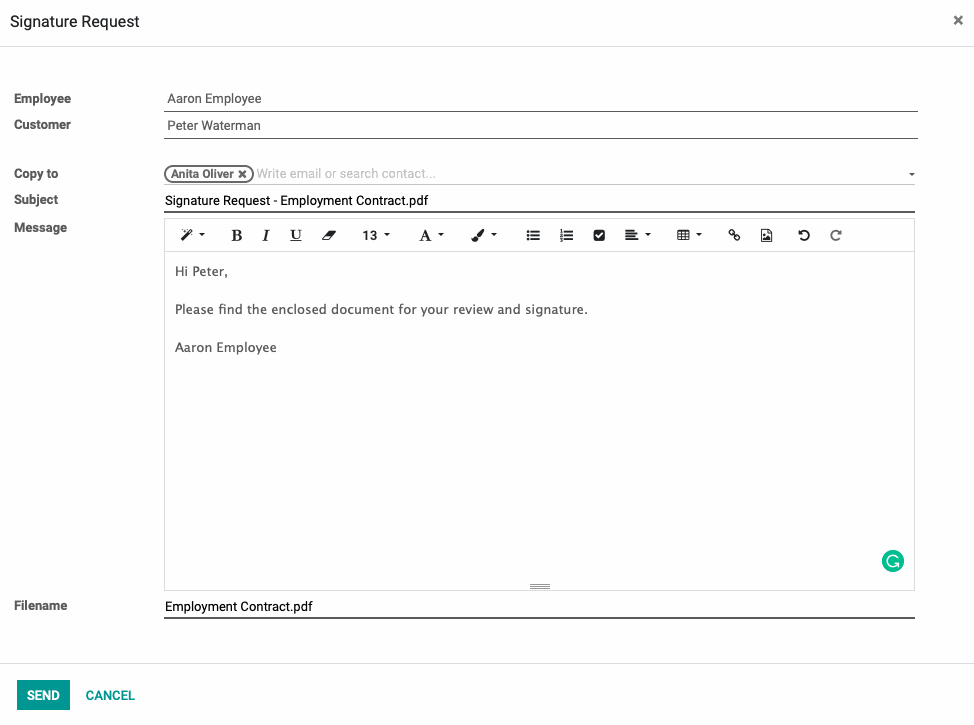
Send: This will open an email modal window where you can select the contact you'd like, as well as those who should receive a copy of the document. You can write a message and can retitle the document at the bottom. Click SEND to email the document to its recipients.
Important!
A document template cannot be used for two simultaneous signatures. We recommend having one template for each desired use case, for example W-4, and then when you send it to each recipient, you would simply rename the file to be specific to its recipient.
Navigating the Document
Odoo presents documents in an easily navigable way, allowing the user to quickly click to the fields they must fill in.
The NEXT button on the left brings the user directly to the fields that must be filled in. They can click Next until they reach the end of the document.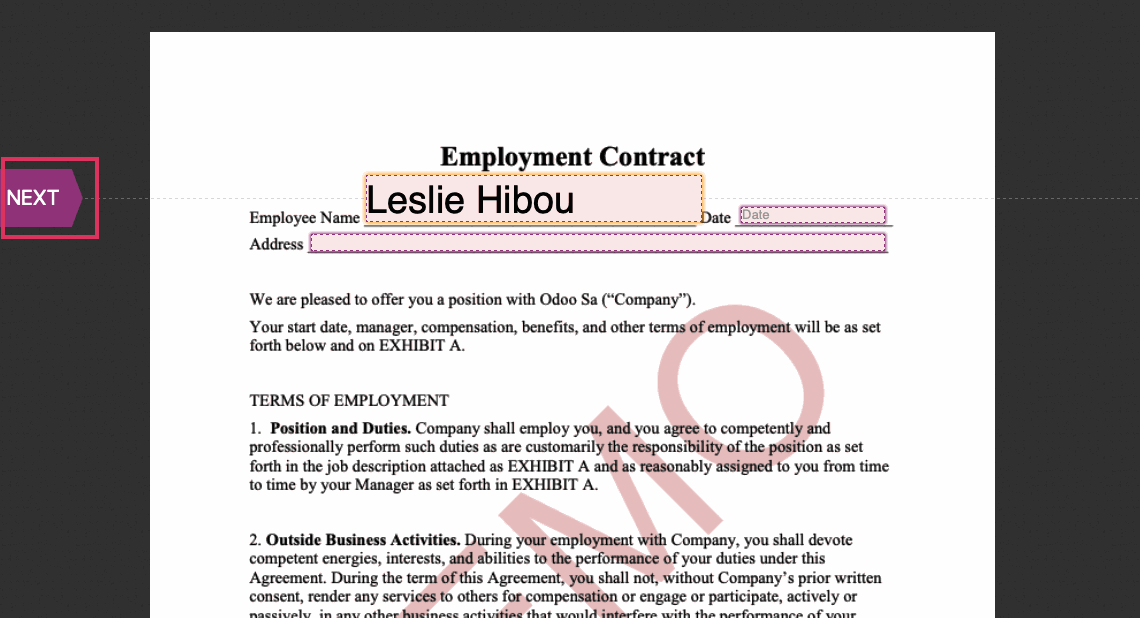
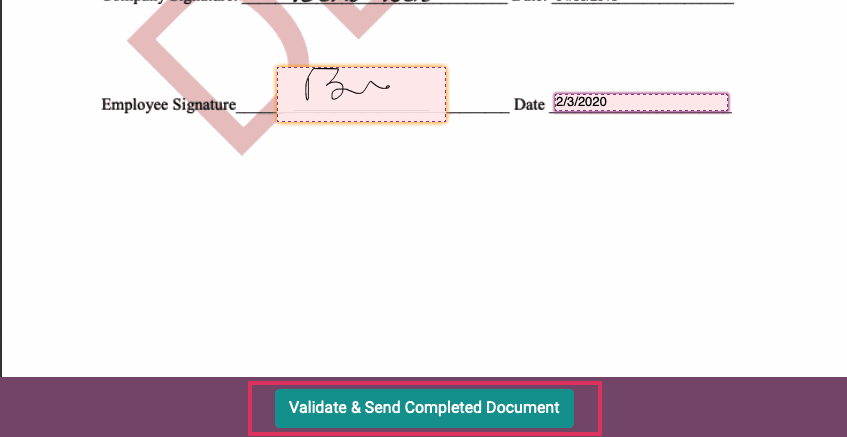
When they reach the end of the document, they will be able to click the Validate & Send Completed Document button to complete the signature process.
The SEND A REQUEST button in the Templates homepage performs the same functions as above, only does not give you the option to name the document. Selecting SEND A REQUEST opens an upload window from your computer. Select the document you wish to upload. This will immediately open the field editor window, where you can add fields to your document and then SEND or SHARE.
Awaiting Signatures
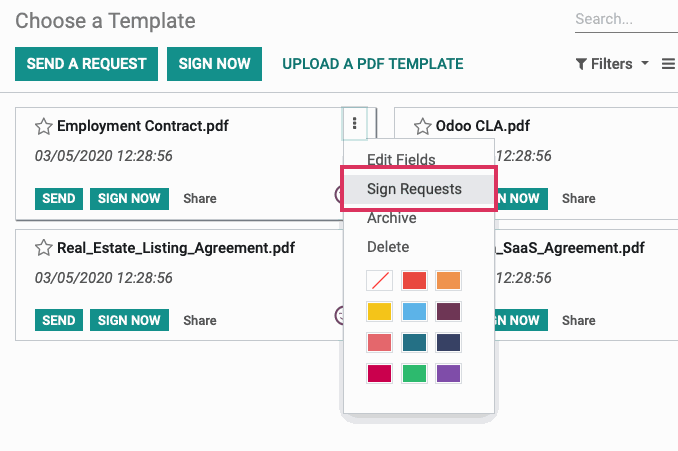
You are able to see the status of signatures on any document. Navigate to templates and click the settings menu to view the Sign Requests that have been submitted for that document.
On the next page, you will see a kanban view of the sign requests, with information on who submitted them and when they were submitted.
