Documents: Notes Management
Purpose
This document covers how to use the Notes application of Odoo 15. The purpose of this application is to allow users to keep private notes and lists to stay organized.
Process
To get started, navigate to the Notes app.
Stages
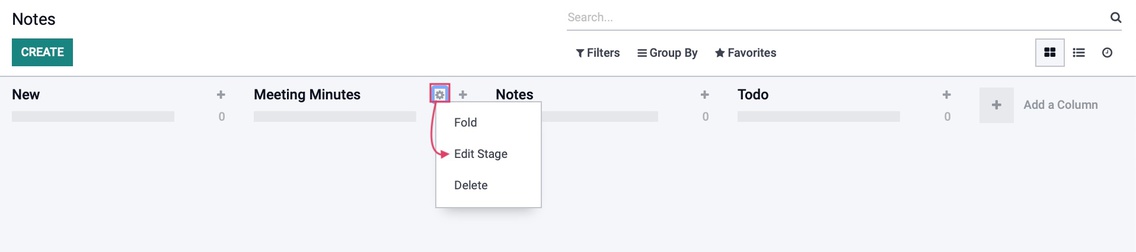
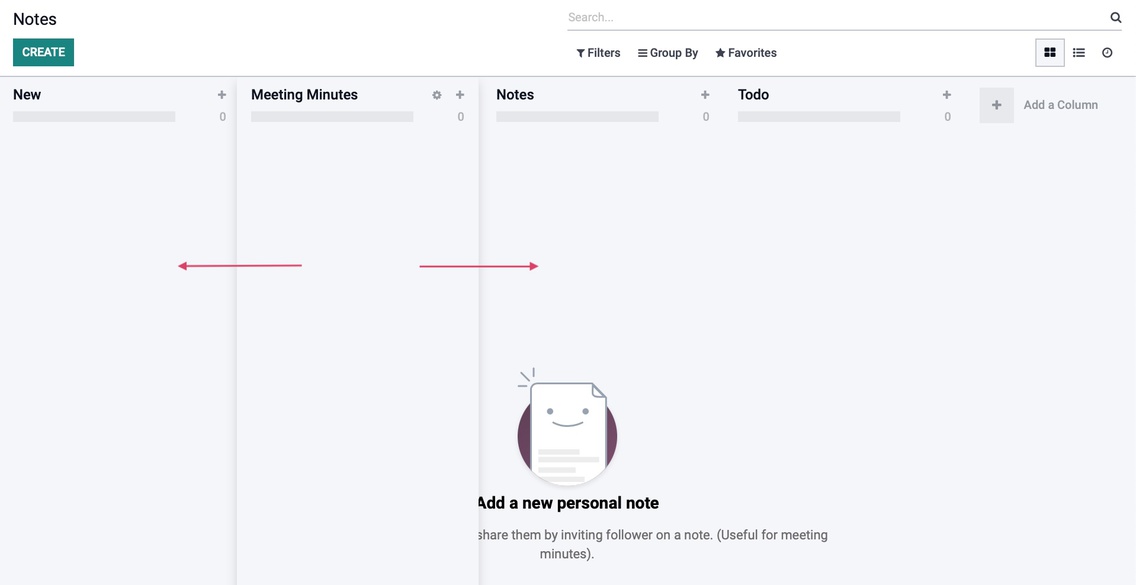
Once there, you'll notice different columns. These can be used to organize by topic, or as stages. These are managed like any other stage in Odoo; however, they are only visible by the user that creates/modifies them. Each user has their own Notes stages.
To rename a column, click the icon and select Edit Stage.
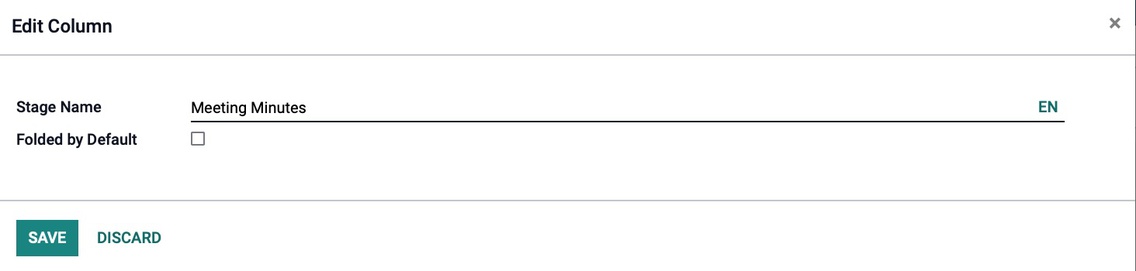
Here you can edit the name of the stage, and indicate if you'd like it folded by default. If you've made changes, click Save.
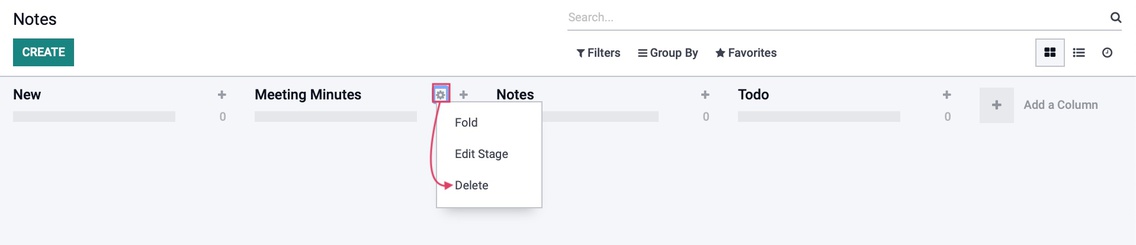
In this same manner, you can also remove a stage by selecting Delete.
As with all stages in Odoo, you can click and drag them into the order you prefer.
Notes
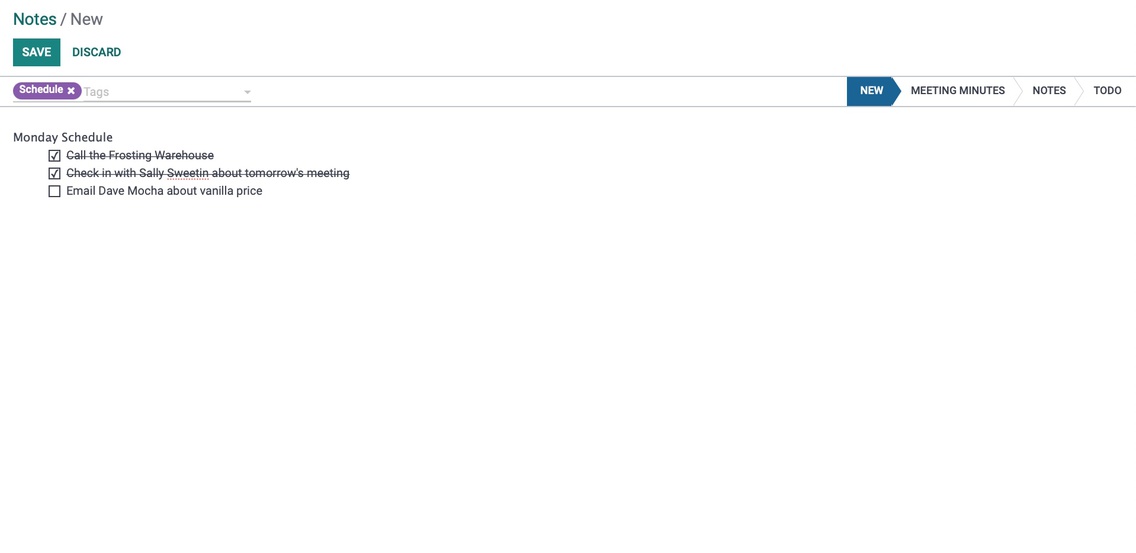
To create a note, click create. This opens the new Notes form where you can create/add tags to help you organize your notes, then add the content of your note.
The first line of your note will become its title. In our example, Monday Schedule is the first line.
A note can be anything, and it will only be visible to you. Use the WYSIWYG editor to customize it. You can even apply the checkbox list if you'd like to tick items off when they're done!
Additionally, from this view, you can move the note to your desired stage by clicking that stage on the top-right.
When you're done, click save. Use the breadcrumbs to navigate back to all notes.

Here you can see the note was named from the first line. You can use the icon to schedule an activity on this note.

If it's a simple todo note, you can click the checkmark when it's complete. This puts it into the "inactive" state.

To revert it back to active, click the icon.
