Subscriptions: Configuration
Purpose
This document covers the different configurations of different items within the Subscription application of Odoo 15.
Process
To get started, navigate to the Subscription app.
Subscription Templates
Subscription Templates are used to save time when creating a new subscription by using preset configurations.
Click on CONFIGURATION > SUBSCRIPTION TEMPLATES, then click CREATE. 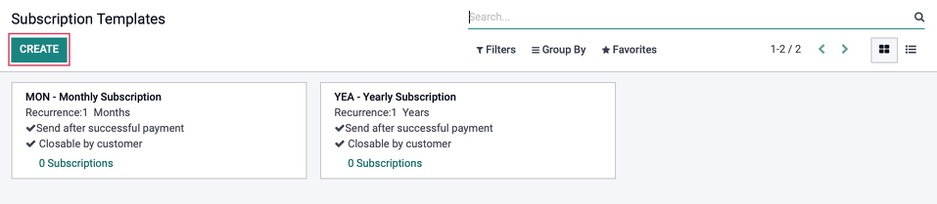
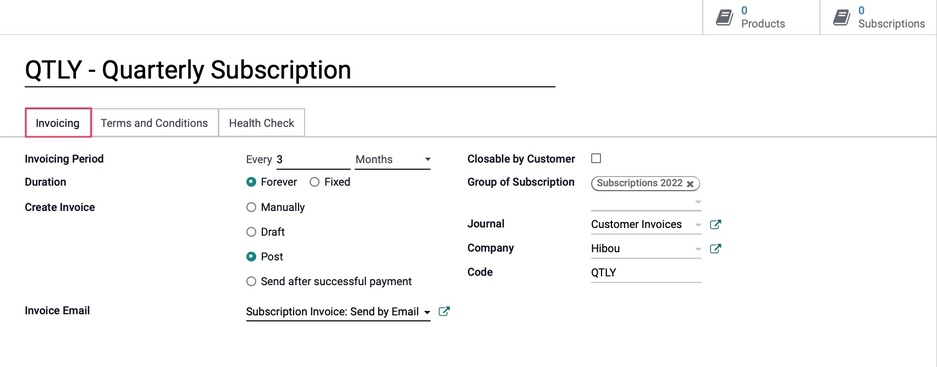
Configure the following on the subscription template:
Name: Add a name to your subscription.
Under the Invoicing tab:
Invoicing Period: This determines the length of time between each invoice. Here you will be able to determine the quantity and time range the invoices should repeat (Days/Weeks/Months/Years).
Duration: This determines how long the subscription will run.
Forever: This will make the subscription run indefinitely until it is cancelled.
Fixed: This will allow you to determine the number of invoicing period this subscription will run until it ends.
Create Invoice: This determines how the invoices are handled.
Manually: You will need to manually create an invoice
Draft: This will create a draft invoice that will need to be Posted.
Post: This will create an invoice, then automatically post and send it to the customer via email.
Send after Successful Payment: This will generate an invoice, post and attempt to pay it. However, the invoice will only be sent to the customer via email if the payment was successful.
Invoice Email: This is the email template that will be used when sending out the posted invoice. This field will only appear when the Create Invoice option Post is selected.
Closable by Customer: This option will allow the customer to close their subscription from the customer portal.
Automatic Closing: This field will indicate the number of days the subscription is automatically closed if the renewal charge was not paid successfully. This field will only appear when the Create Invoice option Send After Successful Payment is selected.
Group of Subscription: This is a tag that can be used to filter reporting.
Journal: If setm the subscriptions using this template will be posted to this journal. If this field is to be left blank, the subscriptions will get automatically posted to the Sales journal with the lowest sequence available.
Code: This code will automatically be added to any subscription using this template. i.e. MON for month.
Under the Terms and Conditions tab, fill in the details of your terms & conditions for using this subscription template.

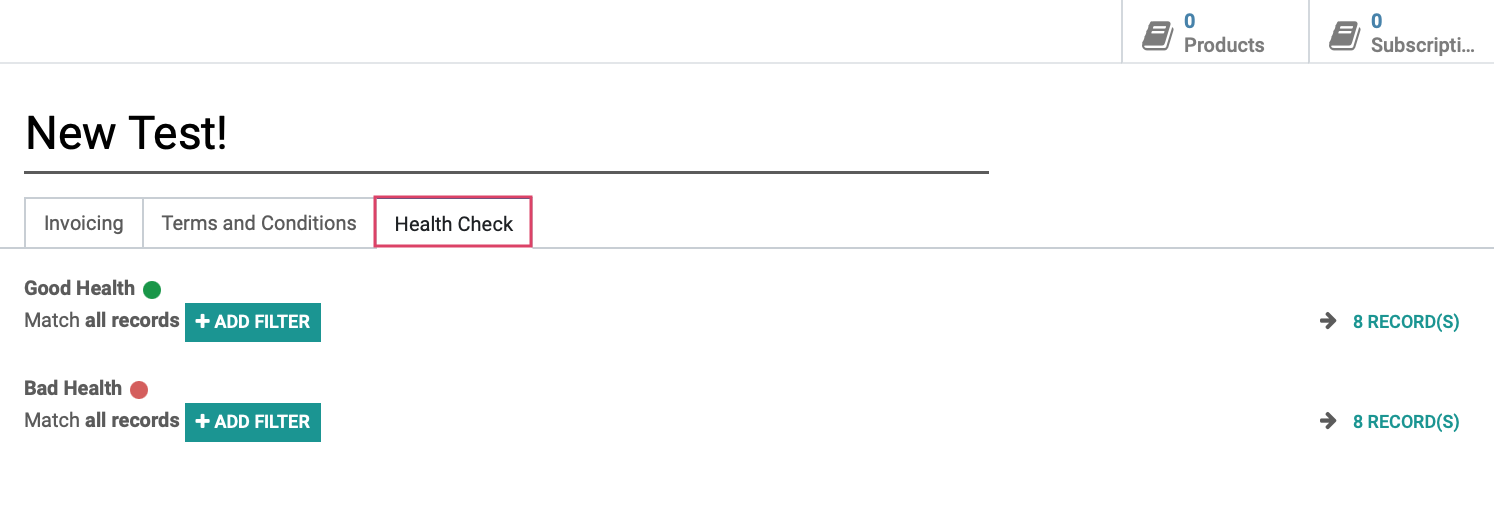
Under the Health Check tab:
Subscription Health is determined by the number of subscribers that continue or cancel their subscriptions. There are many different options so configure them any way you like to display the information you would like to monitor:
Good Health: Use +ADD FILTER to set parameters for indicating the "good health" of a subscription. Click on # RECORD(S) to see a list view of all the subscribers with good ratings.
Bad Health: Use +ADD FILTER to set parameters for indicating the "bad health" of a subscription. Click on # RECORD(S) to see a list view of all the subscribers with bad ratings.
When you are finished configuring the Subscription, click Save.
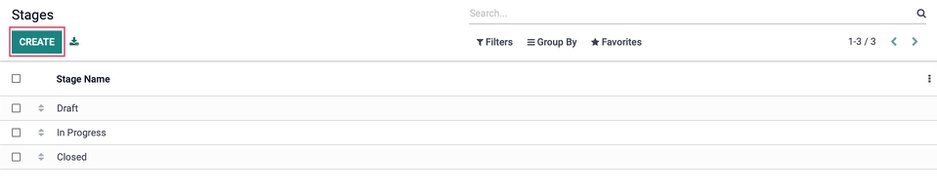
Subscription Stages
Subscription Stages are used to monitor the lifeline of a subscription and can be viewed on the Subscription dashboard. These are the different columns that make up your subscription pipeline.
Click on CONFIGURATION > SUBSCRIPTION stages to see a list of current stages used in your subscriptions pipeline. Using the arrows to change the order the stages are in.
Click CREATE to add a stage.
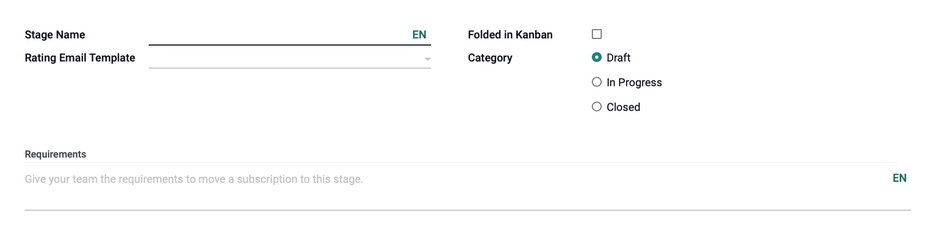
Configure the following on the subscription stage:
Stage Name: Choose a name for your stage.
Rating Email Template: Specify an Email Template that will be sent to the customers email when a subscription is moved to this stage.
Folded in Kanban: Checking this will keep the stage folded, but you can click the button to unfold it.
Category: Set a category from the three listed for this stage to be placed into.
Draft: is a subscription not yet activated.
In Progress: is an active subscription.
Closed: is a subscription that has ended.
Requirements: Here you can give your team the required items needed to move a subscription to this page.
When you are finished configuring the Subscription Stage, click SAVE.
Alerts
Using alerts on a subscription allows you to automate activities based on parameters you can configure. These can include getting an alert to make a phone call to a subscriber if the satisfaction rate dips below a set percentage, or if you'd like to receive an email each time a subscriber makes a change to their subscription.
Click on CONFIGURATION > ALERTS to view any already configured alert messages.
Click CREATE to make a new one.

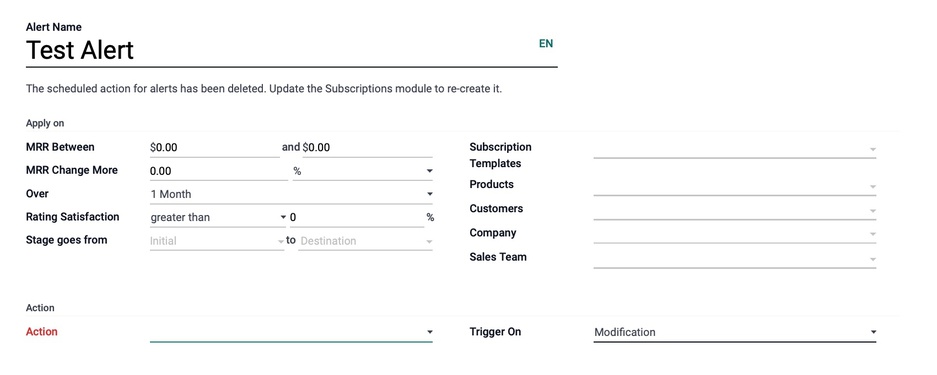
Configure the following on the alert:
Alert Name: Give your Alert a name.
Apply On
Setting this parameter will determine if an alert is generated for the user.
MRR Between: Set a range for Monthly Recurring Revenue.
MRR Change More: Set a value for Monthly Recurring Revenue changes. This can be set to a percentage or currency amount.
Over: Set an amount of time to determine Key Performance Indicators, or KPI.
Rating Satisfaction: This is a ratio of positive rating to the total number of ratings. This can be set to greater than or less than, followed by a percentage you determine.
Stage goes from: This setting determines if an alert is given based on movement through stages. If this is not set, a trigger will occur across all stages.
You can also select which field this alert should be applied on, whether it be on the subscription template, product, customer, or the sales team.
Subscription Templates: Select from a list of existing templates for the alert to be used on or start typing to create, or create and edit a new template.
Products: Select the products for this alert to be related to.
Customers: Select customers for this alert to be related to.
SalesTeam: Select a Sales Team for the alert to be related to.
Action
Action: Select an action to take place when an alert is triggered. This will display different fields depending on your selection:
Create Next Activity: This option will give you a field to determine the activity details that need to be filled on generation.
Set a Tag on the Subscription: This option will allow you to indicate the tag to place on the subscription for reporting purposes.
Set a Stage on the Subscription: This option will allow you to indicate the stage the subscription will be placed in.
Mark as To Renew: This will mark the subscription as to be renewed.
Send an Email to the Customer: This will send out an email using the email template selected.
Send an SMS Text Message to the Customer: This will send out an SMS text message using the SMS template selected.
Trigger On: This determines when the action is triggered.
Modification: This means that the action will be triggered when anything is added or changes on the subscription.
Timed Condition: This option will trigger the action on an indicated date.
By this point, you have probably noticed a button called Trigger Now, this will trigger your alert the moment you press it regardless of the Trigger On field configuration.
When you are finished configuring the Alert, click SAVE.
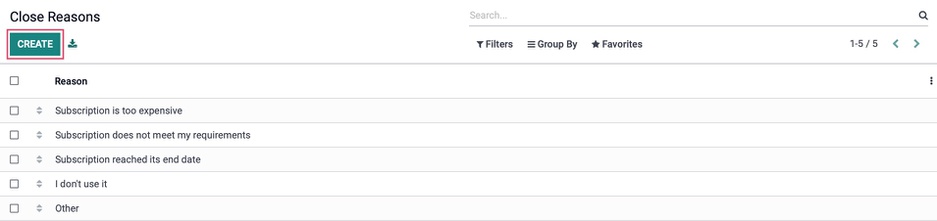
Close Reasons
Close reasons are used by the customer when ending a subscription. You can view these by clicking CONFIGURATION > CLOSE REASONS. You can use the arrows to drag and drop the reasons in any order you like, and the order shown here will be the order they are in when presented to the customer if a subscription is canceled.
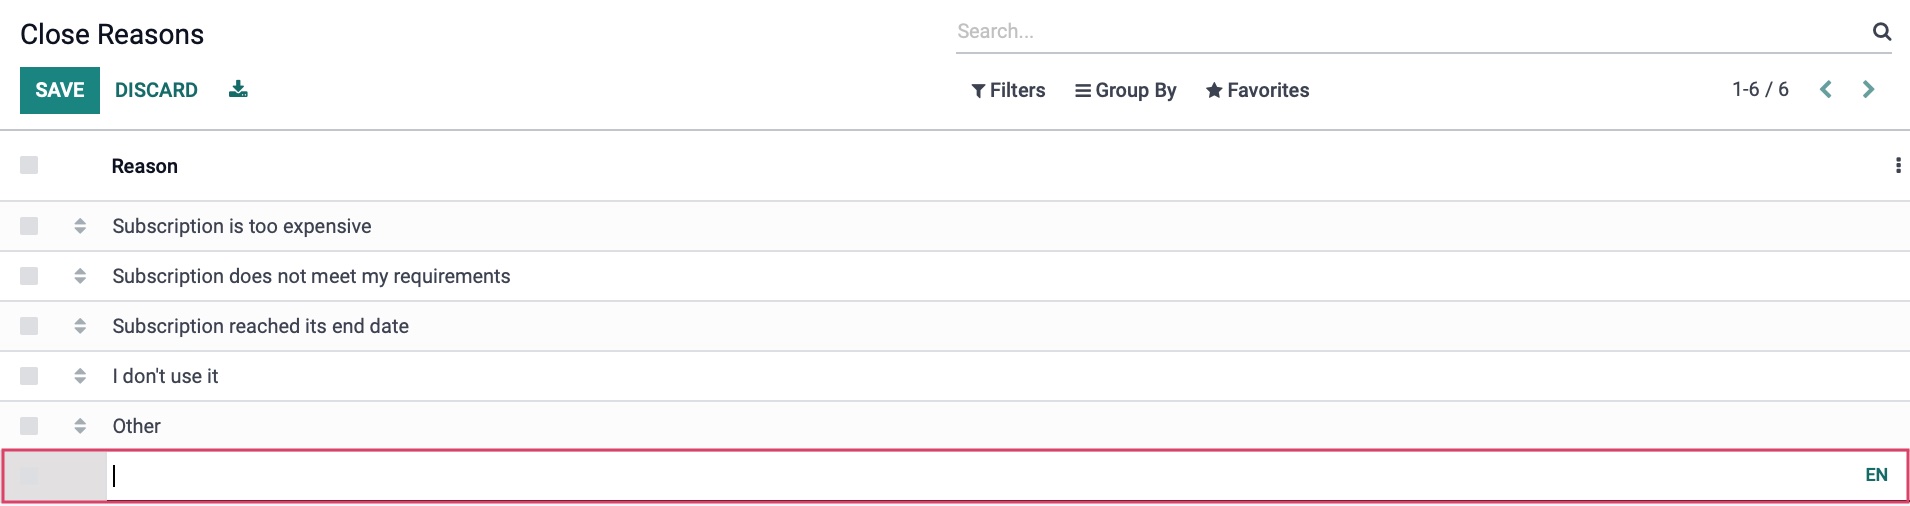
Odoo has several preconfigured by default, but you can easily add more to the list by clicking the CREATE button.
This will simply give you an additional line to add in a close reason.
Don't forget to SAVE when creating a new close reason!
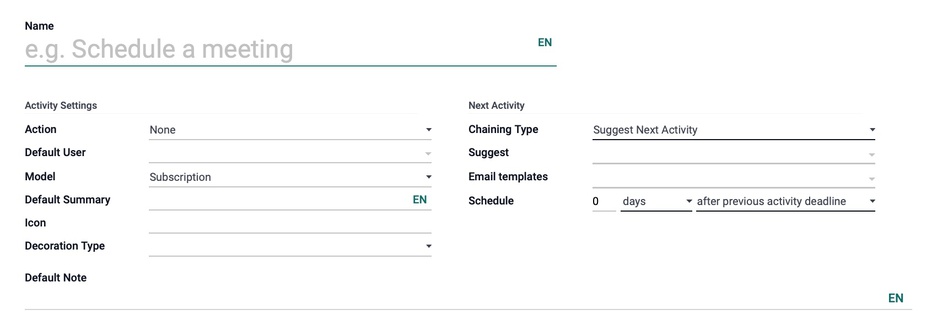
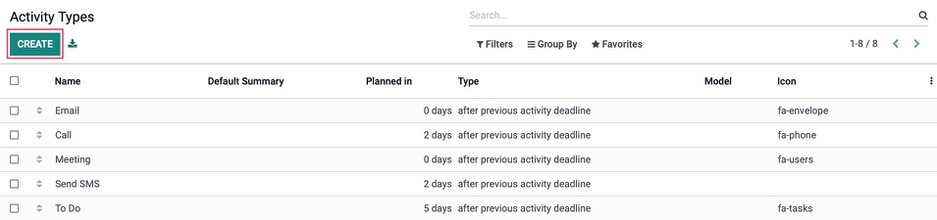
Activity Types
Activity types are used in the subscriptions app when an alert is configured to trigger an activity. Odoo does come with several configured by default. You can view the existing activities by clicking CONFIGURATION > ACTIVITY TYPES. When selecting an activity, they appear in the order shown here, which can be arranged by dragging and dropping the icon.
You can also click CREATE to configure your own.
To learn how to create and configure an activity type, please check out our Configuration: Activity Types documentation.
Remember to click SAVE when you are finished setting up your activity type.