Surveys: Surveys + Questions
Purpose
This document covers the different options and settings used to create surveys and survey questions in the Surveys application of Odoo 16.
Debug Mode
Some steps in this document will require you to be in Debug Mode.
Process
To get started, navigate to the Survey app.
Survey Pipeline
By default the app will open up to a kanban view of all your surveys. To view this from any other page in the app, click Surveys.

Creating a Survey
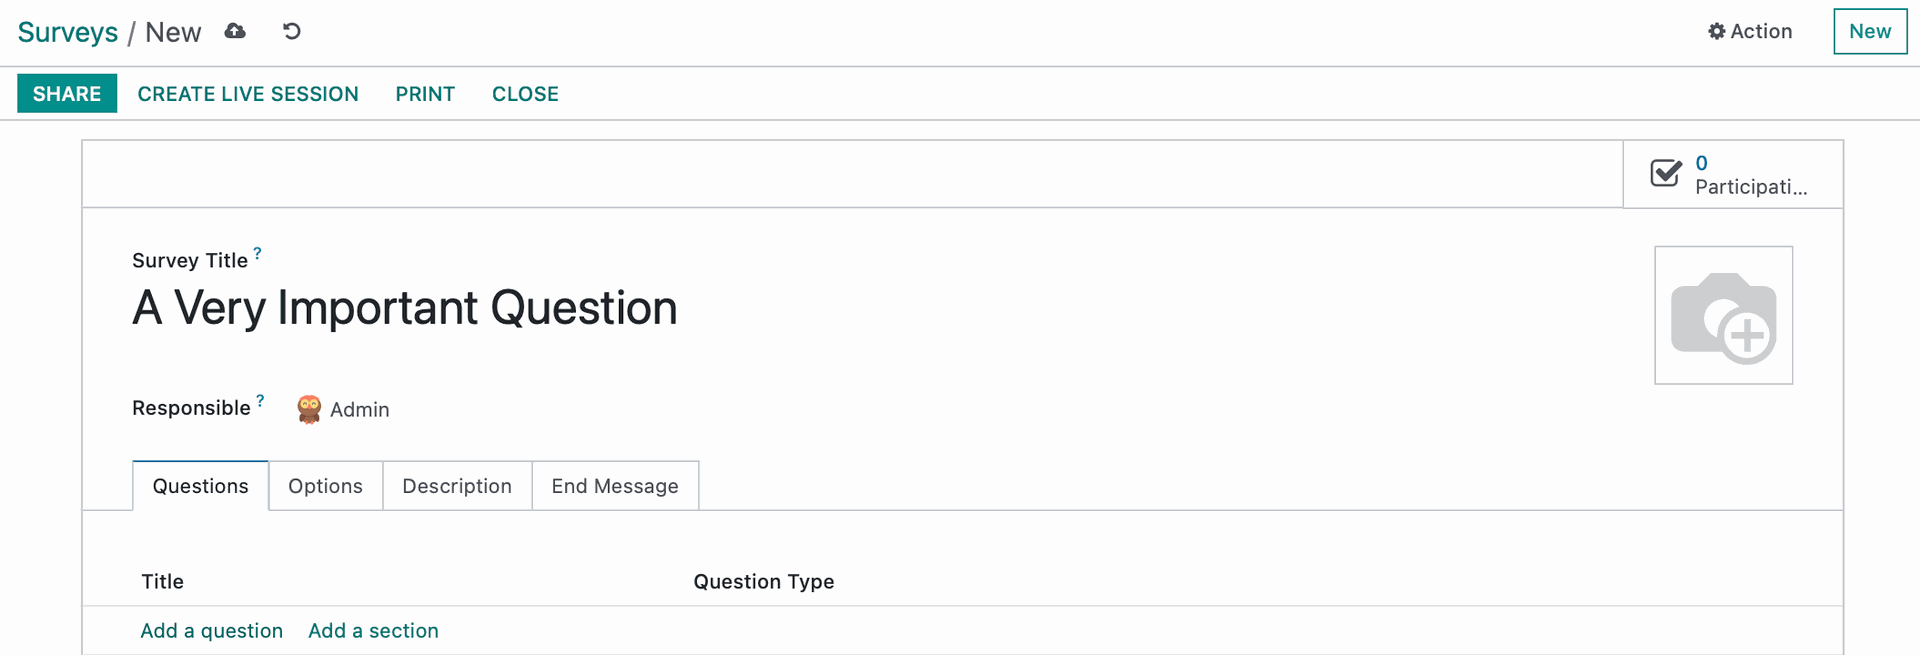
Let's go ahead and see how we can create a survey. Click NEW.
Survey title: Name your survey.
Responsible: This will default to the user that created the survey.
Under the Questions tab:
Add a Question: This will open up a modal that will allow you create and configure your question.
Add a Section: This will add a section, displayed in a gray bar, to your survey and allow you to organize you questions.
Configure your Questions
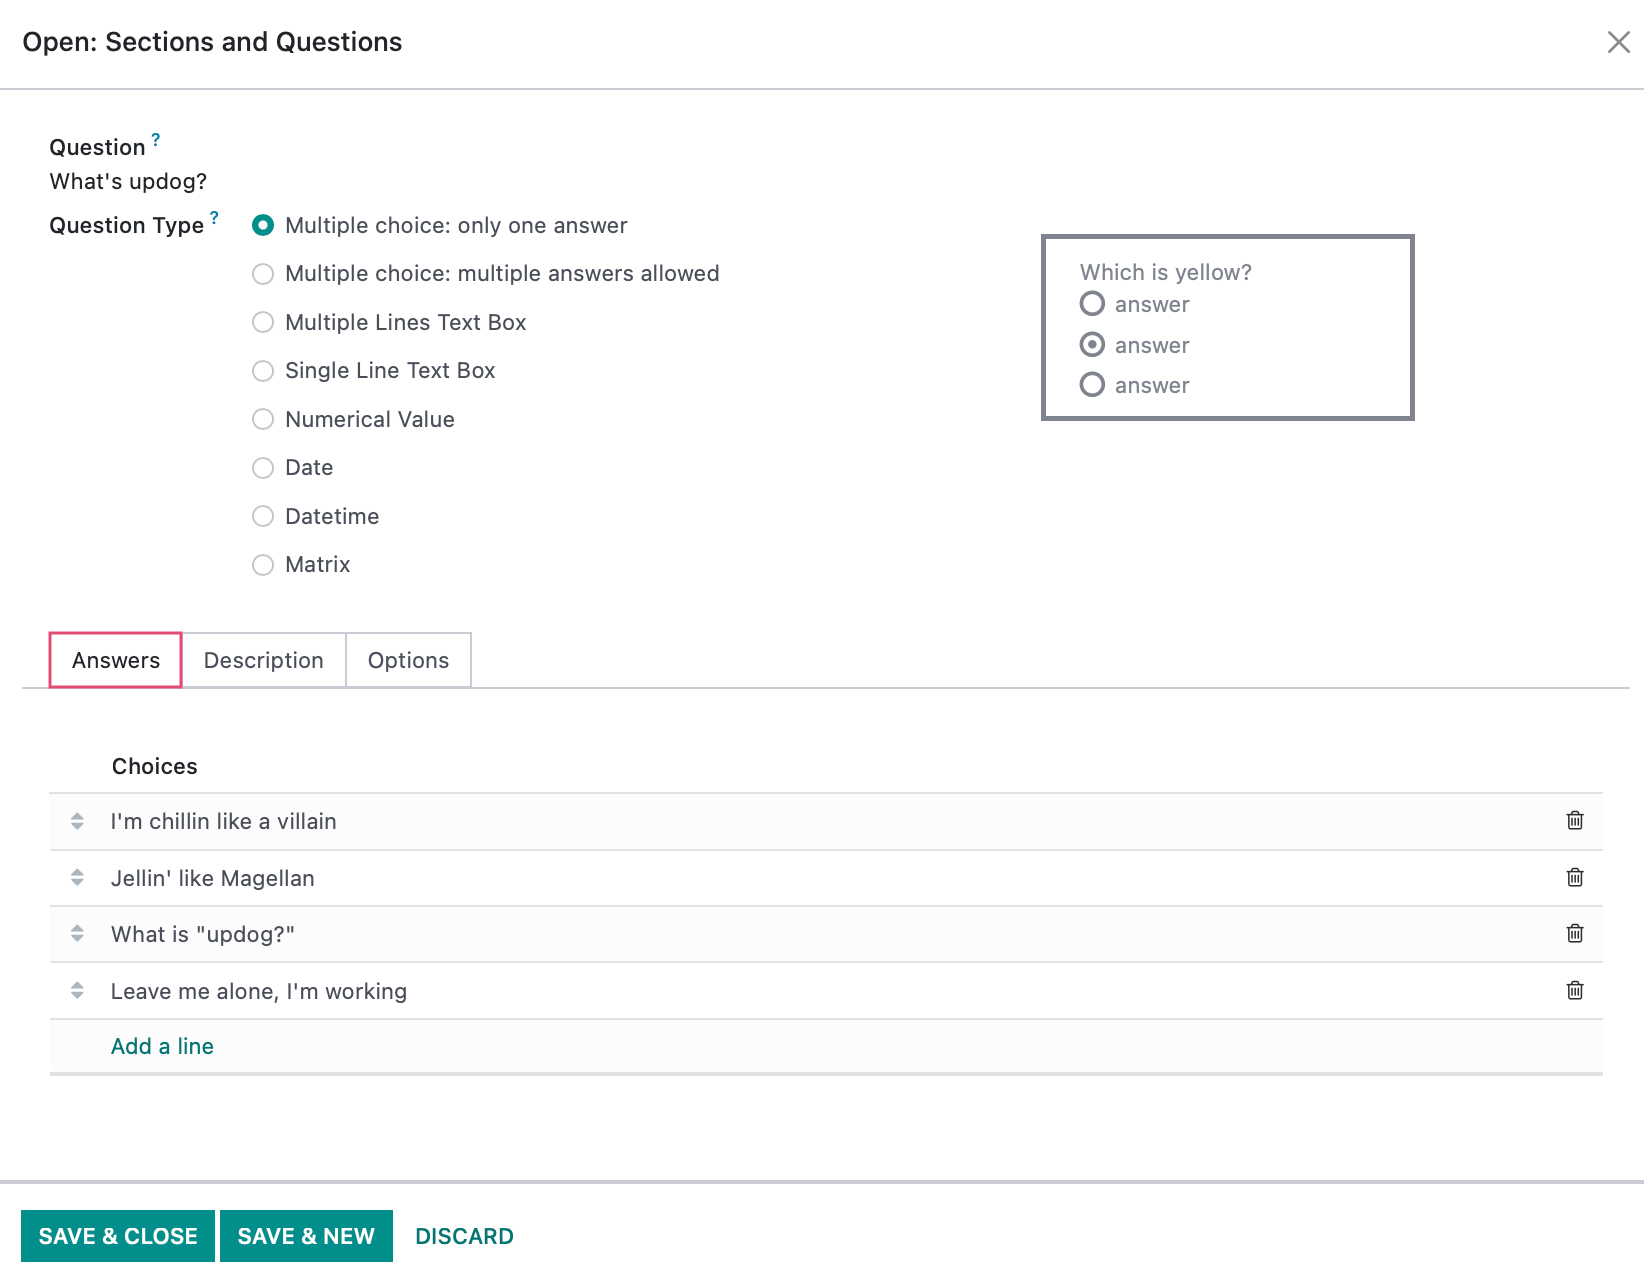
Click ADD A QUESTION to see how we can configure a question and what types are available to us.
Question: Enter the question in this field.
Question Type: The Answer tab will change according to your selection, but these are the basic selections available to you.
Multiple Lines Text Box: This is a text area field allowing for multiple lines.
Single Line Text Box: This is a text input field.
Numerical Value: This is an input field that will only accept numeric values.
Date: This is a date selection drop-down.
Datetime: This is a date and time selection drop-down.
Multiple Choice: only one answer: This is a radio input group.
Multiple Choice: multiple answers allowed: This is a checkbox input group.
Matrix: This allows for selection of column + row, common in rating scenarios.
Under the Answers tab, you may see a combination of the following options, depending on the question type you've selected:
Input must be an email: this will indicate to the user that the input must be an email address.
Save as user email: This will save the user's answer as their email address. This option only appears when the Input must be an email option is ticked.
Save as user nickname: This will save the user's answer as their nickname.
Validate entry: The following fields below will appear depending on the question type.
Minimum Text Length: Indicate the minimum length of the text in this field. Use whole integers only. This field will only appear for text type questions.
Maximum Text Length: Indicate the maximum length of the text in this field. Use whole integers only. This field will only appear for text type questions.
Minimum Date: Indicate the oldest date entry that this field can be. This field will only appear for date type questions.
Maximum Date: Indicate the latest date entry that this field can be. This field will only appear for date type questions.
Minimum Datetime: Indicate the oldest date and time entry that this field can be. This field will only appear for date type questions.
Maximum Datetime: Indicate the latest date and time entry that this field can be. This field will only appear for date type questions.
Validation Error Message: This message will popup on the users interface when an entry is invalid.
Choices: This is where you can add choices to a question. This option only shows up for the multiple choice and matrix question types.
Rows: This is where you can add rows to form a matrix. This option only shows up for a matrix question type.
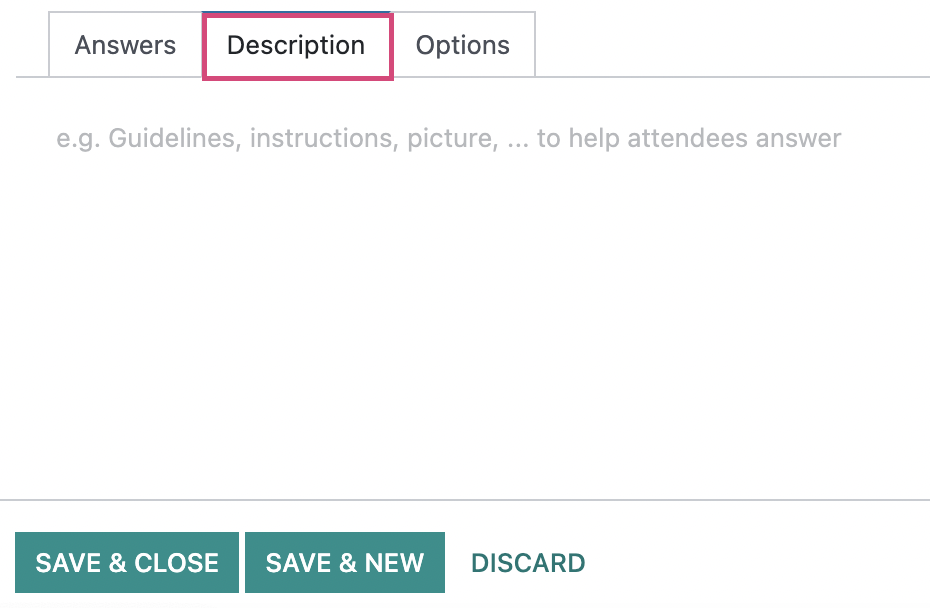
Under the DESCRIPTION tab:
The options here allow provide additional details about the question, add an image, or video, related to your question.
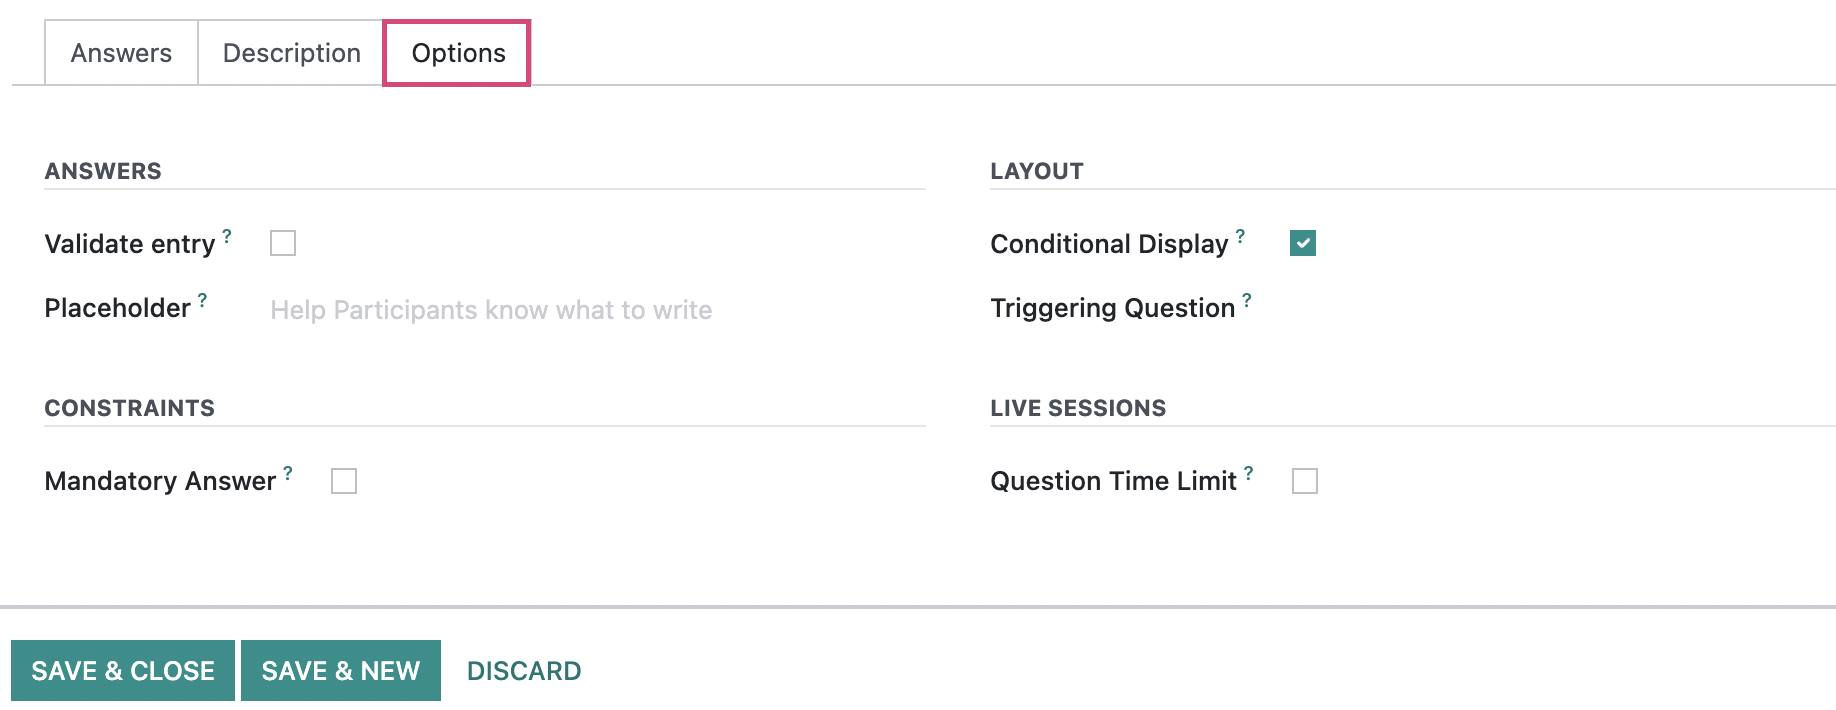
Under the OPTIONS tab:
Constraints
Mandatory Answer: This will require that the user answers this question.
Error Message: This message will be appear on the user's interface to let them know that the question requires to be answered. This will only appear when the Mandatory Answer is ticked.
Matrix Type: This will allow either one or multiple choices be selected per row. This option will only appear with a matrix question type.
Conditional Display
ConditionalDisplay: If checked, this question will only display when the specific conditional answer for the previous question on the survey is selected.
Triggering Question: This is the question that will have the triggering specific conditional answer. This field will only appear when the conditional display is ticked. If you do not see your triggering question appear, save your question and reopen it.
Allow Comments
Show Comments Field: This will allow the user to comment.
Comment Message: This is a preset comment opener for the user to fill in their response. This field will only appear when the Show Comments field is ticked.
Live Sessions
Question Time Limit: This will put a time limit in seconds on the amount of time the user has to answer this question
Once we are finished adding our question, click SAVE & CLOSE to go back to our main survey record. If you need to continue creating more questions, you can click SAVE & NEW.
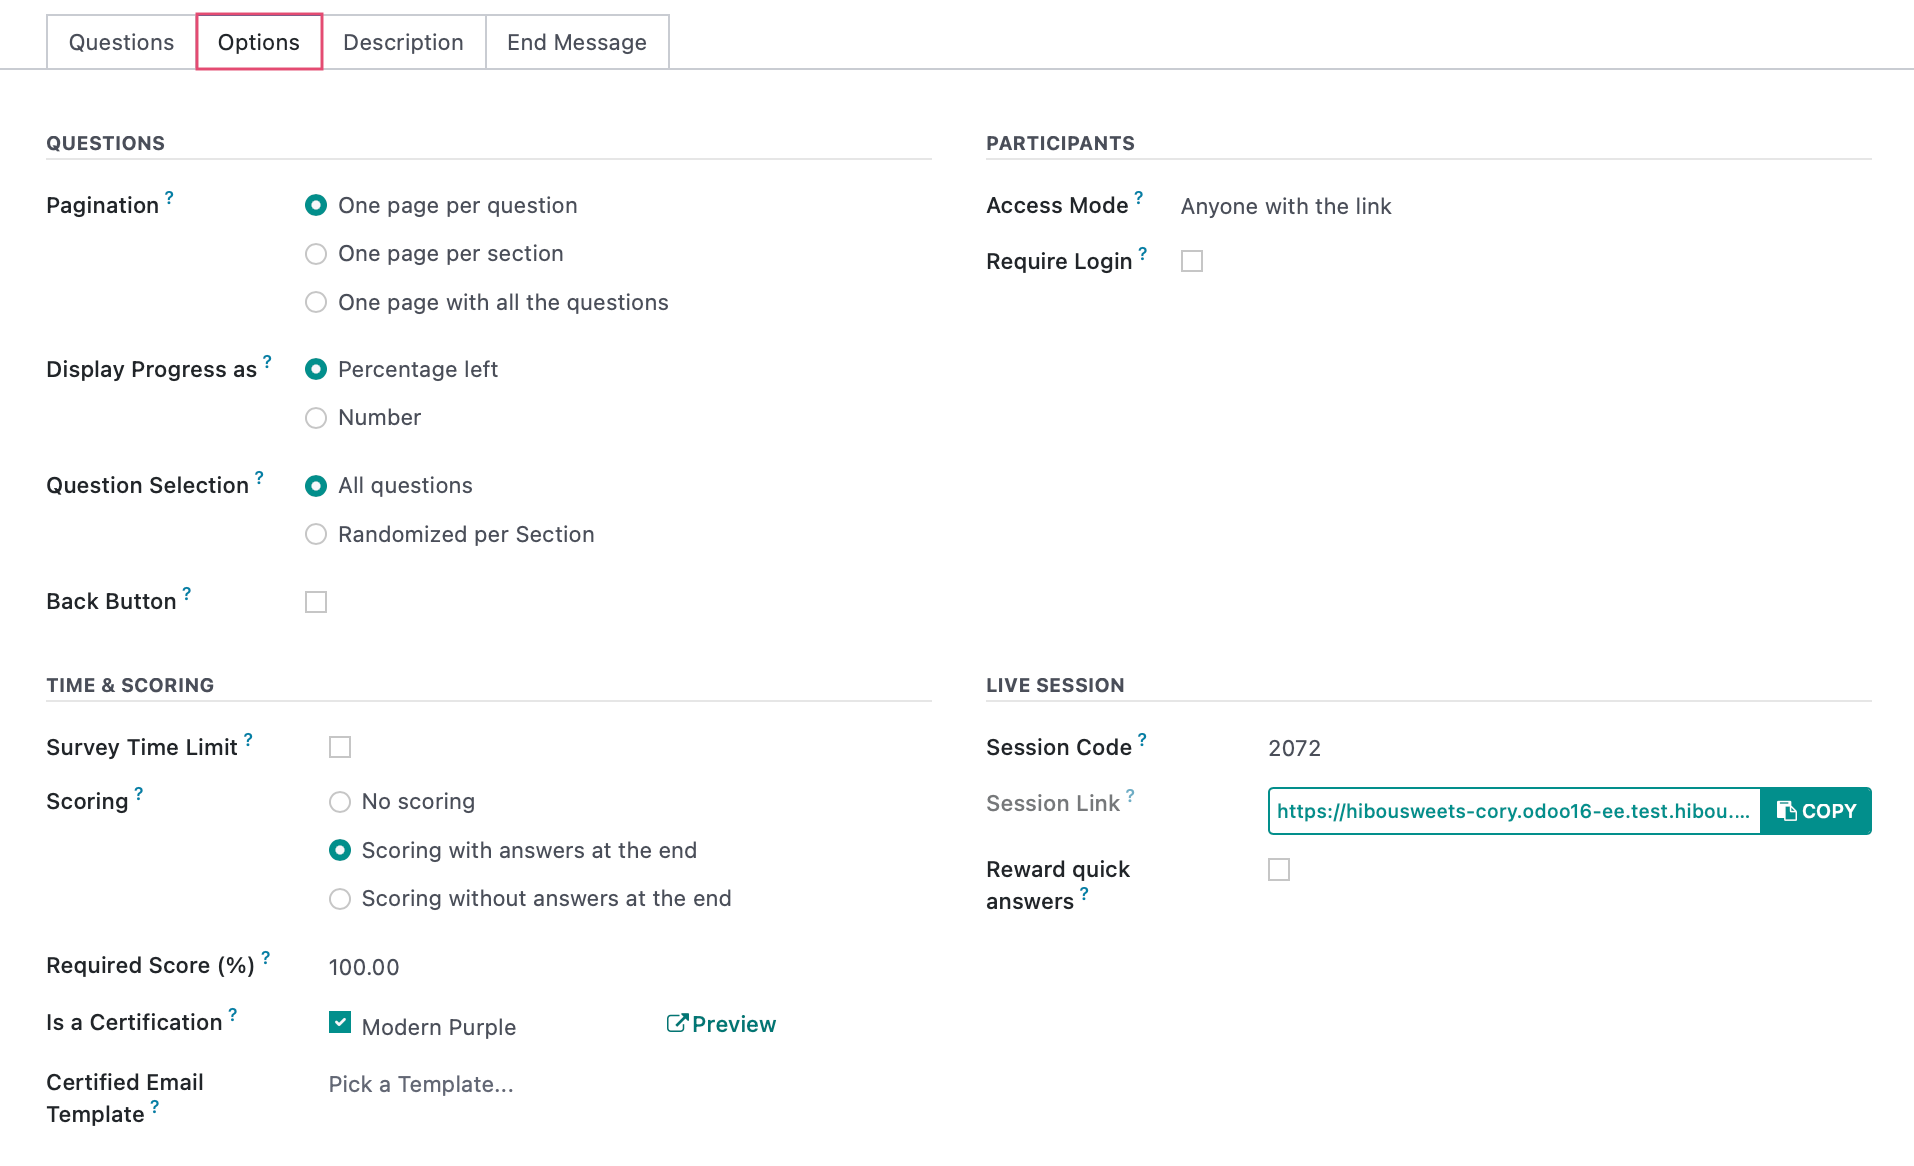
Configure your Survey
Under the OPTIONS tab:
Pagination
One page with all the questions: This will format the survey to have all the questions on one page.
One page per section: This will split your survey up by sections.
One page per question: This will split your survey up by question.
Display Progress As
Percentage: This will show the user the percentage of answered questions out of the total questions on the quiz.
Number: This will the user the number of questions answered out of the total questions on the survey.
Question Selection
All Questions: This will display all questions of the survey to the user.
Randomized per section: This will only select a randomized question to be answered.
Back Button: This option will let users go back to the previous page. Only appears for layouts that are divided by section or question per page.
Back Button: Allow survey participants to return to previous questions.
Time & Scoring
Survey Time Limit: Checking this box will display a field to enter an amount of time in minutes for the user to finish the survey.
No Scoring: The users will not be able to see their score at the end of the survey.
Scoring with answers at the end: The user will be able to see their score and answers at the end of the survey.
Scoring without answers at the end: The user will be able to see their score but not their answers at the end of the survey.
Required Score %:This dictates the minim percentage required to pass and only displays if a scoring option is selected.
Is a Certification: This indicates is this survey is a certification.
Email Template: This is an automated email sent to the user when they obtain the certification containing their certification document. This will only appear if Is a Certification is ticked.
Certification Template: This is the template of the certification document to be sent to the user.
Participants
Access Mode: This dictates who can access your survey.
Login Required: This will allow only logged-in users to take this certification.
Live Session
Reward Quick Answers: Users get more points for answering quickly.
Session Code: This code will be used by your participants to reach
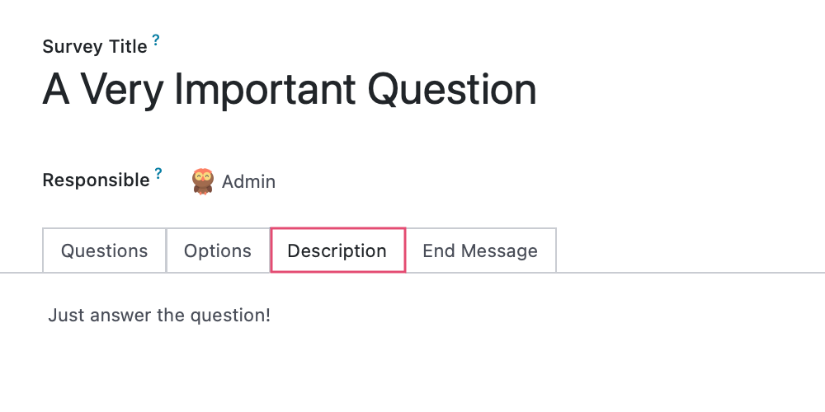
Under the Description tab of the survey itself:
The description you put below will serve as a preview page for your survey.
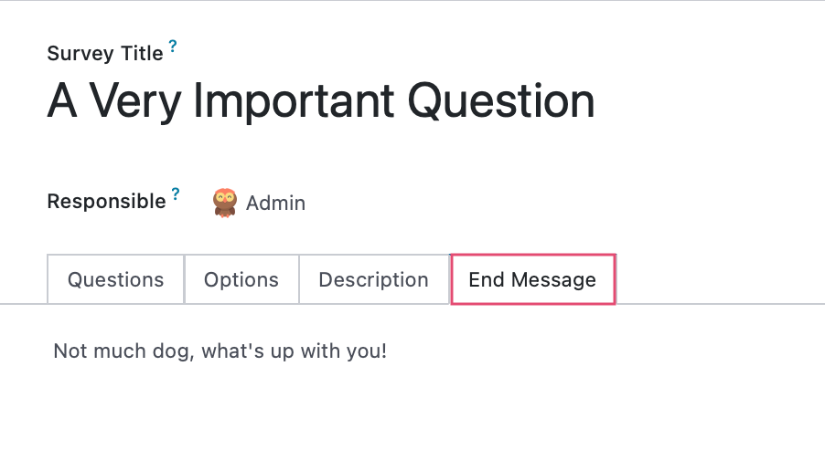
Under the End message tab of the survey:
This will be what your user sees at the end of survey when they have completed it.
If desired, you can also click PRINT to get a paper copy of your survey or TEST to try out your survey.

Questions
Let's click on Questions & ANSWERS > Questions. This view will show you a full list of all your questions, their type, and what survey they belong to.

Suggested Values
Let's click on QUESTIONS & ANSWERS > Suggested Values. This view will show you a list possible answers for each question.
