
I'm back with more fever dreams of a little one-stop, tabletop shop! I've got my Inventory configured and my shelves are STOCKED. All the bits and baubles for daring adventuring parties (also known as nerds of the round table) are... almost ready for sale. Now... I need to set up my Point of Sale so I can actually exchange goods for gold... I mean money. Right. This might seem like it'll be a tricky set-up, but with the right ERP (ehem... Odoo) it's going to be a breeze. Also, if you missed Part 1, check it out!
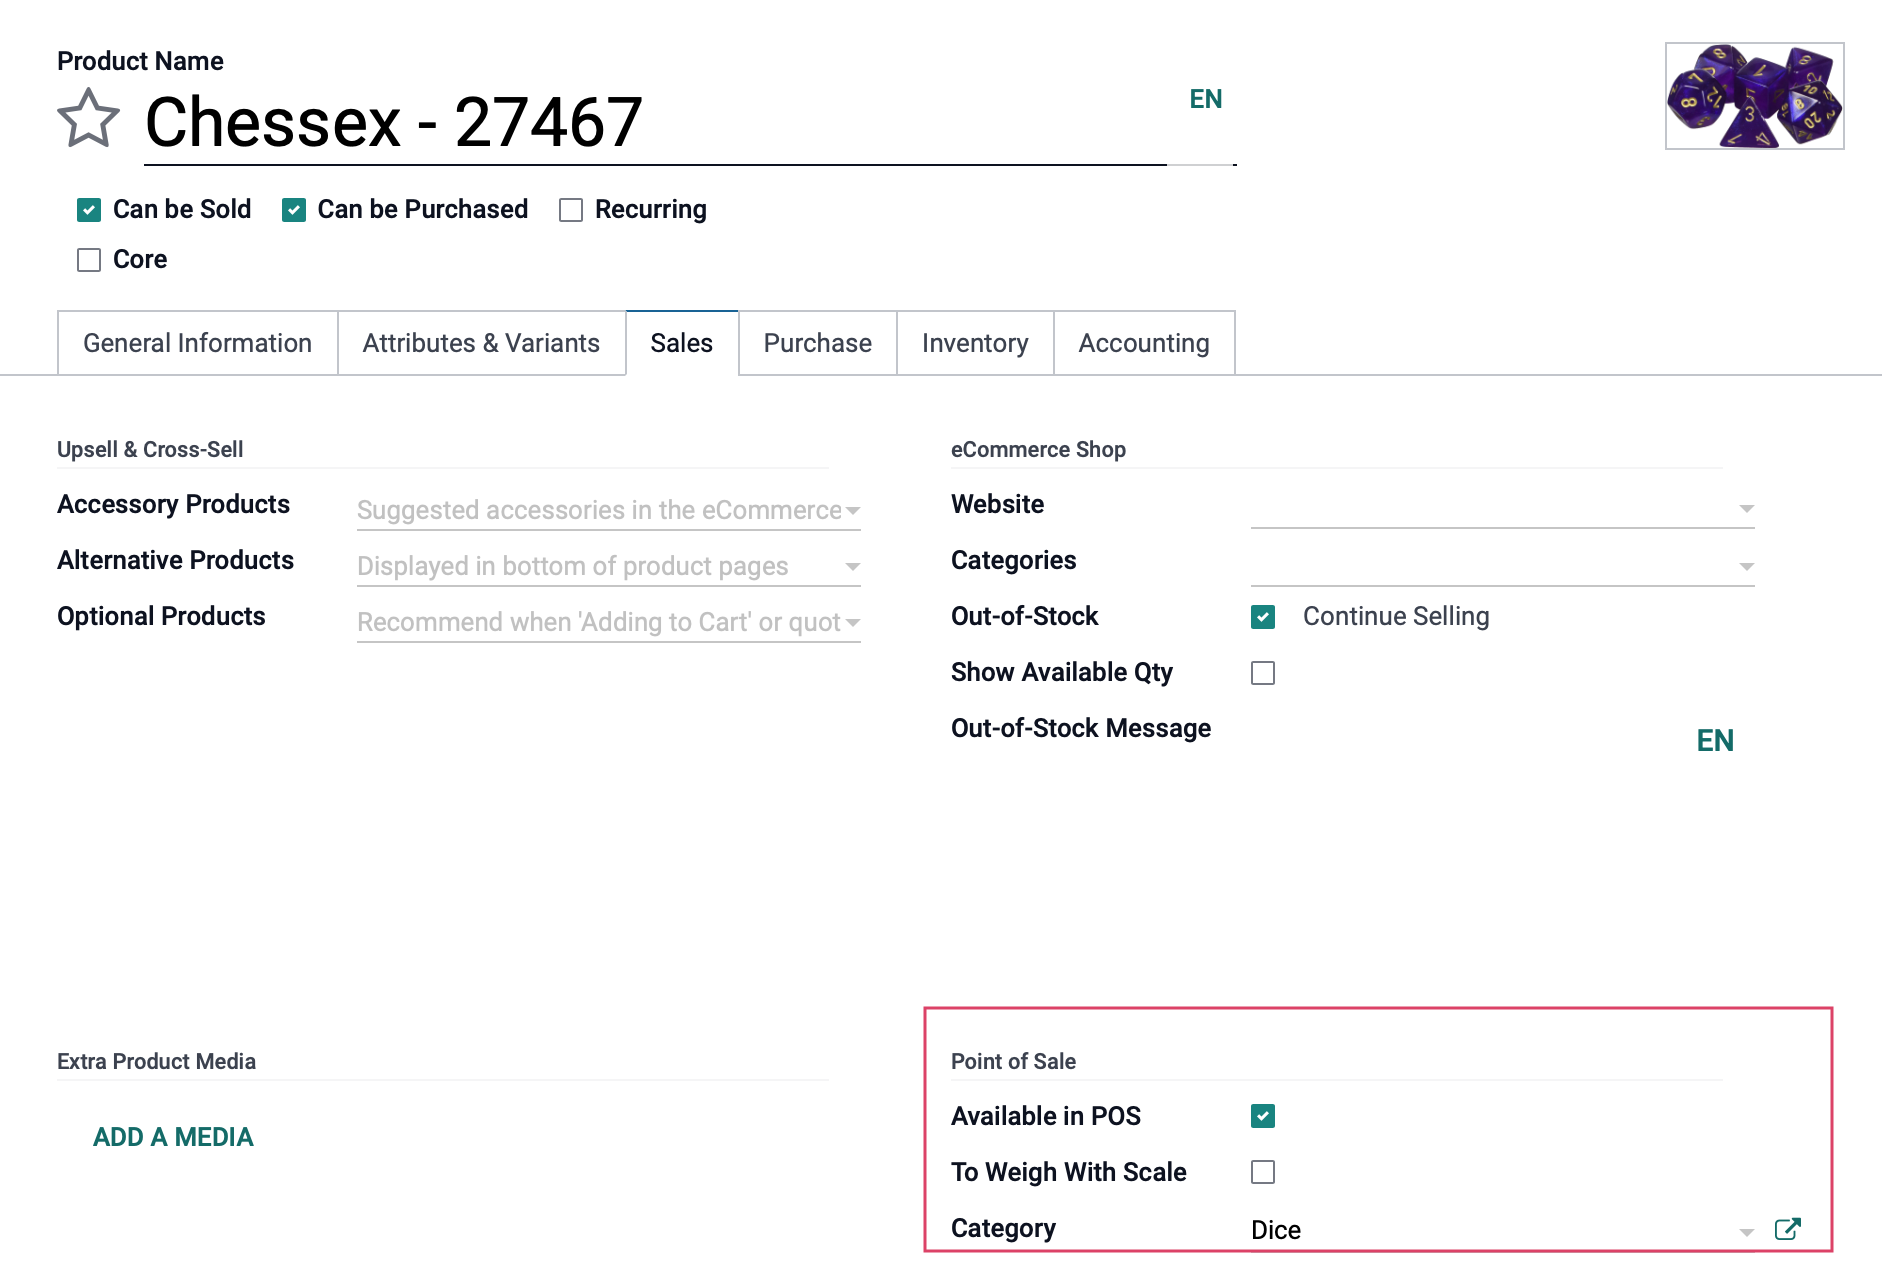
Before messing with my PoS Configuration, I need to enable the PoS setting on each product I'll be ringing up at the tavern counter. This setting can be found under the sales tab of the product's configuration. This will allow the products to appear on my tablet up front so I will be able to enter in or scan items and provide receipts to my customers.
 Afterwards, I'm going to go to my Point of Sale application, and select Configuration > Settings. As I'm setting up my PoS, I want to be sure to assign the appropriate journal for my accounting records and select the default sales tax. I'm also going to enable my coupons and promotions. This is going to allow me to add in any deals I may be offering, maybe for the grand opening or Free RPG Day, at the counter. Then, in the Inventory Management section, Odoo recommends that we update our inventory at the end of the day or closing of the session. This setting is great for a company that wants to move large amounts of product en masse, for example: if they fill a truck throughout the day and ship things before they head out for the night. However, for my little tabletop shop, the items are very small. Customers will pull them from shelves and leave with them, so I will need to change this setting to update in real time. These are very basic setting configurations for my shop, and they're perfect for me.
 Now I can create the station itself. I'm going to navigate back up to my Configuration button, and just below the Settings option, I will see Point of Sale. Clicking that will bring me to what will eventually be a list view of all of my stations. When I select the Create button, a modal window will open up and I can customize the Tavern's PoS to my heart's content. There are many options to choose from on this window, which is great for fine tuning exactly what I need. However, for the sake of brevity, I'm just going to run through a few examples. I want my employees to be able to sign into the PoS using a number code, so I will enable my Authorized Employees and assign them. I also want to limit Price Adjustments to managers. This way, if a customer would like something like a price match on a particular item, a manager will have to approve that and make the change for the cashier. I'm going to enable the Product Configurator so customers will be able to customize things (like the awesome resin dice we're going to be making in the Forge).
 When the basic configuration and customization is complete, I am ready to start selling product! The PoS Sales Process is smooth sailing from here! I will open my Odoo account on my tablet. Then navigate to my Point of Sale application, which will bring me to my dashboard. Here, I'm going to see a New Session button. Le click. And boom! I'm ready to go.There are images I can click on to add to an order or I can use the search bar to pull up a particular item. Odoo's been making this whole process insanely easy and I'm really enjoying working with it. Next time, I'm going to give you guys a run down on how the Manufacturing application is going to keep my Forge fires hot.