Exporting Data
Getting a snapshot view of the data contained within your Odoo database can be quick and easy! The Export Wizard is a stock function that is generally available on any record type that allows a list view. The tool will allow you to build and save a report by targeting individual fields on a record set, as well as related data that may expand into other applications. The Excel or CSV file it generates can then be used in other reporting programs, or as a template for updating existing information. No matter the use case, familiarity with this function will allow you a better understanding of how Odoo manages data.
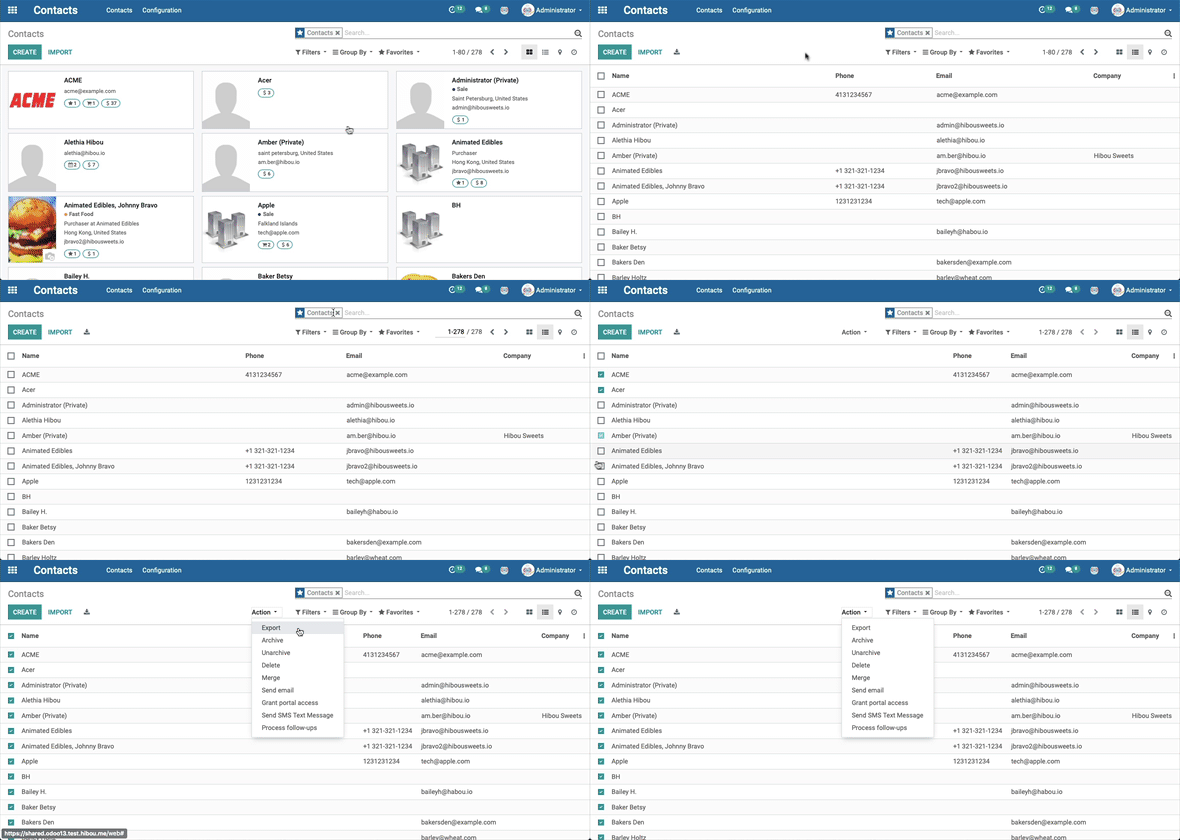
In order to access the export feature, you will need to ensure the desired record is available in List View. Most Odoo records are, but there are some exceptions. You can quickly spot-check by navigating to the app and the content in question, and checking if the List icon is available.

From here, you are ready to open the Export Wizard. Select the desired records or check the box in the header row to select all (note, this only selects the current page). Then navigate to the Action menu and choose Export.

Welcome to the Wizard!
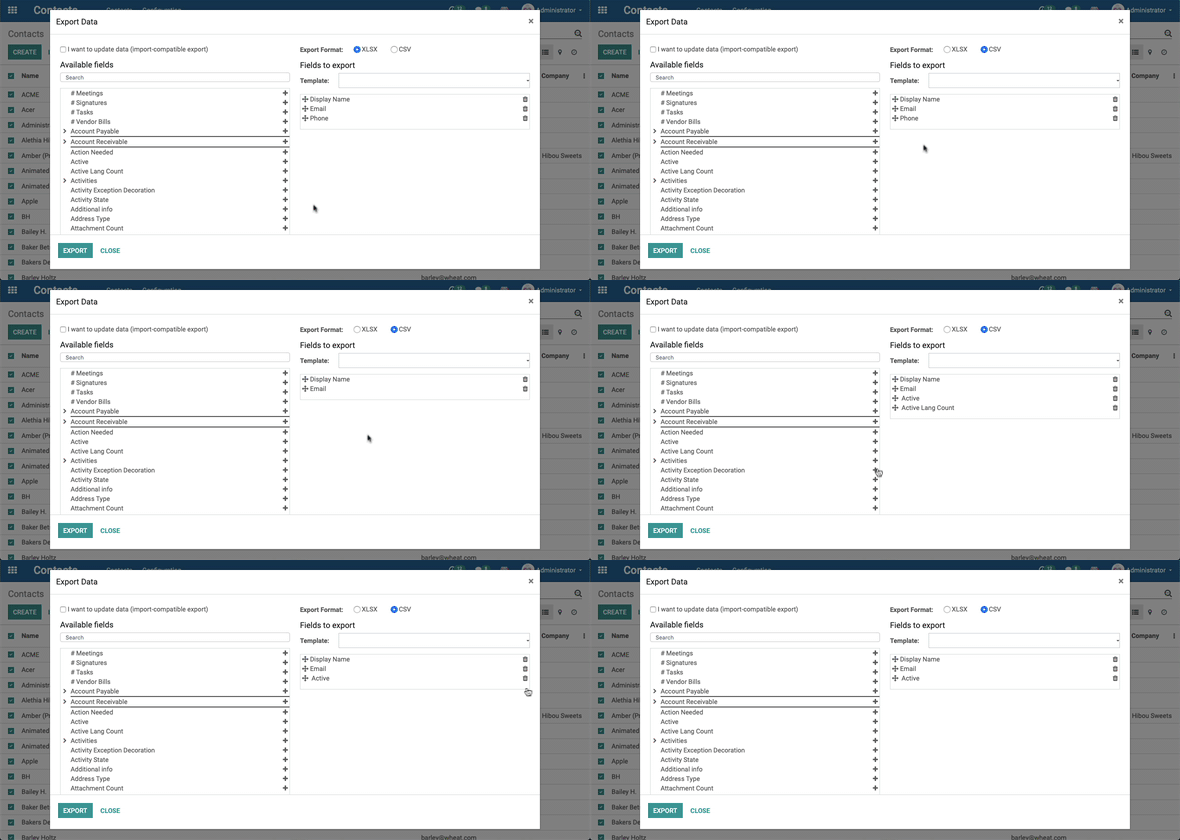
The Export Wizard will pre-fill the Fields to Export column on the right with a default list of fields. We refer to this information as flat data, or user-specified information that can easily be added and changed through the UI. These fields are usually editable from the form view of a record. These can be arranged in any order, removed entirely, or updated from the Available Fields selection on the left. The default export template may not be exhaustive, so browse the available list to see your other options.

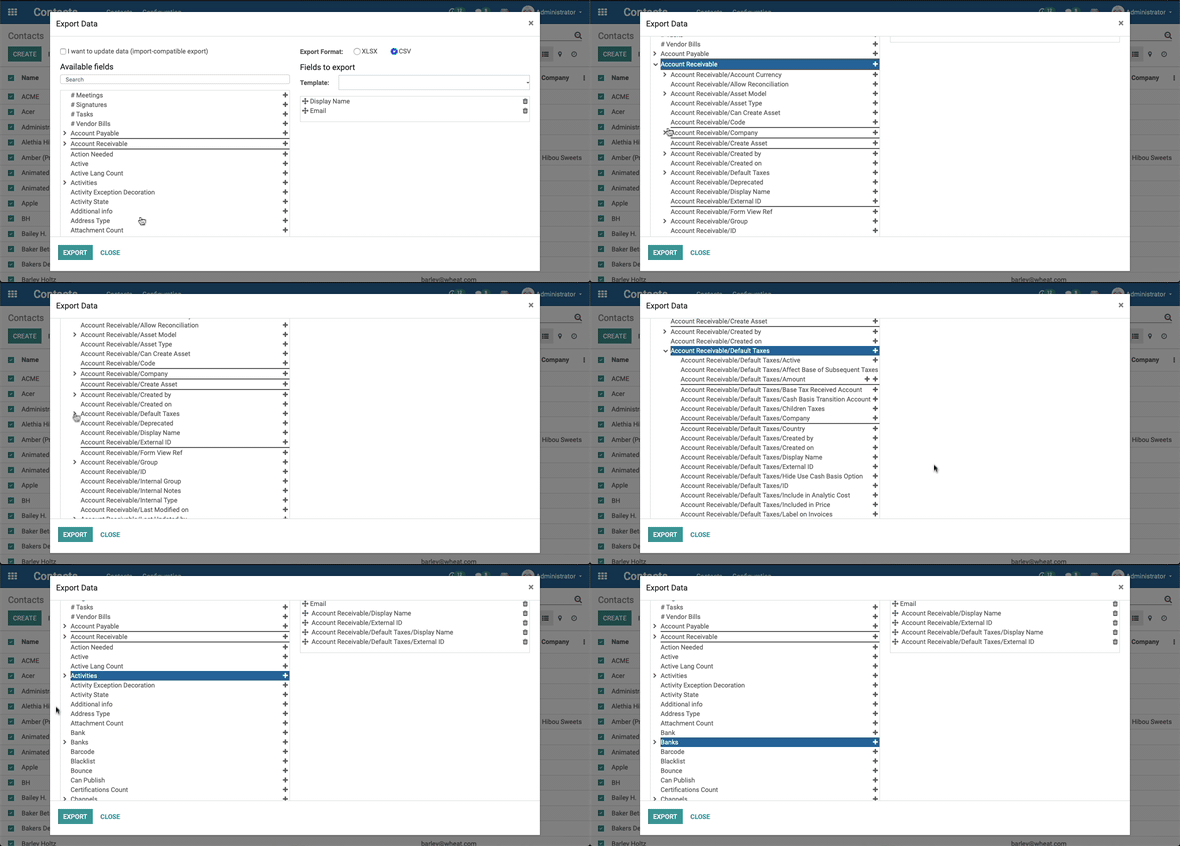
Fields with relational data will appear as a grouped and folded list of fields in the field selection. Expanding these groups will display the relational data with a prefix to indicate the data’s origin.

An important item to note is that not all data available to export can in turn be received or reinserted through this mechanism. There is a checkbox at the top of the wizard that allows you to indicate that you want to update existing records. When checked, the Available Fields list on the left will shorten dramatically, leaving you with the fields capable of receiving information through a later import.

It’s very important to check this box before building and saving your fields list. This inserts a Database ID, a key, if you will, that Odoo uses to locate that record upon import. Any item that is imported without a Database ID will generate a new record. If this step is missed, or the Database ID is altered in the exported file, it can duplicate or overwrite records. It is good practice to hide or otherwise protect this column in the resulting export to prevent accidental editing or record mismatch.

Building a fields list for your export template can take some trial and error. Depending on your selection, you may receive a recognizable name, or the database record string that identifies it in the back end. Experiment with the variations to make sure you are grabbing the right data! When in doubt, take both! You may not recognize the string, but Odoo certainly will, and you can often use this field in lieu of the user-data when importing to avoid record confusion based on Name alone.
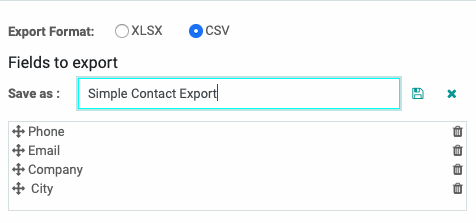
Once you have built your fields list, you will be able to title and save it at the top of the wizard, allowing you to quickly pull the same report over and over again as needed to make changes. Note that a saved template can be edited on a case-by-case basis to grab additional information, but not updated permanently. If you find yourself adding the same extra fields over and over again, save a new Template and delete the original.
