
Hibou is known for plenty of different things: our awesome response time to clients and future customers, our contributions to Payroll, our talks at Odoo Experience(s). We dabble in most aspects of Odoo that people care about, and one of our most beneficial modules is without question the RMA module. We've got plenty of documentation on the module, we've given demonstrations for it at OXP in the past, and today I am going to cover how and why it is so useful. With the holidays just around the corner, and gift returns being an unavoidable truth no matter how thoughtful the gift is, our Return Merchandise Authorization is going to greatly improve this process for you.
Odoo of course supports returns, and there are other mechanisms that can be finagled to achieve what the RMA module does, but we do not think there is a better alternative to our Return Merchandise Authorization. Sometimes a product needs returned, or it was shipped to an incorrect address and needs re-shipped to the correct destination, or maybe something was delivered to the customer that was not in working order and needed replaced. We can handle each of those scenarios with just a few clicks.
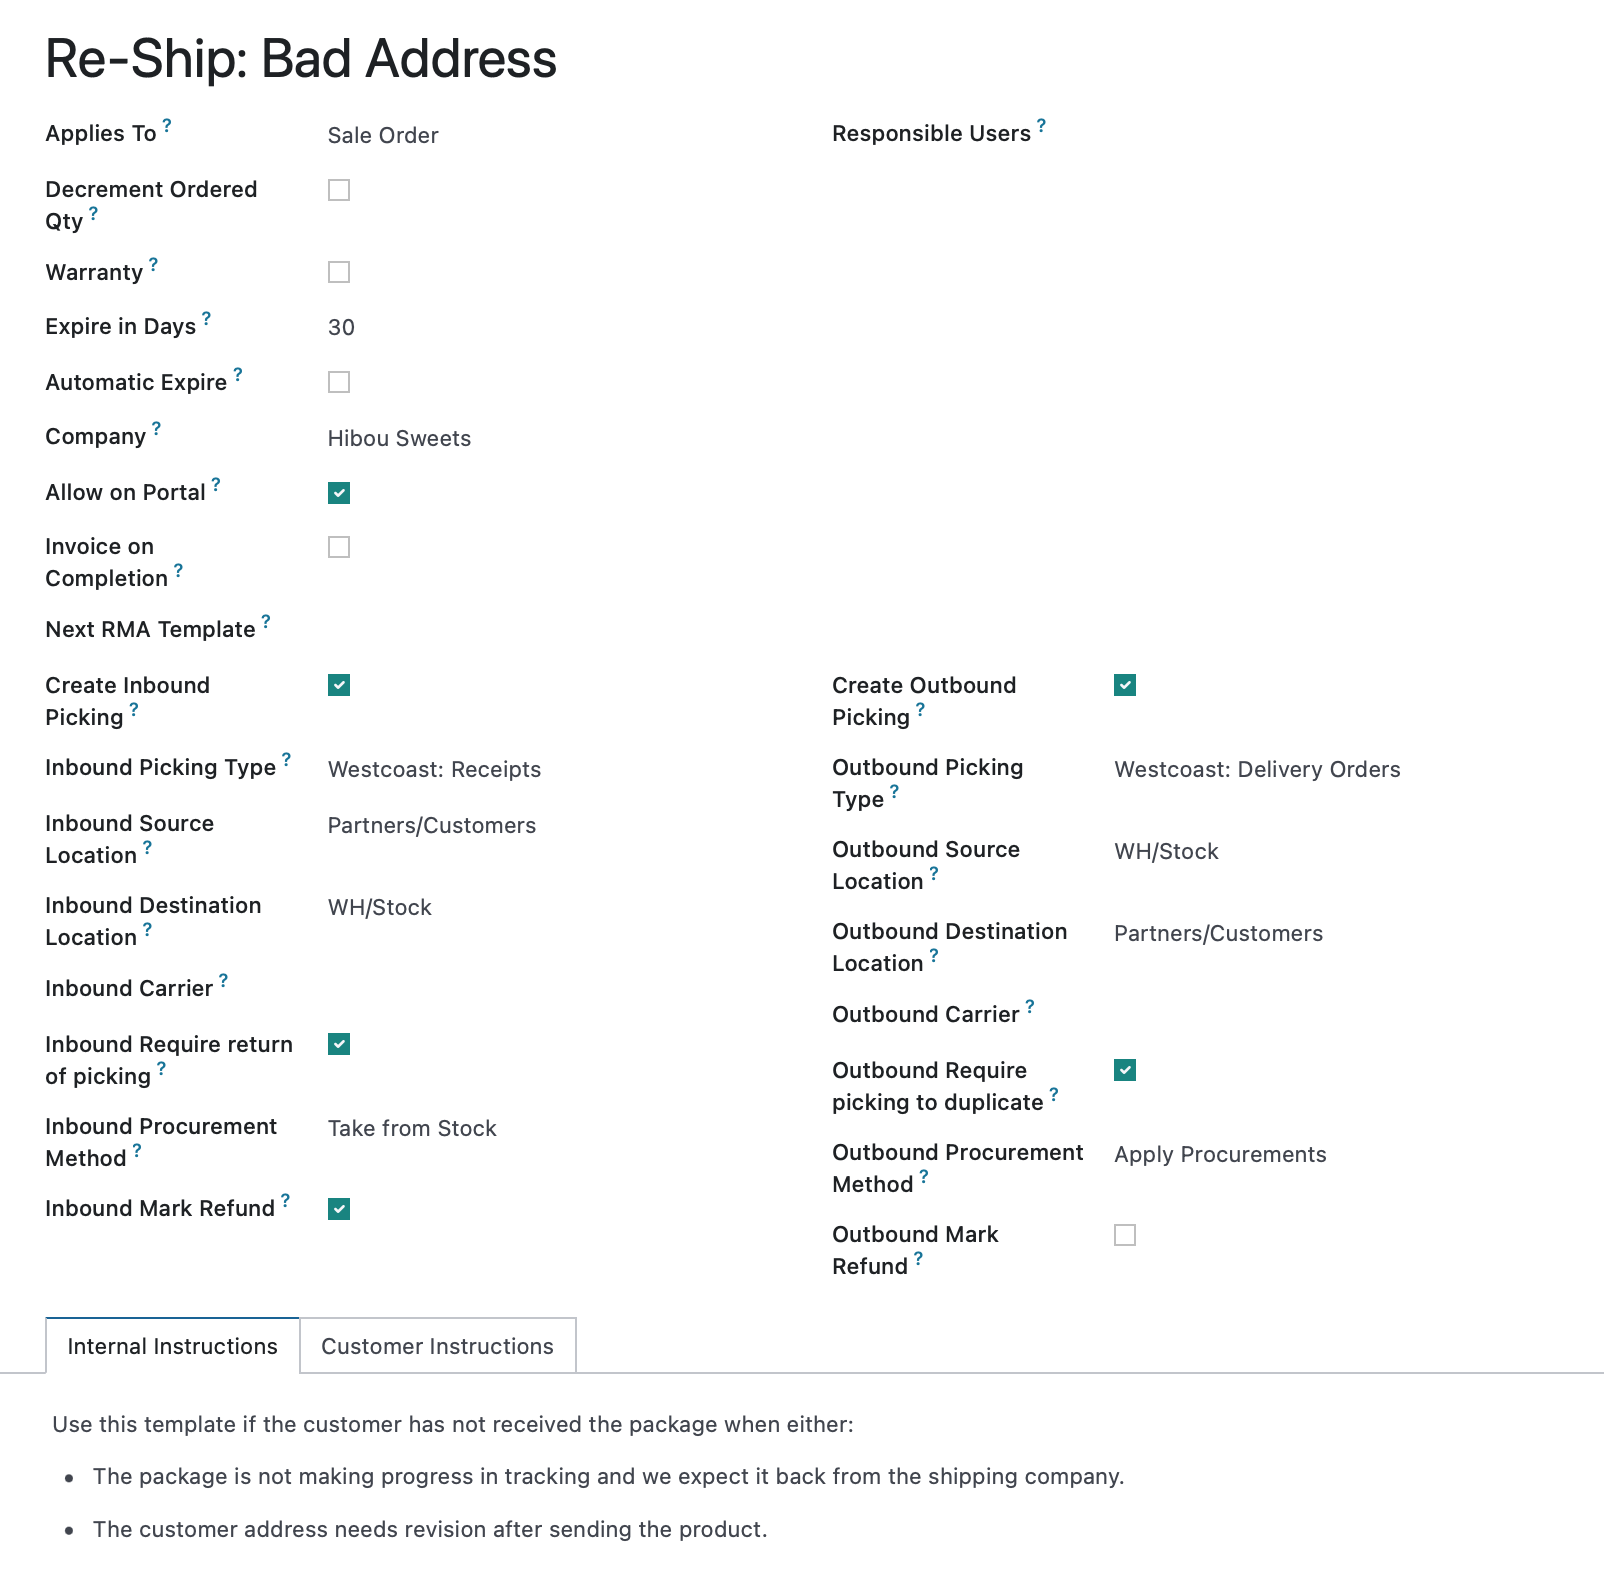
It begins with RMA Template configuration. We'll first look at a case where a product is shipped out but we believe will be returned by our carrier and we will reship the product to our customer. Without going over each detail (we do that in the documentation I mentioned), I want to focus on several fields shown below. We want this option to create an Inbound Transfer (or Receipt) to track the product being returned to us and we want that product to end up back in the Stock location once it is in our possession. We also want to create a new Outbound transfer (Delivery) to account for the products we will ship to send the order to the correct address. Note there is also a place to enter instructions to help your team know how or when to use this specific RMA type.
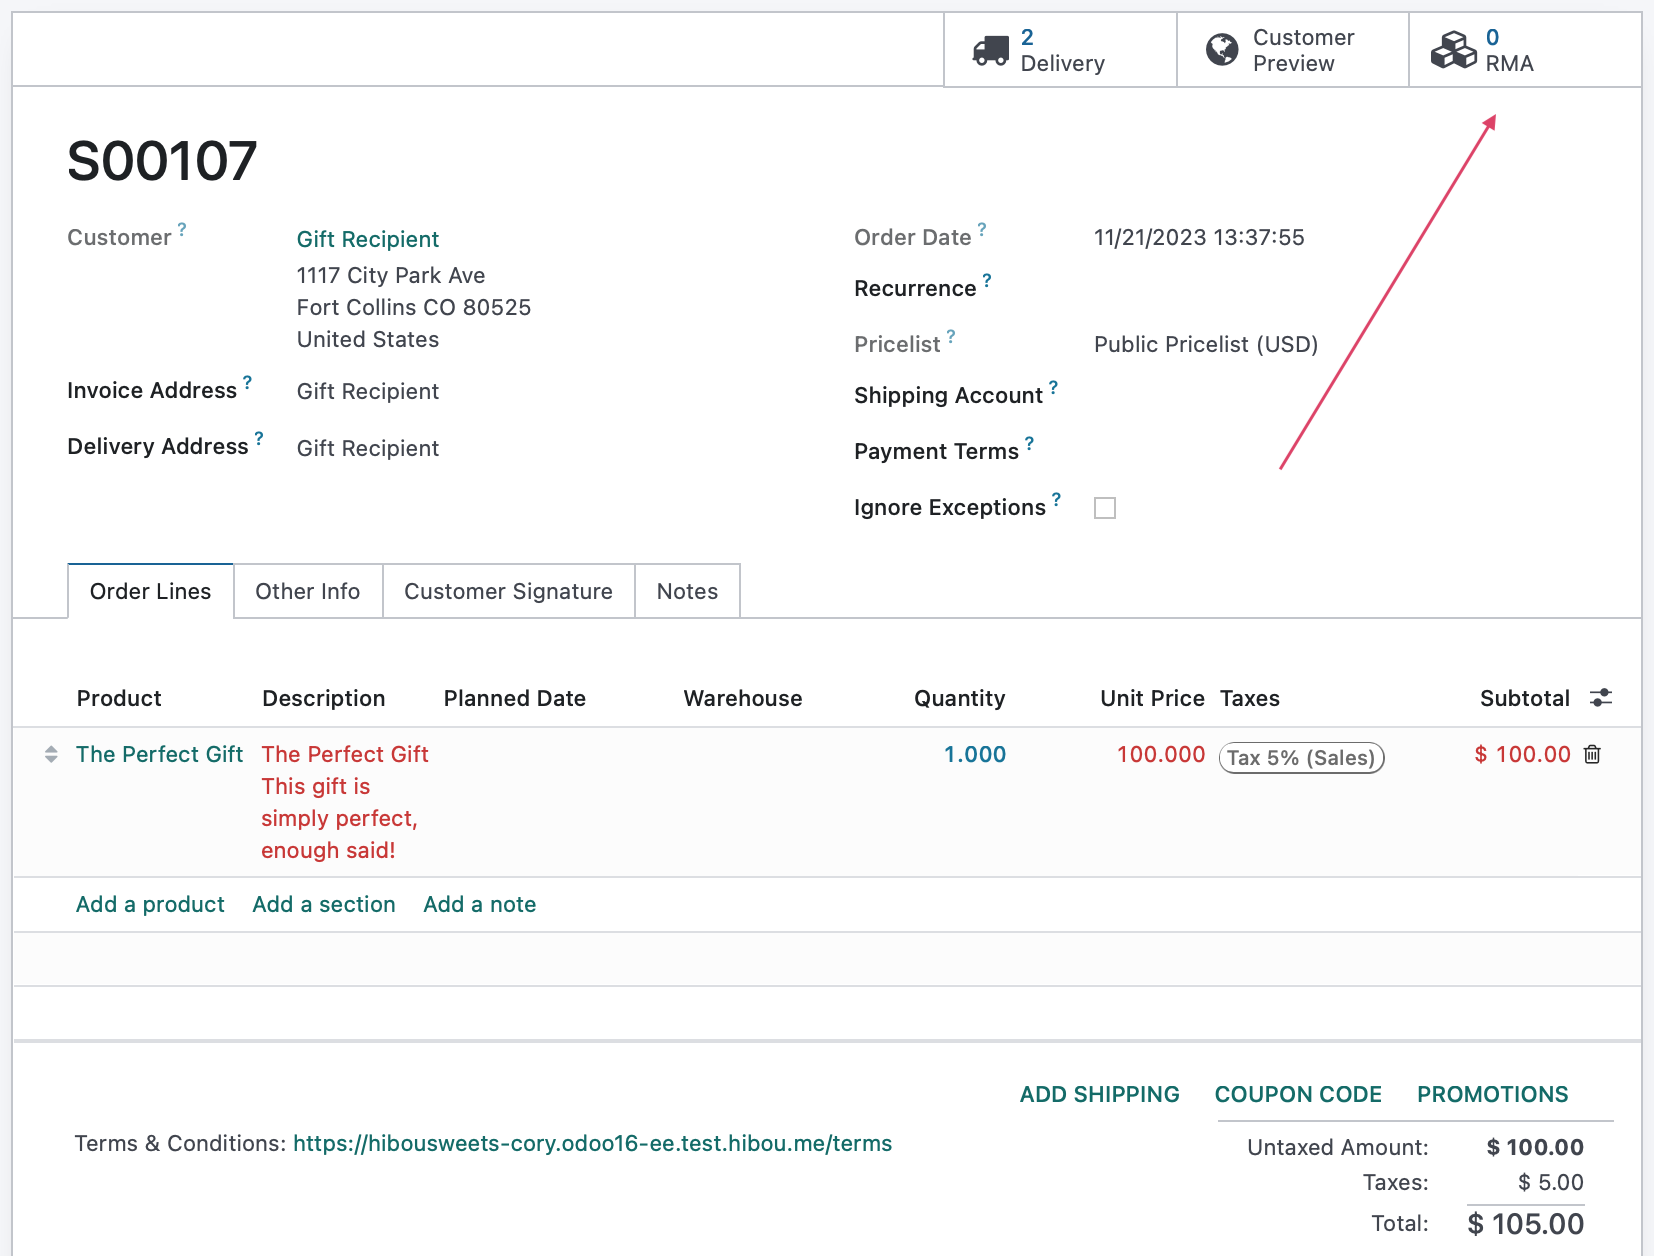
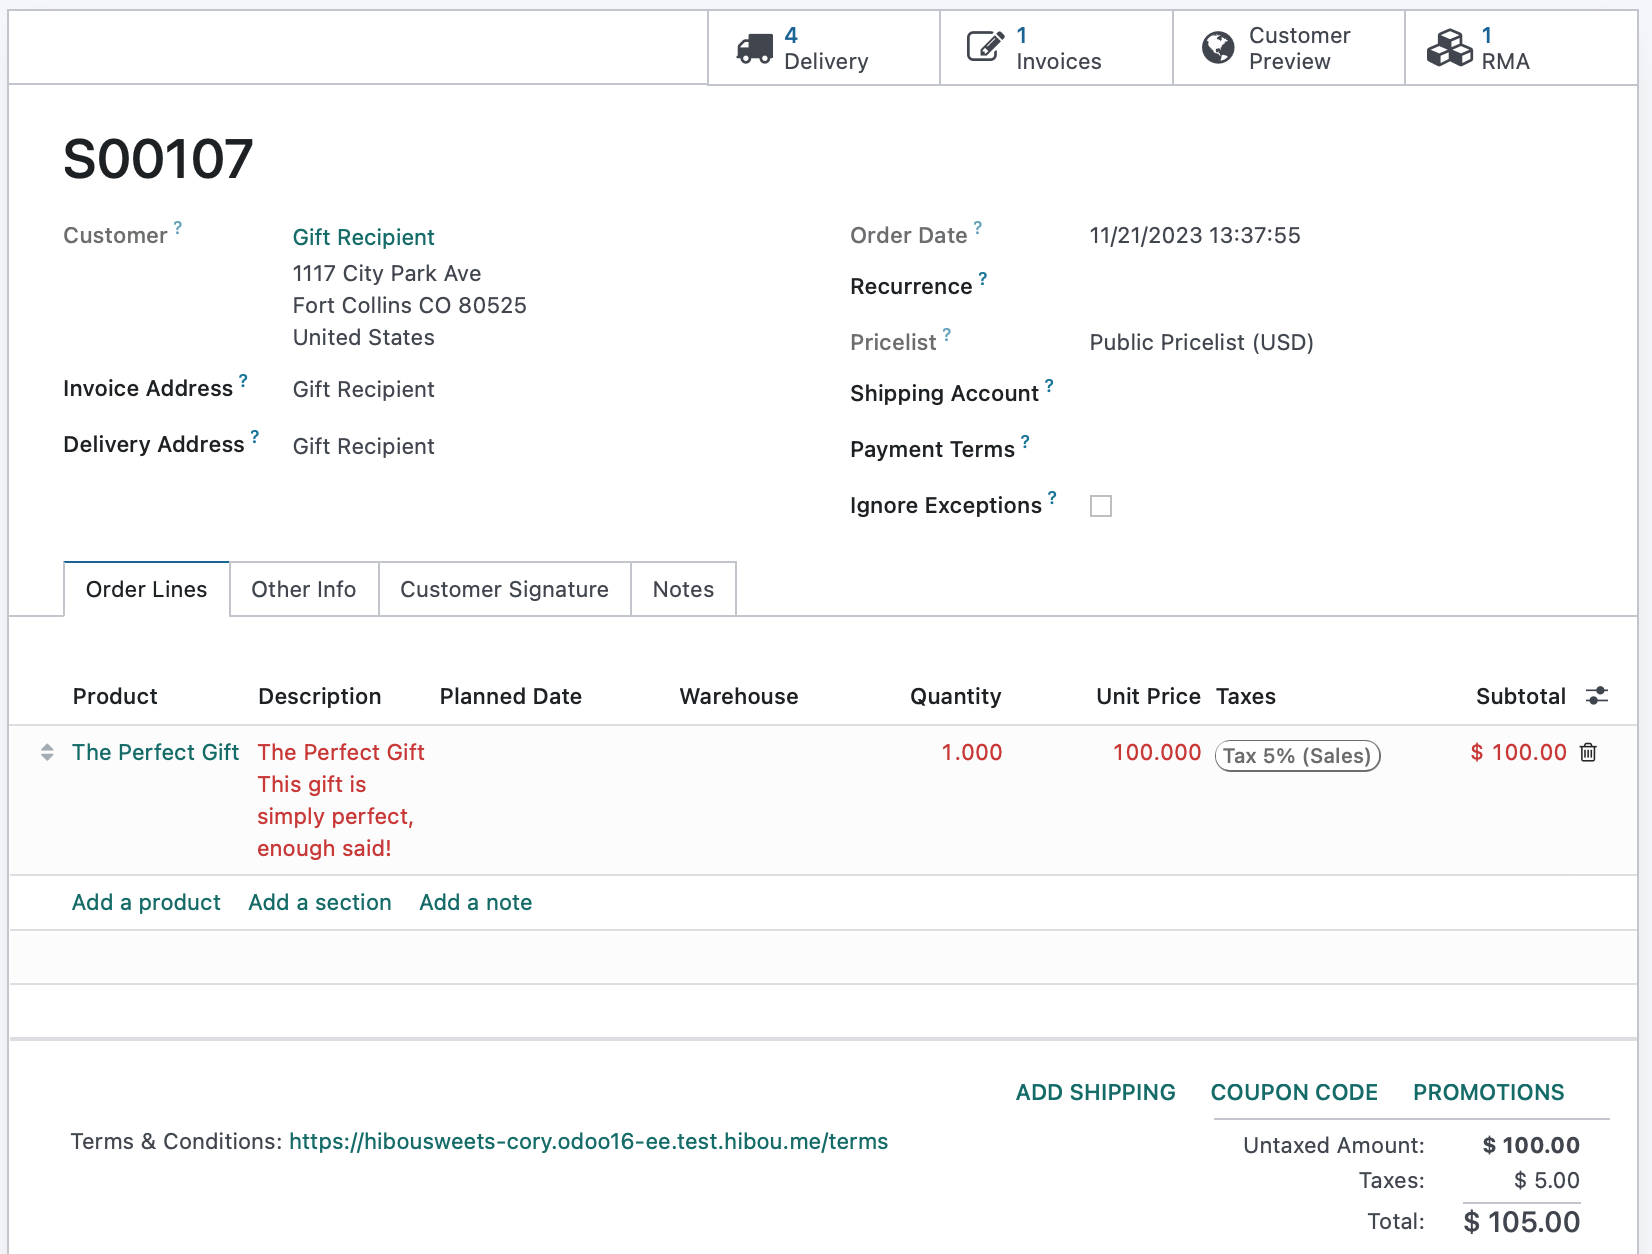
Let's now look at the original Sale Order related to this RMA. We have The Perfect Gift being sent to our customer, Gift Recipient (I came up with these clever product and customer names). We have noticed that the tracking for this Delivery has stalled and are expecting to get the package back, but we want to make sure our customer gets their gift, so we can click the RMA smart button right from the Sale Order:
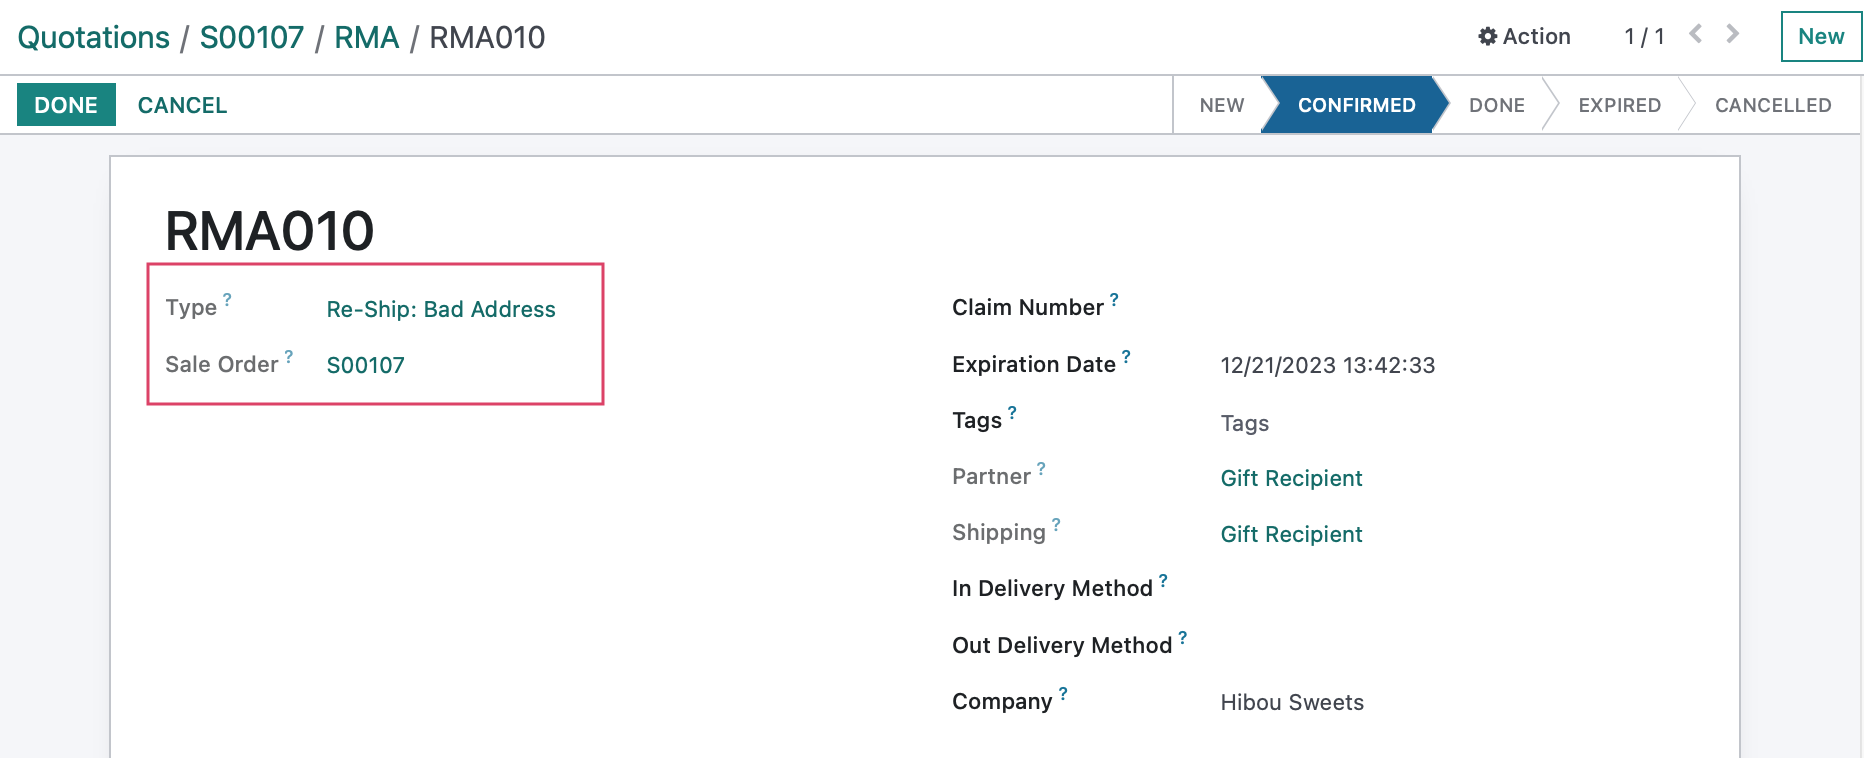
Once we select the RMA type, and enter the Sale Order we want to reference, we have the ability to add products from this order to our RMA. Once we Confirm, we will have generated for us a new IN and OUT transfer.
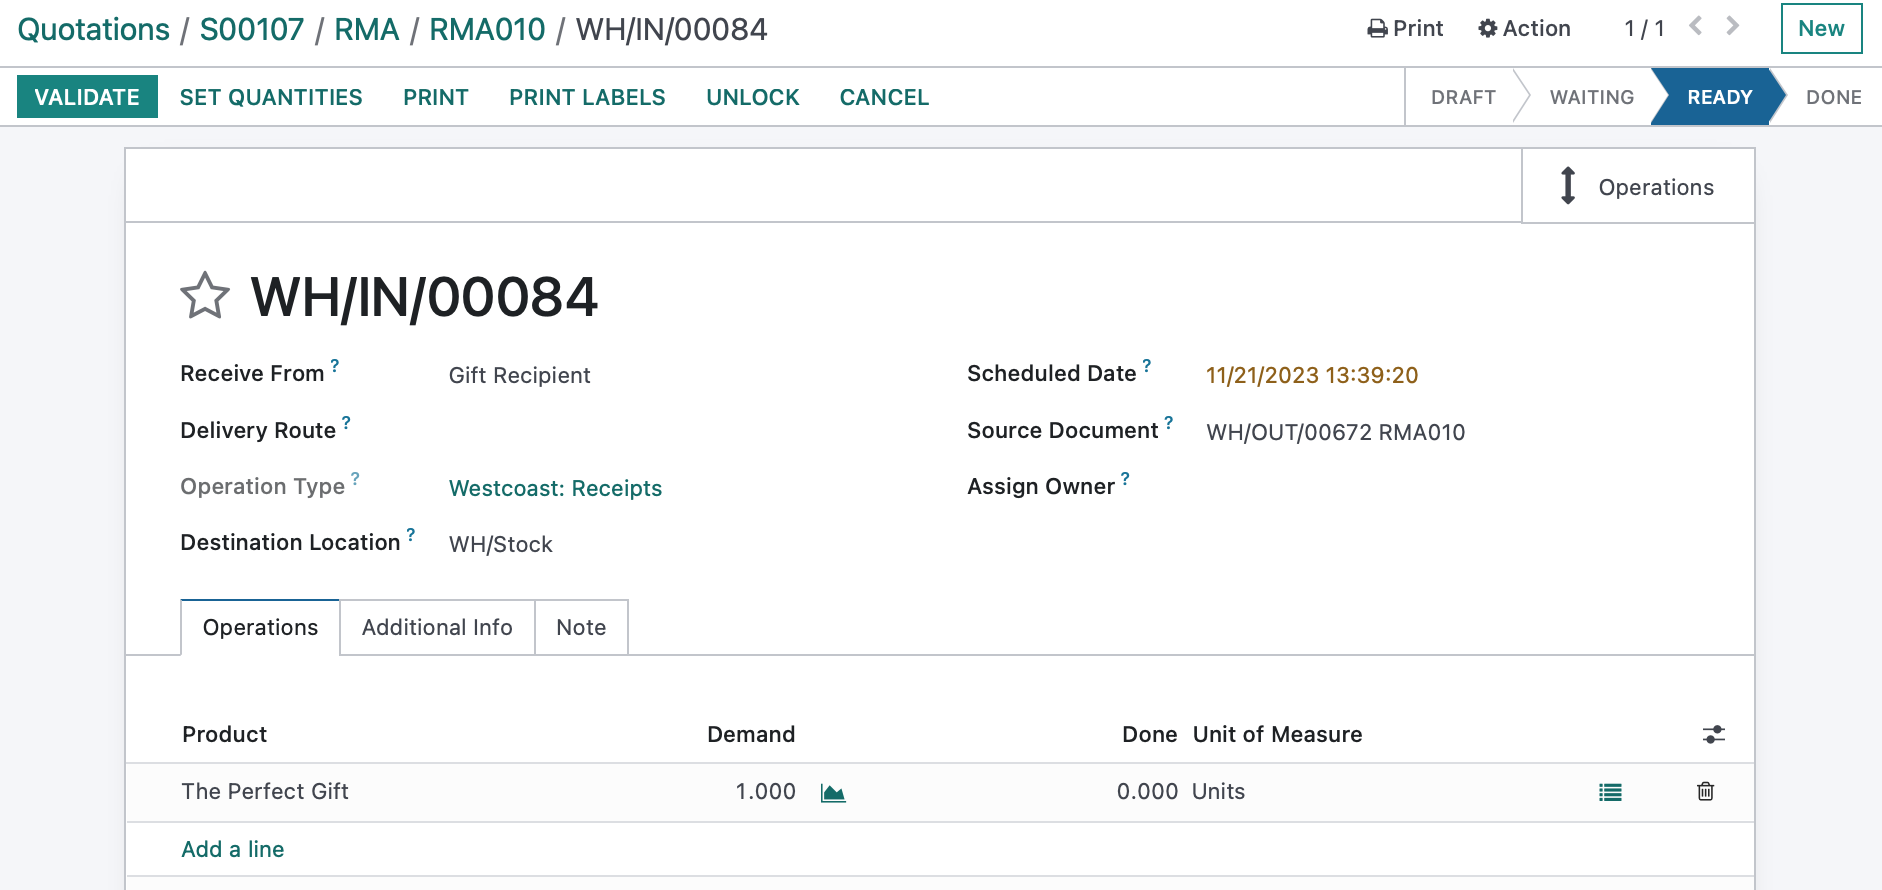
To process the IN is going to be like any other Receipt transfer. We set the Done Quantity, Validate, and then this product will be returned to its stock location.
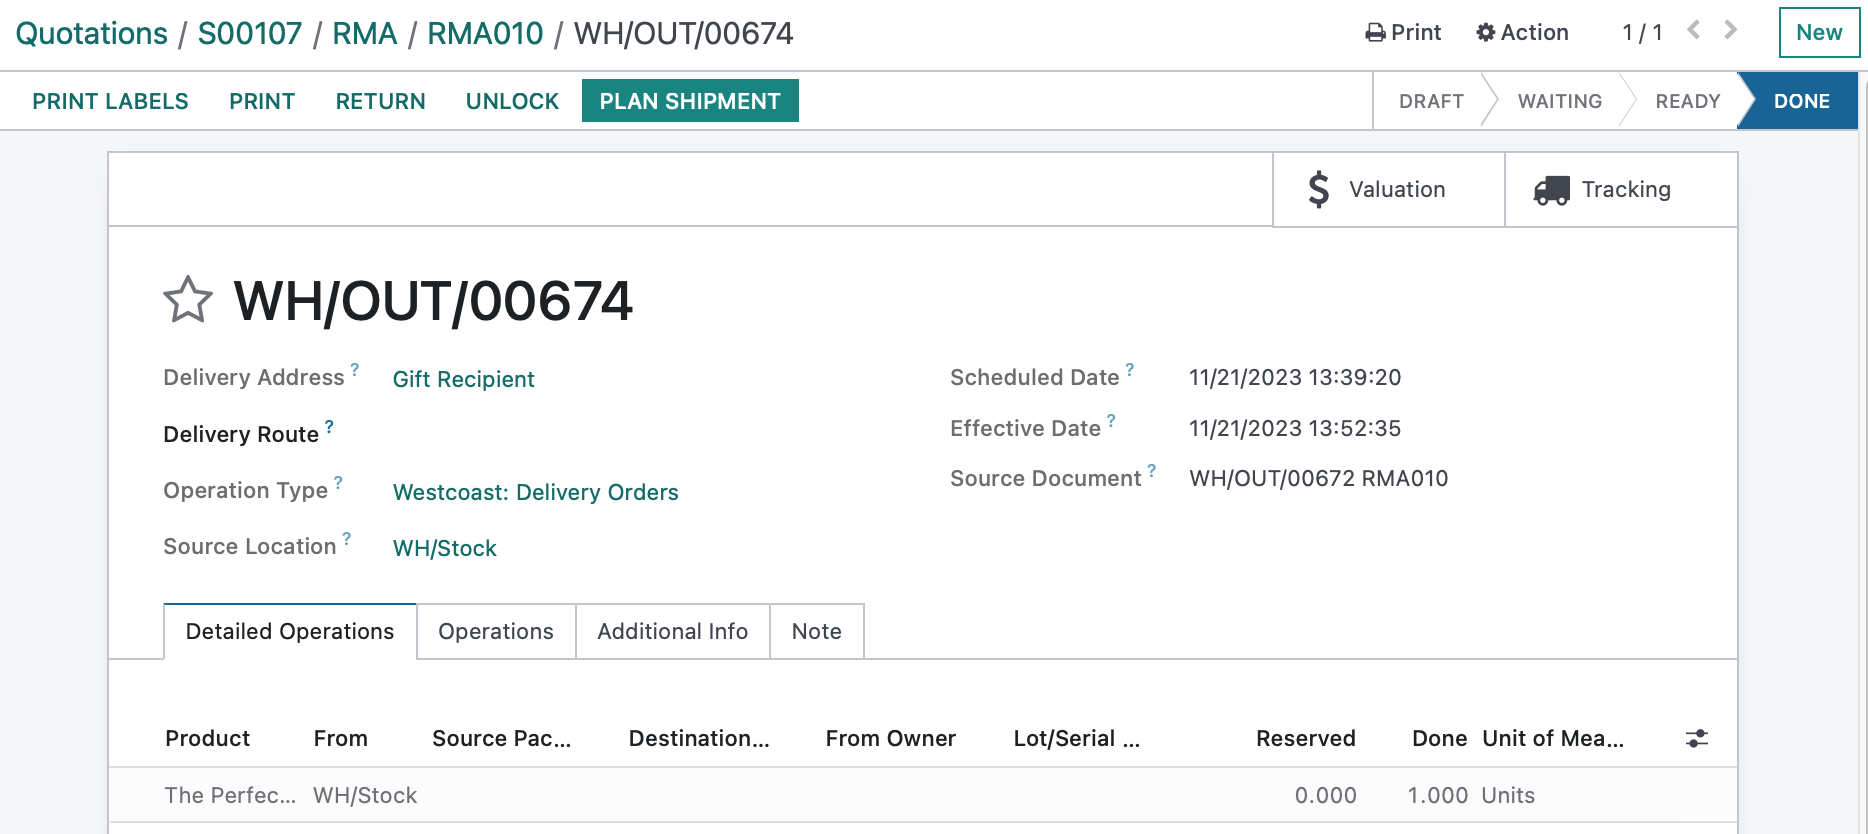
Using our breadcrumbs to go back to the RMA, we can now jump to the OUT. Again, just like any other OUT, but easily generated all from the Sale Order. If we process this transfer, we'll get our new shipping label from UPS and then be able to go back to the RMA and mark the whole process as Done.
Jumping all the way back to the SO now, we see the transfers from the RMA are now included with the original transfers on the Delivery smart button, and you can quickly jump back to any step in just a click or two. Note that this smart button actually comes from an additional module, Hibou RMAs for Sale Orders.
Let's take another look at how an RMA can be created, but this time initiated from the Customer's point of view, all from a simple helpdesk ticket. Using the same RMA Template though with a different name, this will be a Return and Replace scenario.
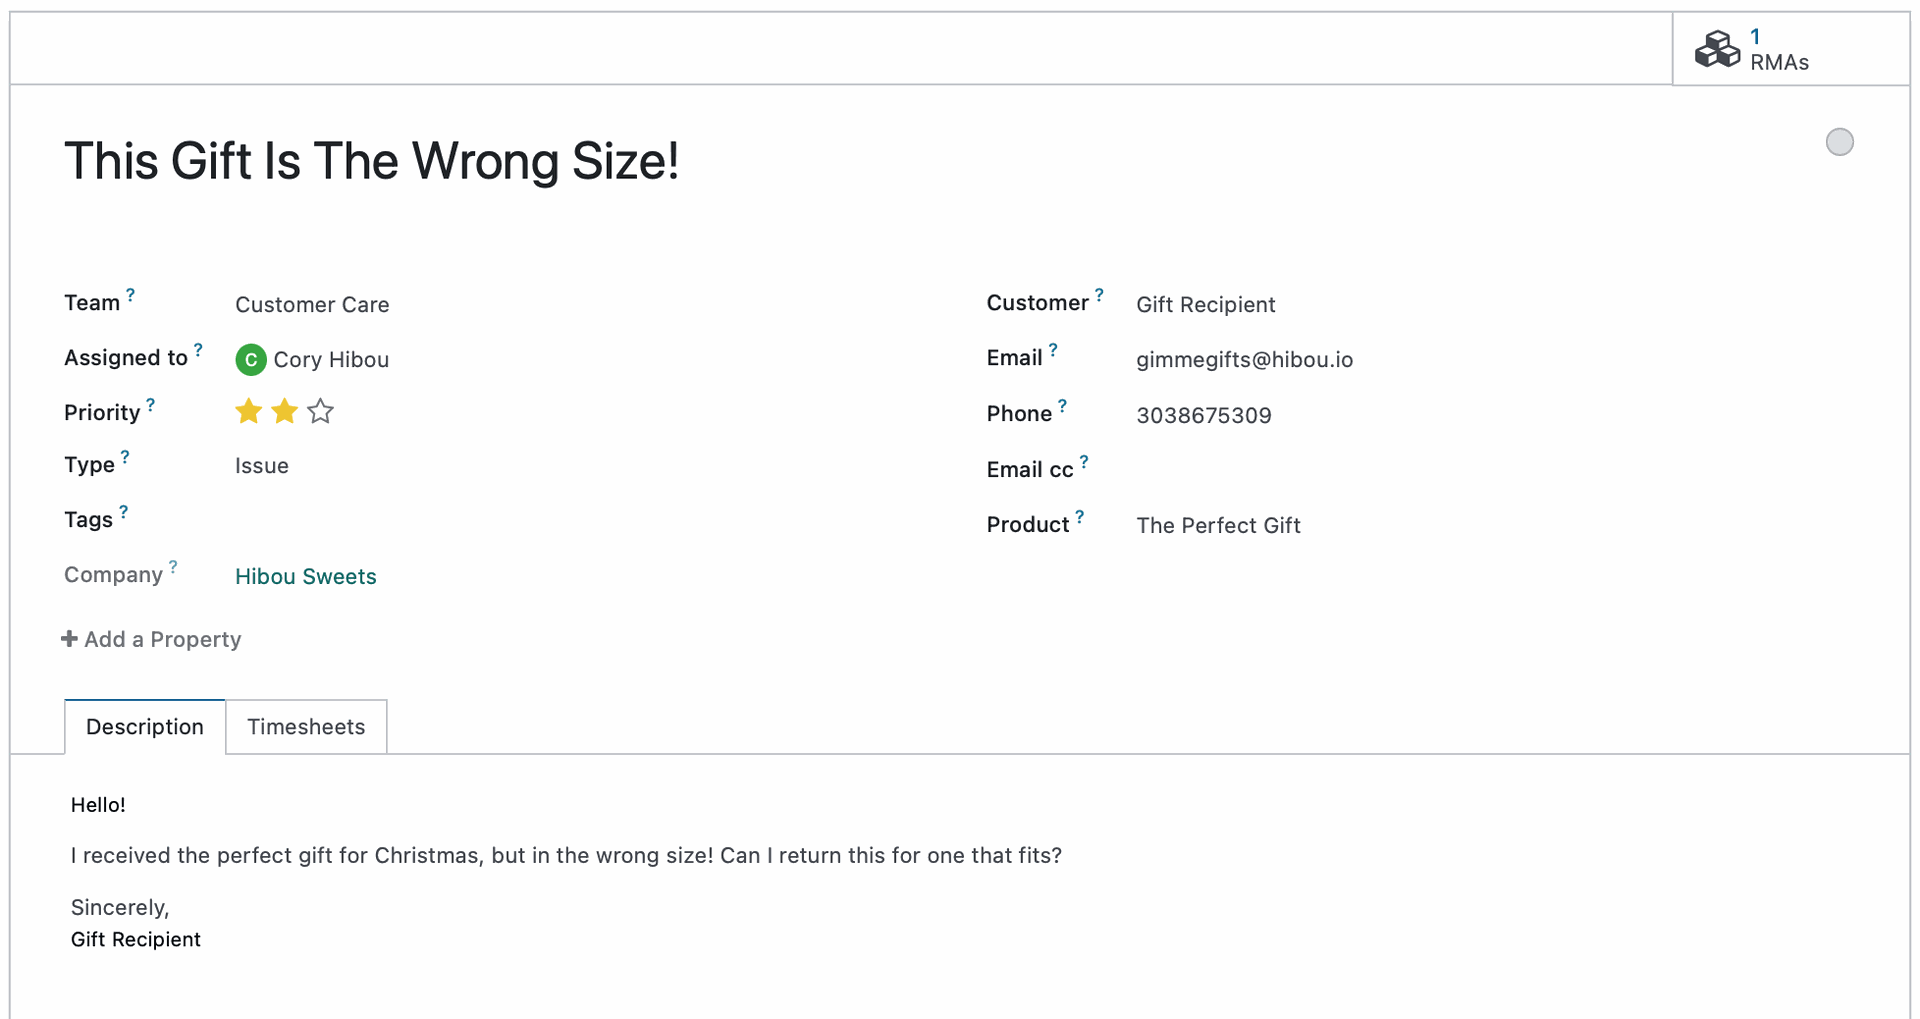
Let's say our customer received the wrong size gift, and needs a replacement. They can use your Contact Us page, or email your helpdesk team to generate a ticket. It is going to look a bit like this:
We're first going to reply to our customer which you'll see shortly, to let them know we will take care of this. See our RMA smart button there? Just like from the Sale Order, clicking this button will take us to the list of existing RMAs for this customer. Once again, we click NEW.

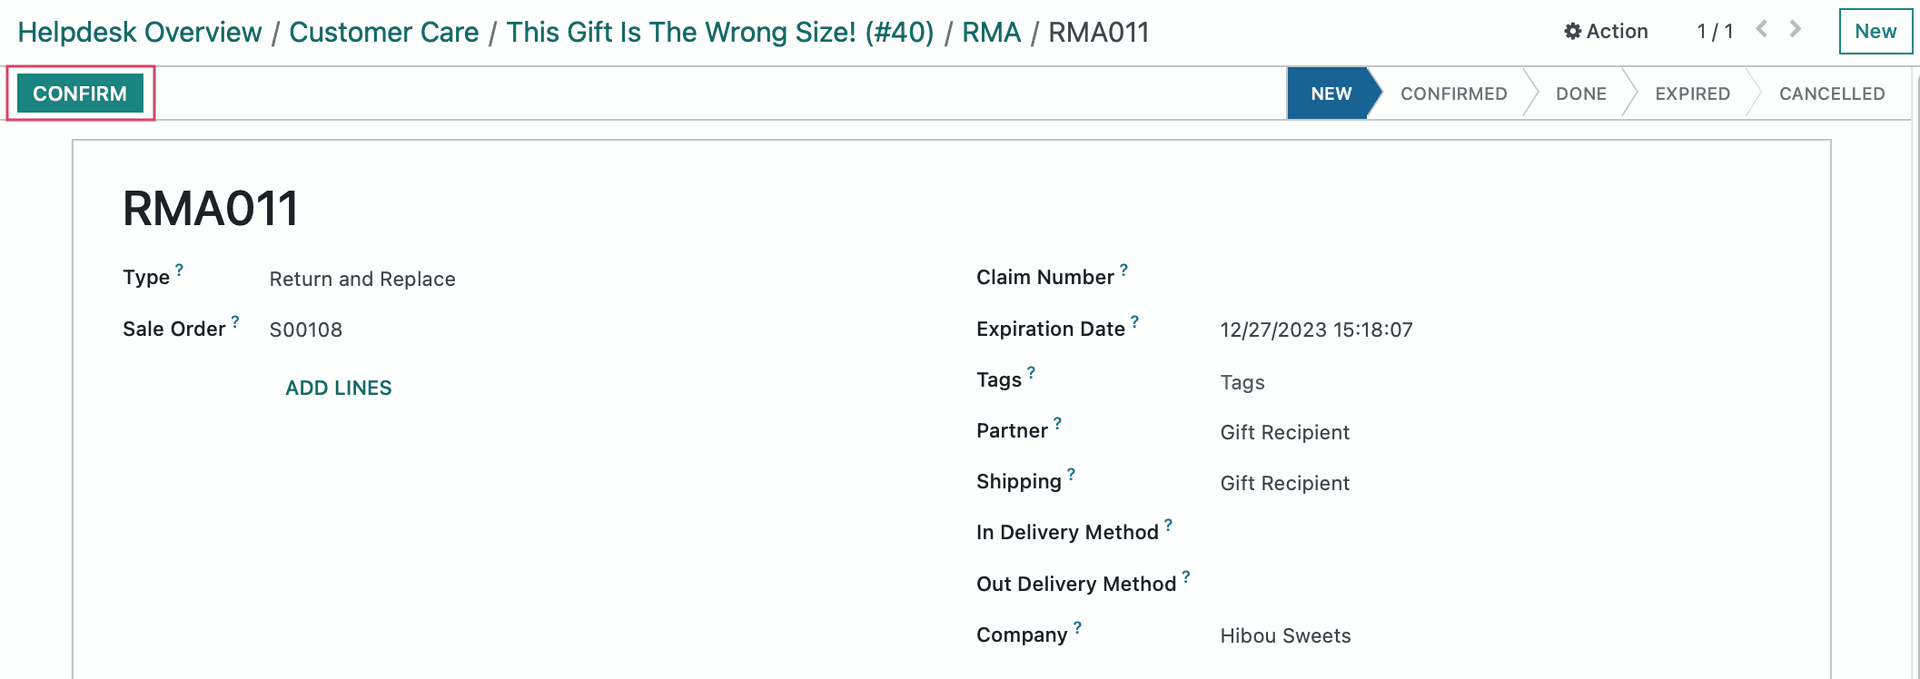
Second verse much like the first, we will select the RMA Type as Return and Replace, select our Sale Order which will fill in the customer name and any other related details, then Add Lines to select the product that needs replaced. Once we verify things look correct, we will Confirm the RMA.
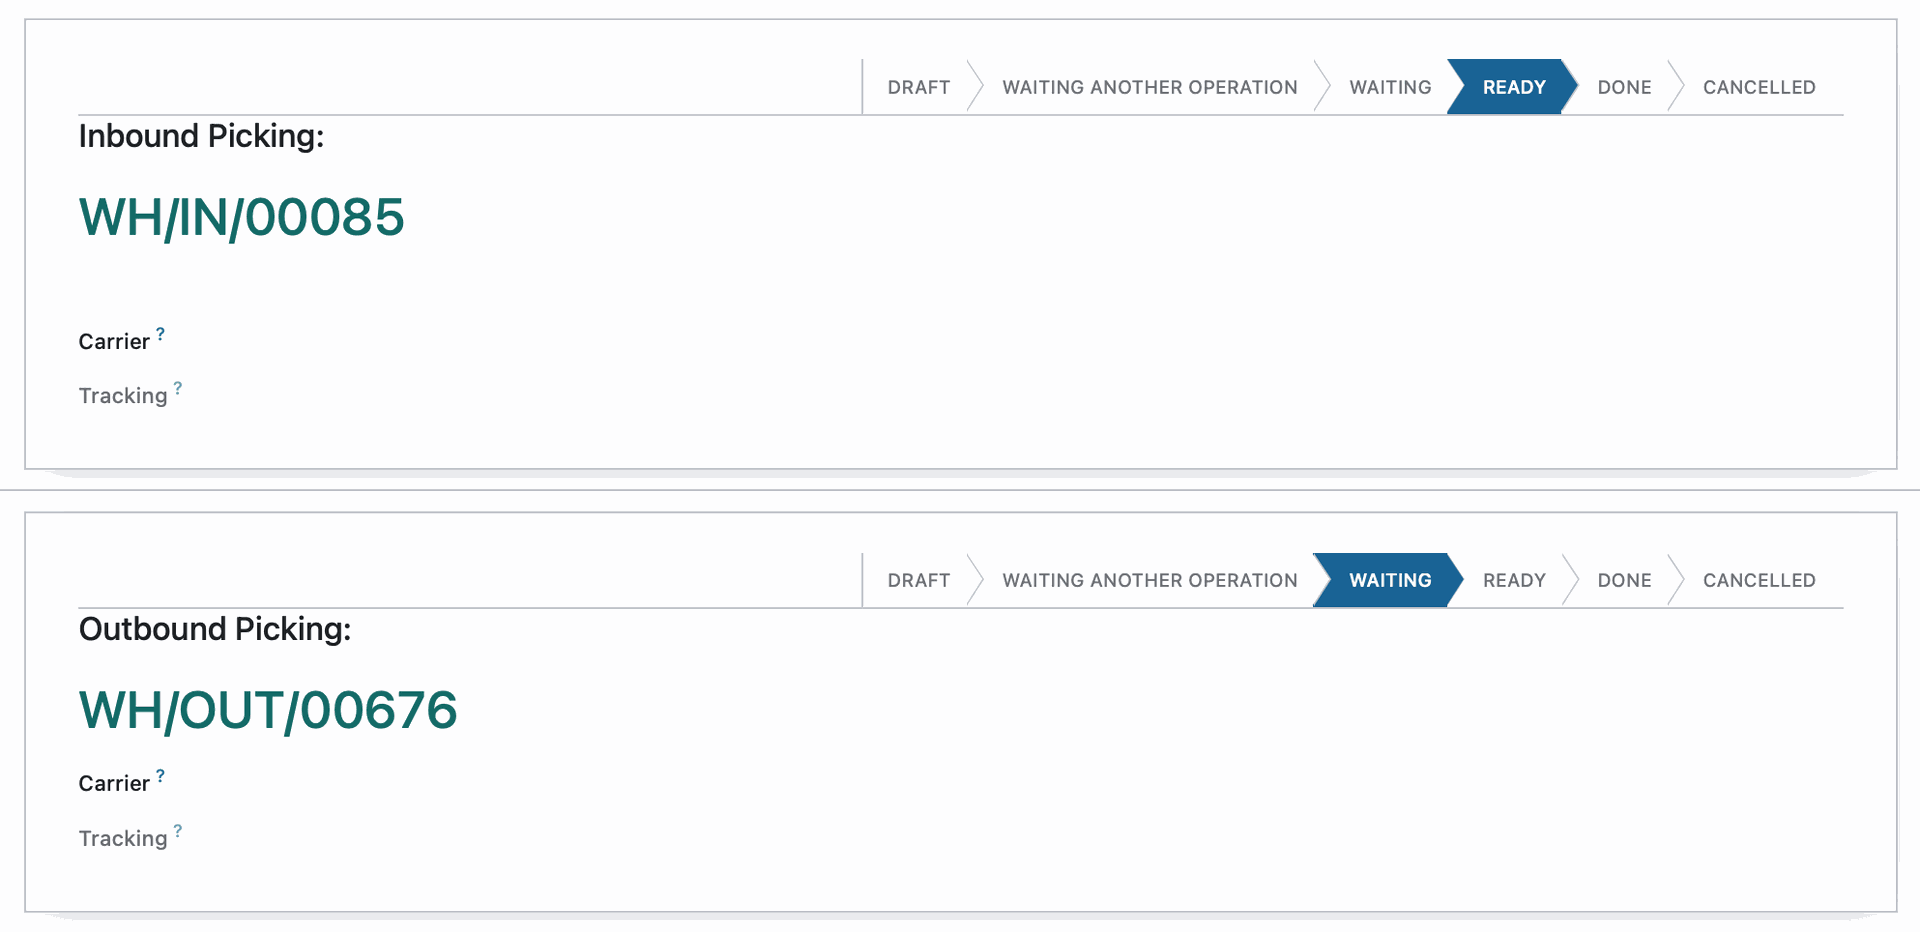
Similar to the first RMA, we now have an IN to receive getting the incorrectly sized gift, and an OUT to process the replacement delivery. (Note that while empty in this demo database, the Carrier and Tracking will populate as you would expect.)
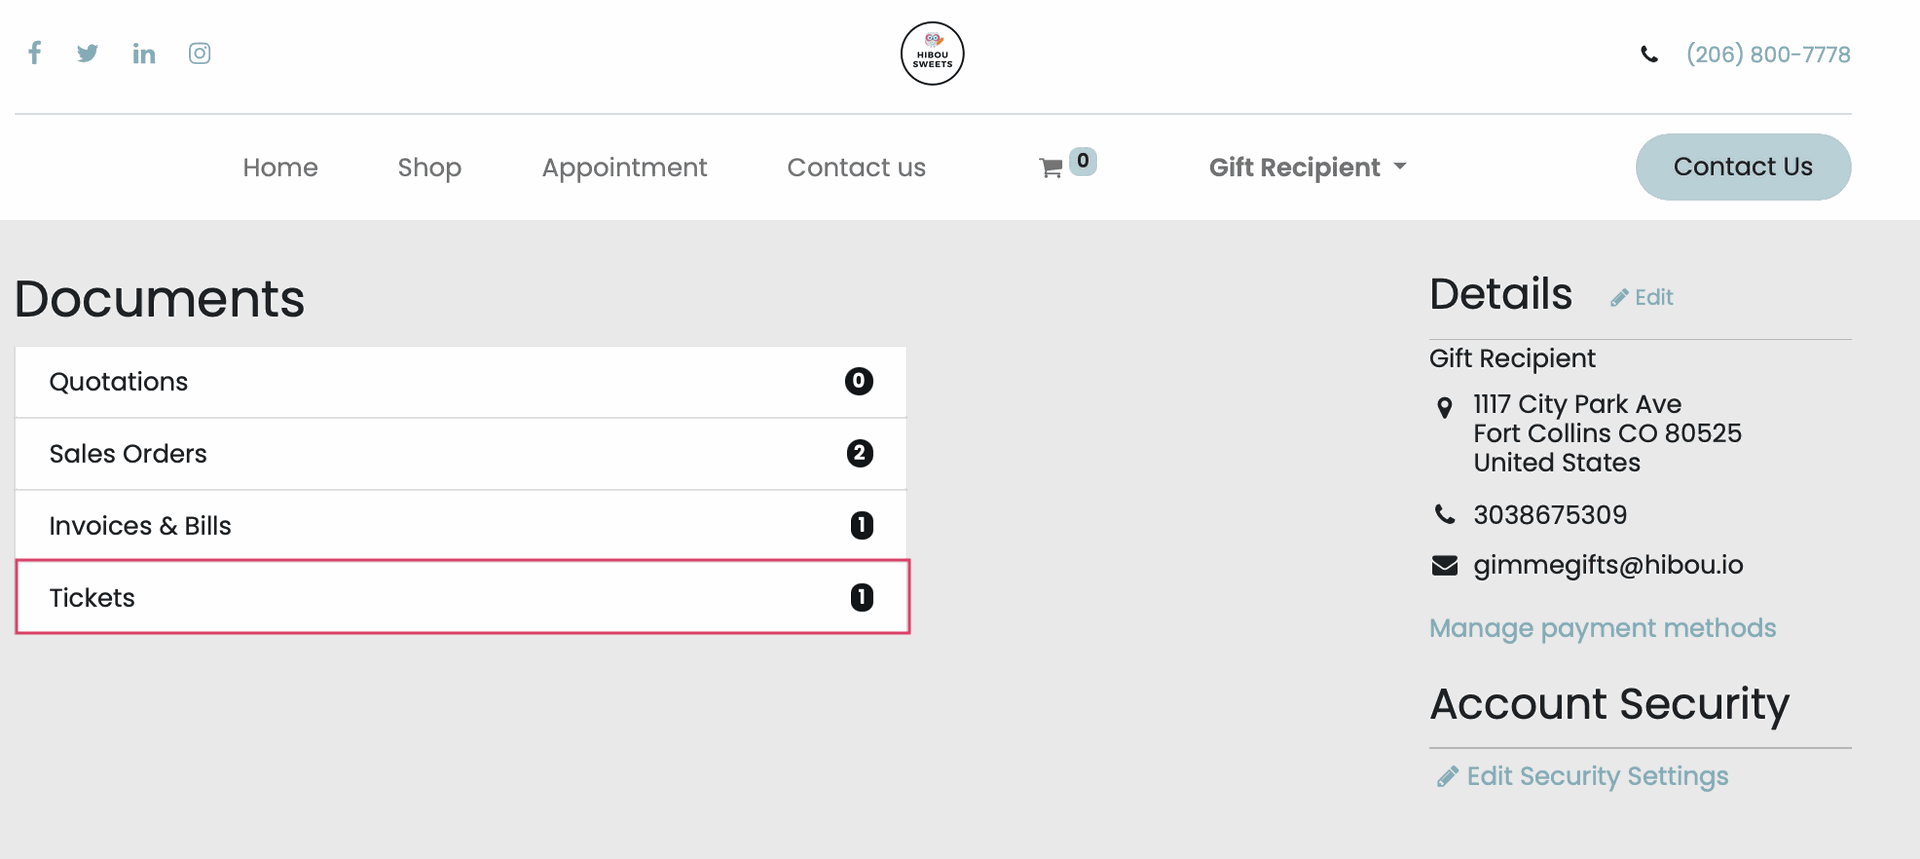
For our customer, if they view their account via the portal, we will see the ticket they submitted.
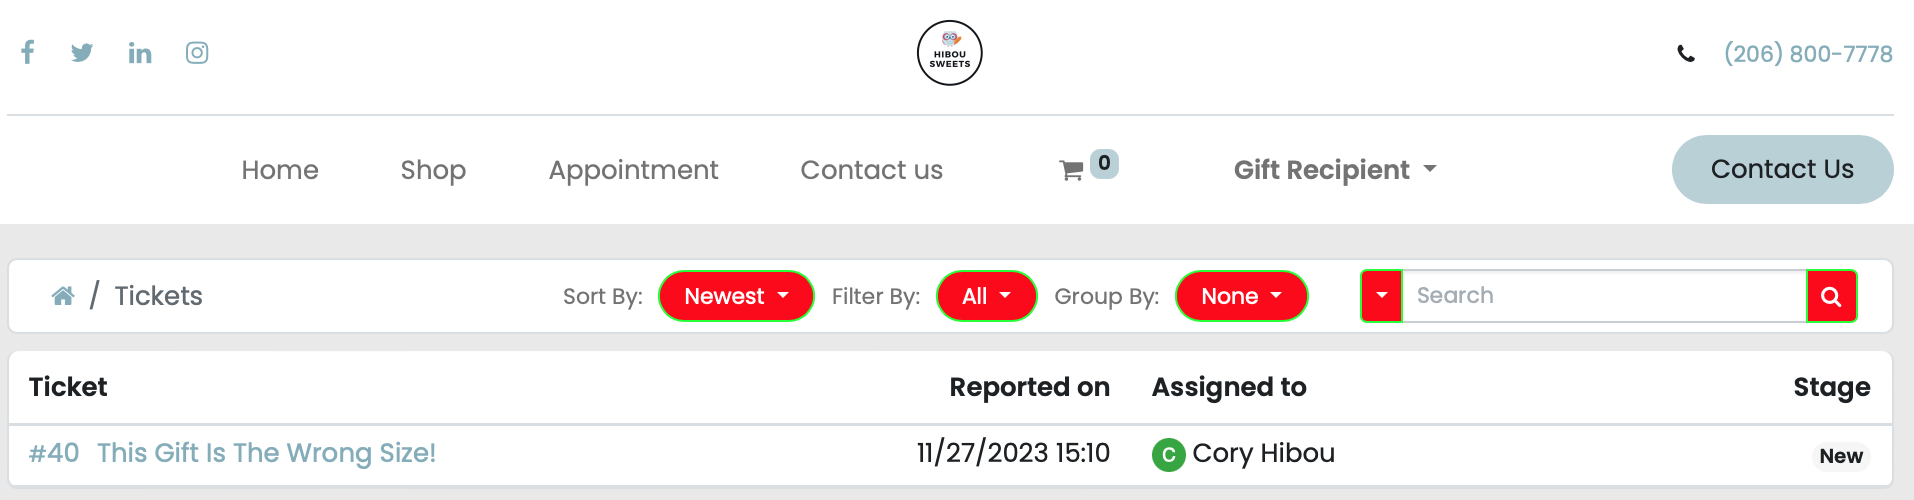
And then we select the ticket itself:
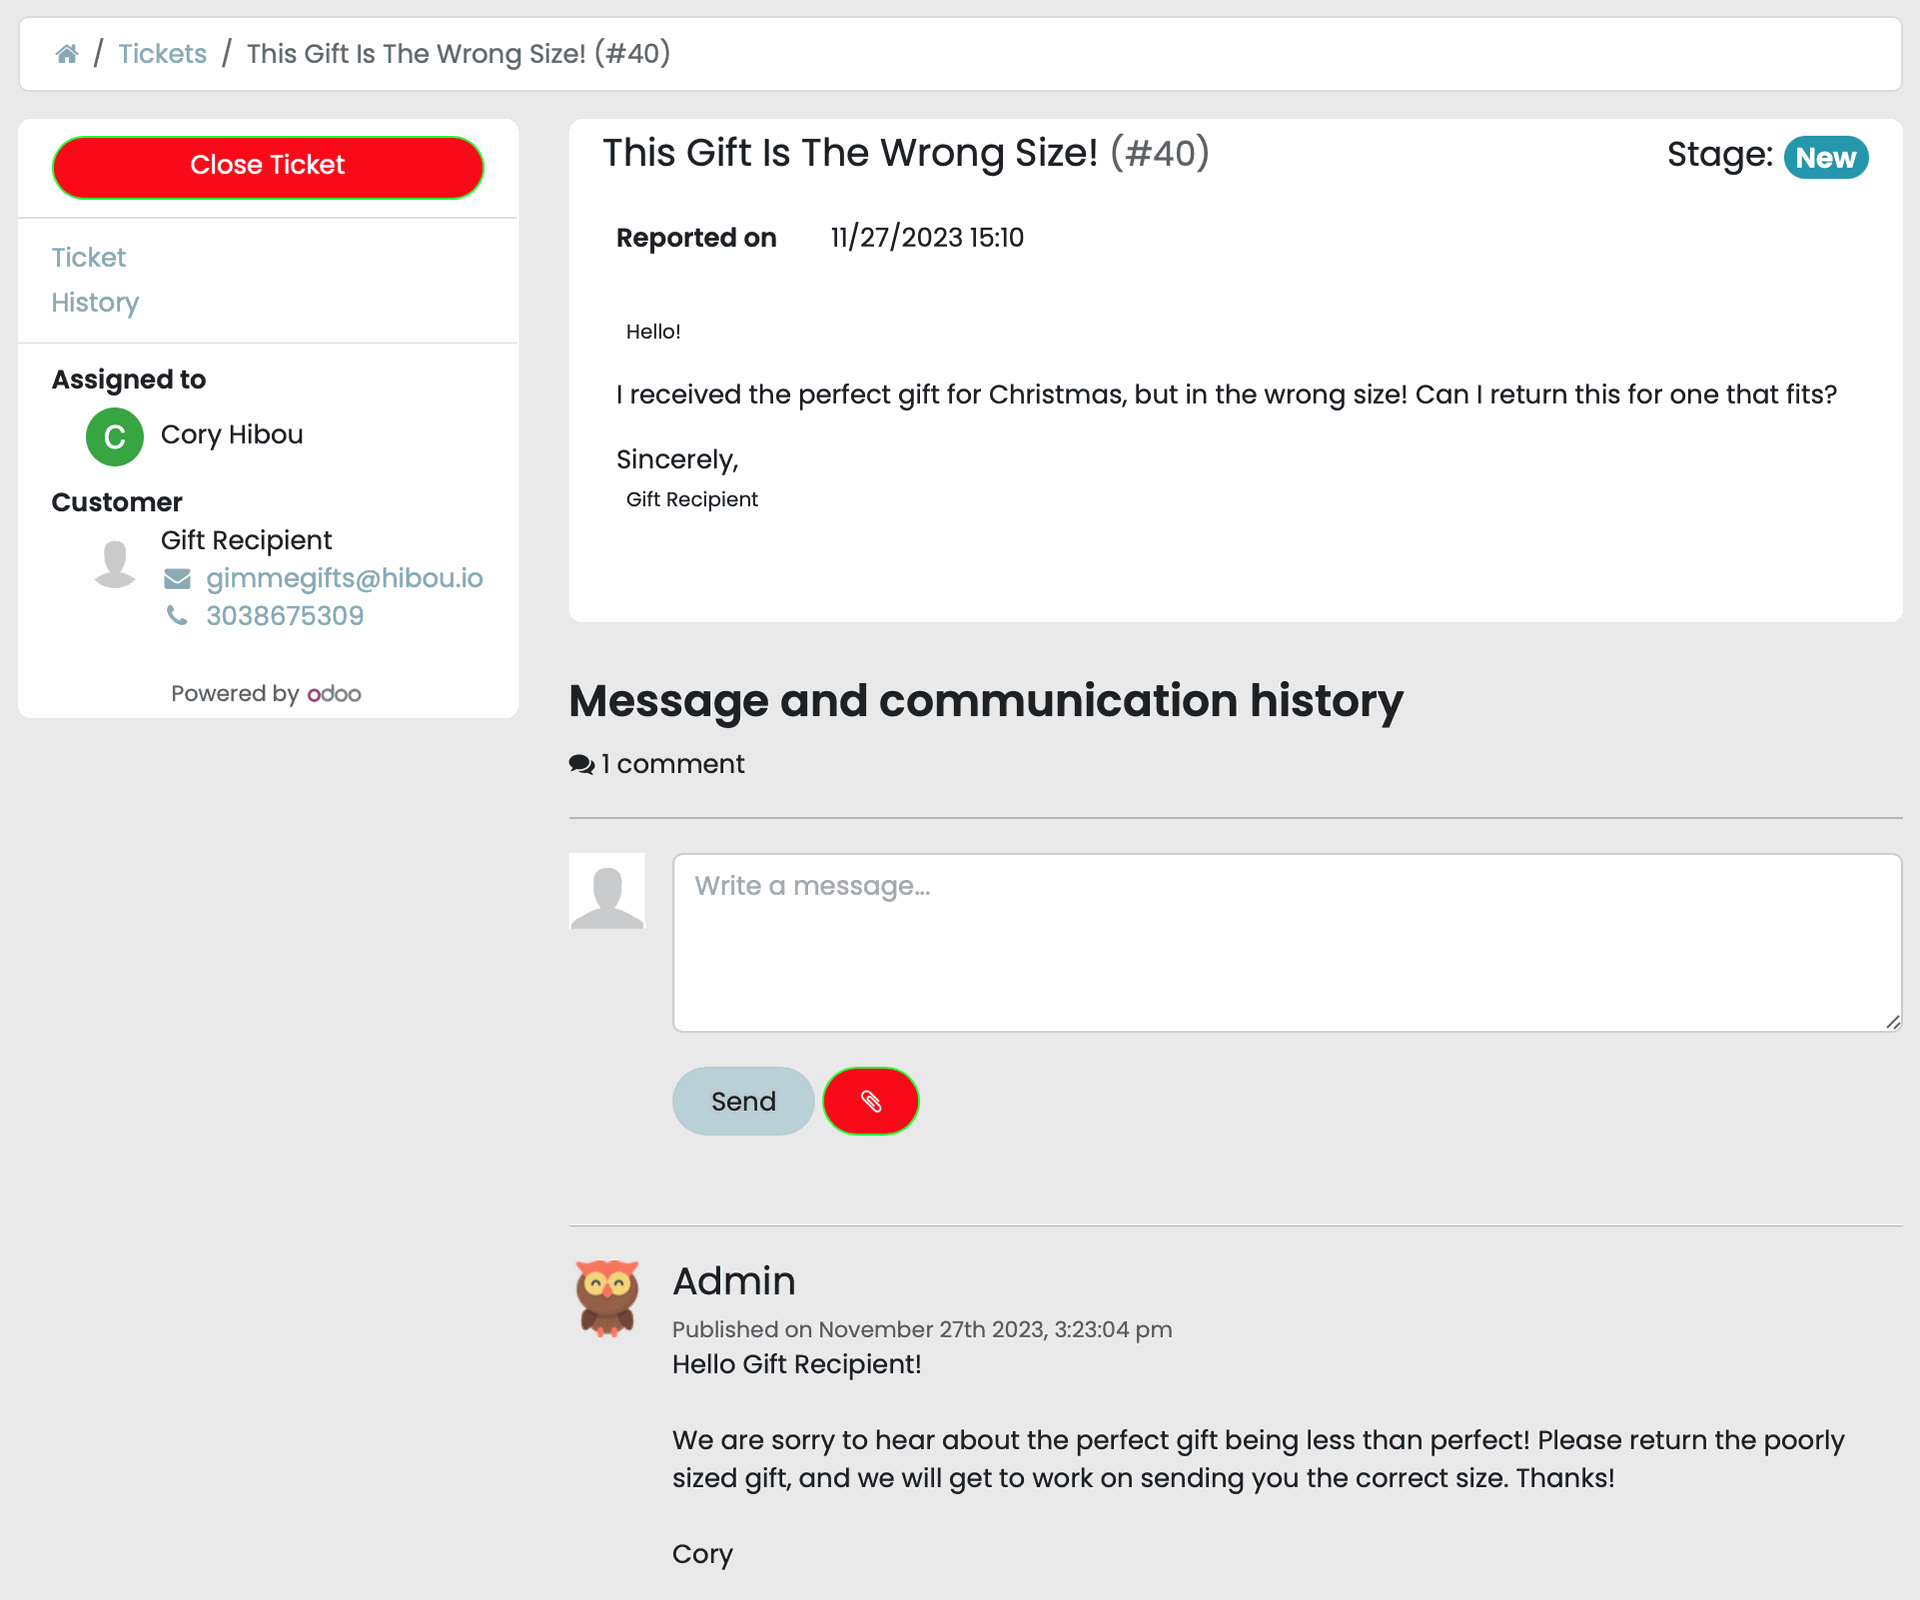
Here is where your customer will see your ticket response just like any other ticket, the only difference being that now your back-end/Internal users can jump from the ticket to the RMA with 2 clicks.
These are just two scenarios in which our easily configured module can help you and your company during the holiday season. If this article has got you thinking of other use cases, or you have questions about how it might be used to help your own business, please email us at [email protected] and we will be happy to answer your questions!
.