Marketing: Email Marketing: Mailings
Purpose
The purpose of this document is to walk you through the processes for mailings in the Email Marketing application in Odoo 13.
Process
To get started, navigate to the Email Marketing app.
Creating Mailings
The next step in configuration is setting up your Mailings. These are the actual email campaigns that will be sent out to your subscribers.
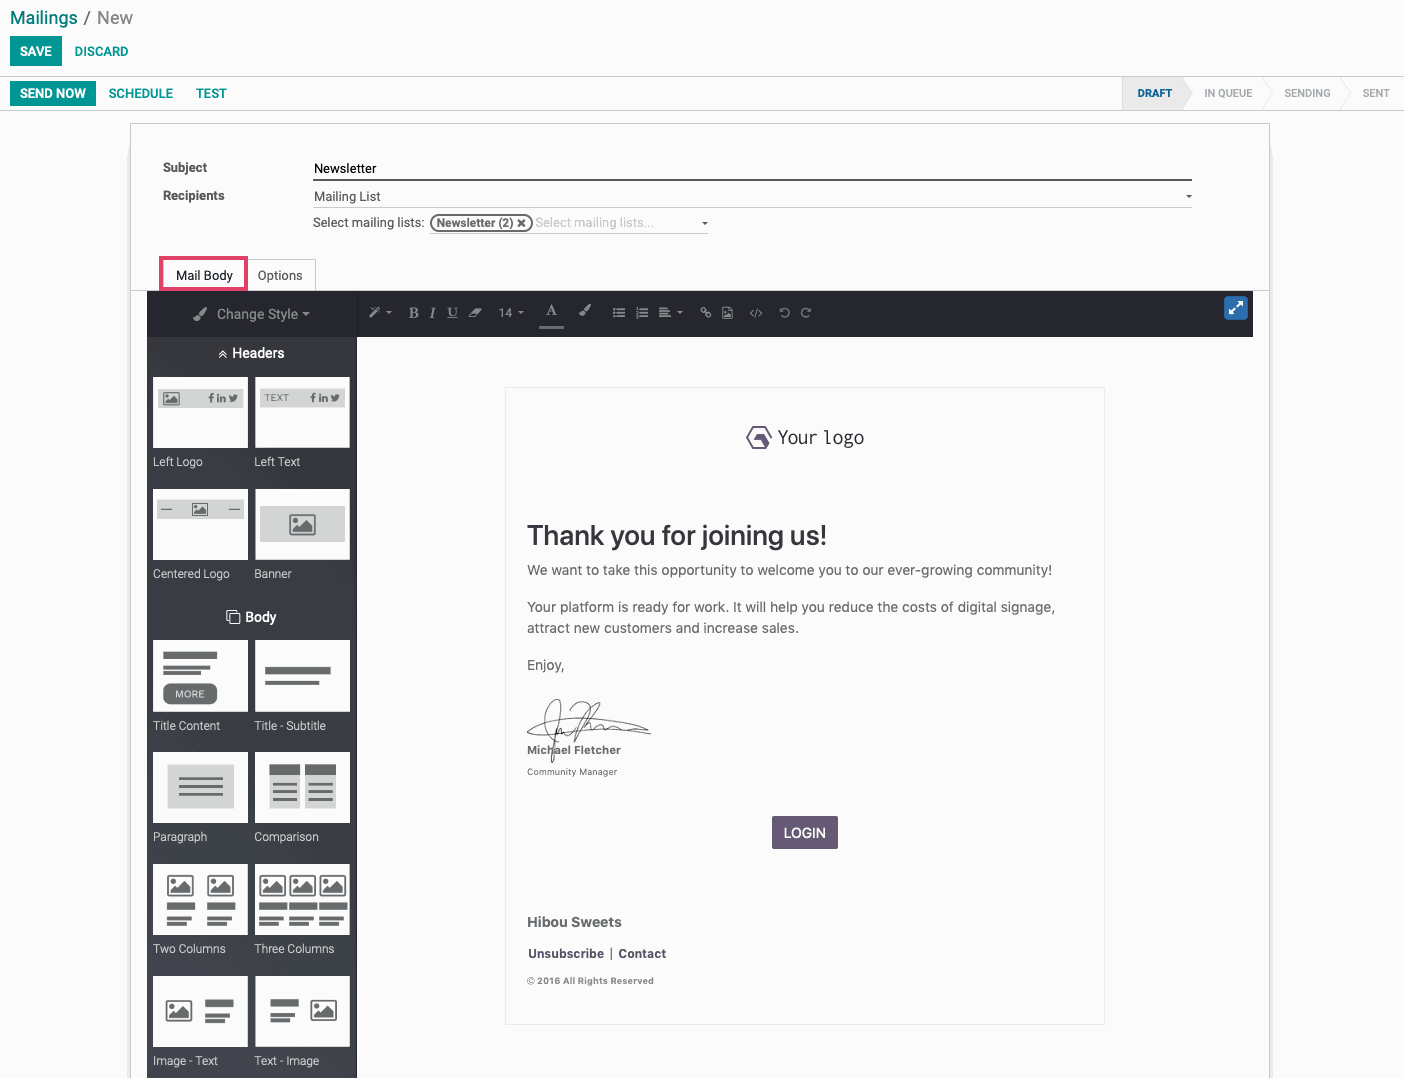
Navigate to MAILINGS and click the CREATE button to make a new mailing. This will open the New Mailings form with the following fields.
Subject: Enter the subject of the mailing.
Recipients: Select the recipients for this mailing. This field will determine other fields displayed for further refining. See the Using Recipient Filters section below for more information.
Mailing List: With this option selected, you can choose from the Mailing Lists that you’ve created to send this message to the right subscribers.
Applicant: This selection will send this mailing to all contacts that have submitted a job application through the Recruitment app. You can target specific recipients by using filters, which we will cover below.
Contact: This selection will send this mailing to all of your database contacts. You can target specific recipients by using filters, which we will cover below.
Lead/Opportunity: This selection will send this mailing to all of your leads/opportunities. You can target specific recipients by using filters, which we will cover below.
Sale Order: This selection will send this mailing to all of your Sale Orders. You can target specific recipients by using filters, which we will cover below.
For our purposes, we'll select "Mailing List".
Under the Mail Body tab, select the template that comes closest to the look and feel you're going for. Once selected, you can further configure the colors and styles. See the Mail Body section below for more information.

Using Recipients Filters
To add filters to target specific contacts, select which group you want to start with from the recipients dropdown menu and then click the ADD FILTER button to add a filtering rule.
You will see a filtering rule appear that will allow you to choose how you want to target specific contacts. You can have as many rules as you want and they can target a large array of fields within Odoo.

We will build out a few rules to give you an example of how to use these rules to select the correct recipients for your mass mailing.
When you have more than one rule set, Odoo will default to search for contacts that match all of the rules that you have set. You can easily change this to filter for any of the rules instead.

Once you have your rules set, you will see how many customer contacts will receive the mailing by viewing how many Records appear in the top right of the filters.
If you click on the # Record(s) button, you will see which contacts are being targeted to make sure that these are the correct contacts that you want to receive this mailing.
Once your filtering rules are targeting the correct recipients, you can move onto selecting the email template that you would like to start filling in for the content of your email.
Mail Body and Options
In the MAIL BODY tab, you can select a template that you can use as a starting point for your email content. When you select your email template, you will see the contents of the tab change into a website editor that will allow you to drag and drop the different elements onto the template.
By clicking on the text and images on the template you will be able to edit the content to your liking and format it as you see fit.
We will not go in depth on how to use the editor in this article, if you need help with configuring an email template, please contact Hibou Support for help.
Under the SETTINGS tab are the following fields:
Responsible: This will auto-populate to your user and represents the person responsible for this mailing. Changing this field does not change the email address to follow.
Send From: Enter the "From" address for this mailing. This will auto-populate with your user's email address.
Reply To: Enter the "Reply to" address for this mailing. This will auto-populate with your user's email address.
Attachments: Click ATTACH A FILE to add any necessary attachments.
Marketing
Mailing Campaign: If this mailing is part of a configured campaign, select that here.
Allow A/B Testing: Enable this option to allow A/B testing.
A/B Testing percentage: Select the percentage of the testing that this mailing should be used for within the campaign.

When you're done, click SAVE to keep this as a draft.
Sending Out Your Mass Mailing
Once you have all of your options configured and your email body put together to your liking, the only thing left to do is to send it out to your list.
We recommend using the TEST button to send yourself a copy of the email, check the links, make sure the images and text render as you would like them to and then once you’re happy with the way it’s configured, you can use the SEND button to immediately send the email out to your list. You'll just need to click OK on the Confirmation modal to continue.

You can also use the SCHEDULE button to input a future date and time that you want the email to be sent. This brings up a modal window allowing you to make your selection.

When you're ready, click Schedule and the page will reload with a notice indicating the scheduling date.

Once you see the status of your email change to SENT, it has been sent out to your recipients and you will see your mailings stats across the top of the page. You can also see your campaign’s stats on the main page of the Email Marketing application.
