Hibou Odoo Suite: Return Merchandise Authorization (RMA): Return Merchandise Authorization (RMA): Core Returns
Repository Versions:
#Purpose
This document covers the Core RMA return process using the Hibou RMA application of Odoo 14. We'll cover product configuration, submitting a Core RMA through the portal, and processing the Core RMA on the backend.
Getting Started
First things first! Let's install the correct module. Navigate to the Apps application.
Once there, remove the Apps filter, then search for 'Product Cores'. This module allows you to charge customers for cores. Click INSTALL. Installing this should also install the apps below, but please make sure. If not, then install as descried below.

You will be taken to your home screen. Return to the Apps application and repeat the installation process for the module named 'RMA - Product Cores'. This module allows you to process core returns.

And, finally, to extend functionality, install 'Product Core Reporting.'

Good to Know!
The Hibou RMA - Product Cores module requires the Product Cores, RMA Sale, and Hibou Professional modules. However, if you do not already have these applications installed, Odoo will install them for you during this application's installation!
Process
To get started, navigate to the Inventory app.
Product Configuration
There are three products involved in the Core RMA functionality:
Core Product: This is the product being purchased.
Core Deposit: This is the deposit your customer pays upfront when they purchase the Core Product; it will be refunded when the customer returns the Core (used product).
Dirty/Used Core: This represents the used product being returned. It is technically the same Product that was purchased, but it must be inventoried as a used product upon return.
We will configure these products below.
Core Product
From products >PRODUCTS, select your core product, then click EDIT.

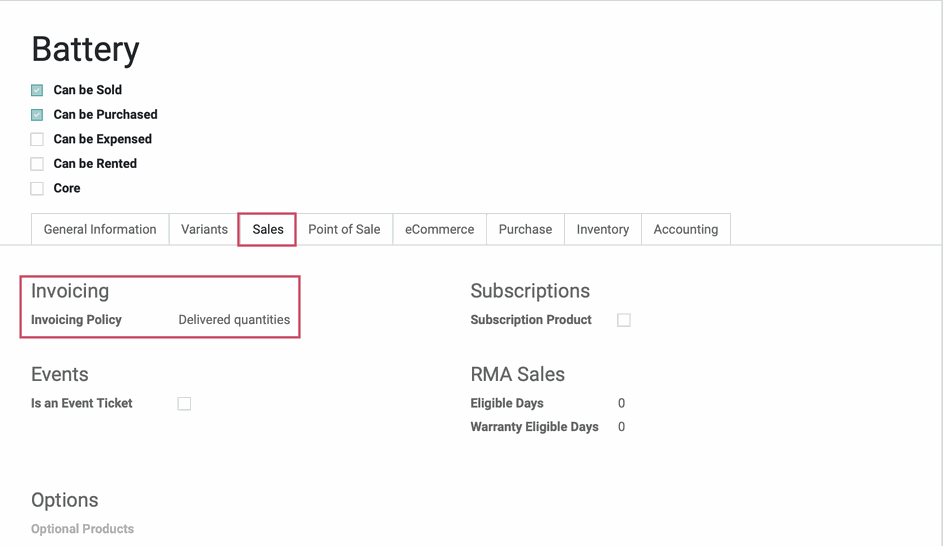
Under the Sales tab, set the Invoicing Policy to "Delivered Quantities".
Note that the RMA Sales section in this tab refers to standard returns of this product, and not Core returns. You can disregard this section for the purpose of setting up Core returns.
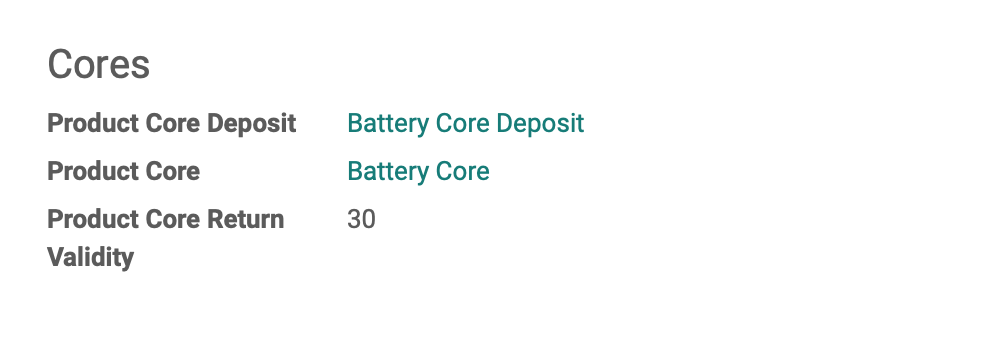
Under the Inventory tab, scroll to the bottom of the page, and you'll see a Cores section which was added when the RMA module was installed. Enter a value for each of the following fields. (If core or core deposit products have not been set up, you'll do that first, then return to this product and enter as shown below):
Product Core Deposit: The service product representing the fee your customer will pay upfront when they purchase the base product.
Product Core: The storable product representing the product that is returned.
Product Core Return Validity: The number of days, from purchase, that the used Core can be returned.
When you're done, click Save.
Core Deposit
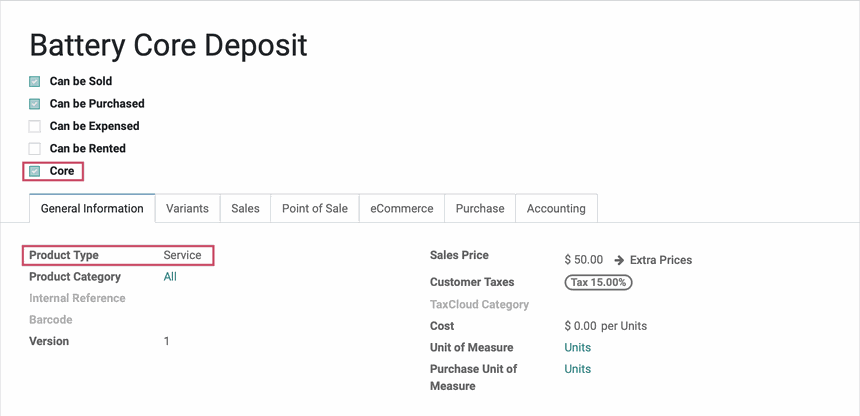
From products >PRODUCTS, select your deposit product, then click EDIT.

Under the product name, check Core. Under the General Information tab, set the Product Type to "Service".
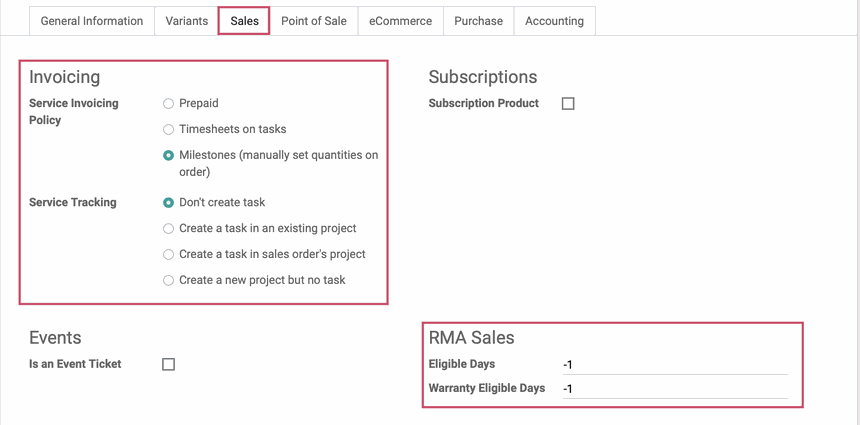
Under the Sales tab, configure the following fields:
Invoicing
Service Invoicing Policy: Set to "Milestones (manually set quantities on order)".
Service Tracking: Set to "Don't create task".
RMA Sales
Eligible Days and Warranty Eligible Days: Set both fields to -1. This is because we'll never want to initiate an RMA on a deposit itself.
When you're done, click Save.
Dirty/Used Core
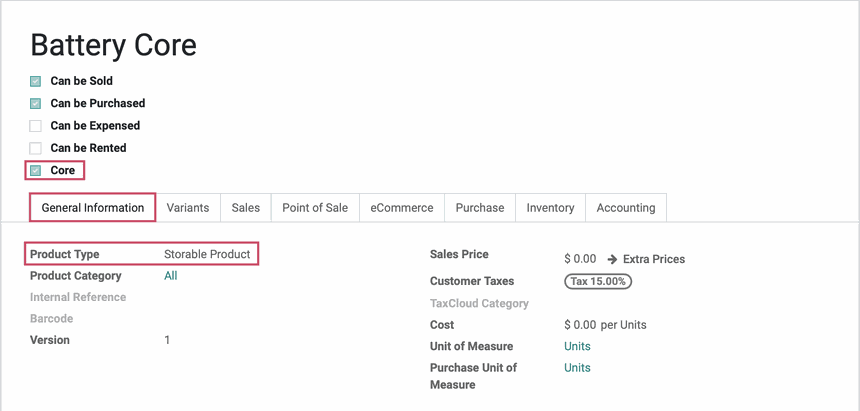
From products >PRODUCTS, select your used core product, then click EDIT.

Check Core, and in the General Information tab set the Product Type to "Storable Product".
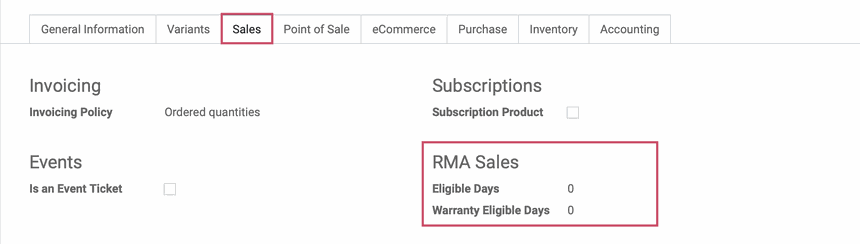
Under the Sales tab,
RMA Sales
Eligible Days and Warranty Eligible Days: Set both fields to 0 for unlimited, or enter the number of days the item is eligible for returns.
When you're done, click Save, then go back and make sure you have primary product set up with the correct Product Core Deposit and Product Core.
Good to Know!
Any time you save or confirm a Sale Order containing a product that has Cores, the Core Deposit product will be added automatically. These products will be kept in sync because they are at a 1-to-1 ratio.

Initiating a Core RMA through the Portal
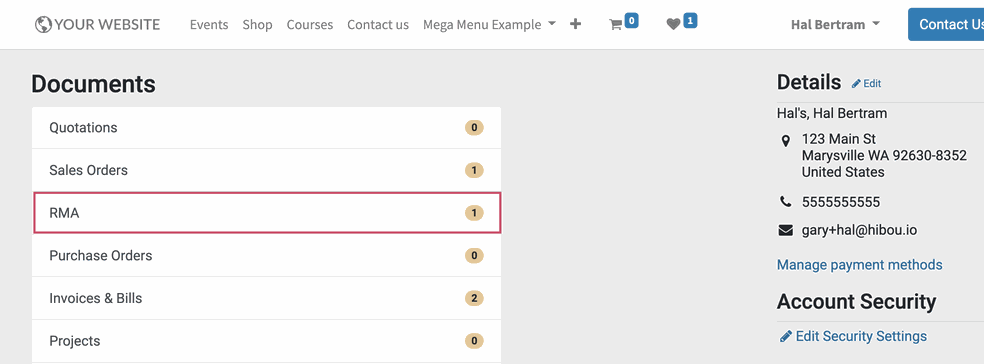
On the portal side, a customer can initiate their own RMA (given it has been enabled on the RMA Template). On the My Account page, click RMA.
 Once there, click Create New RMA.

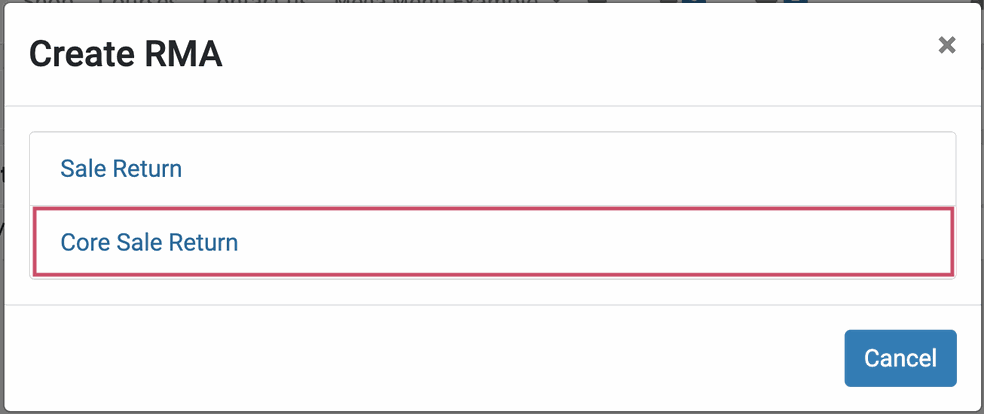
Select Core Sale Return from the modal window.
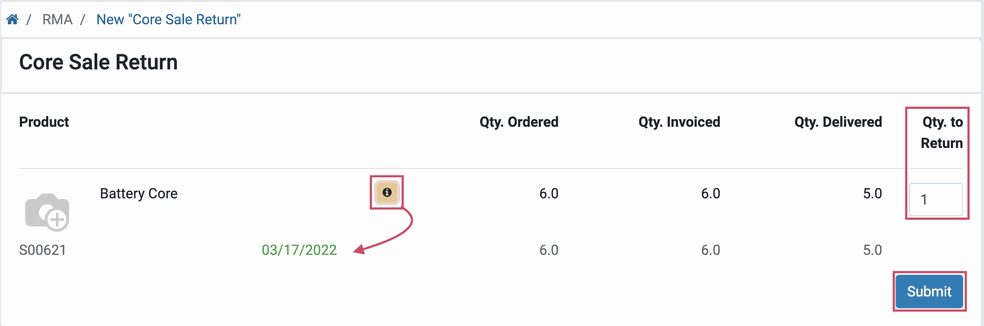
On this page, the customer will see a list of core products, and their respective quantities, eligible for return. Enter the Qty. to Return. By clicking the information icon, they will see this data broken down further by sale order and date. They should click the SUBMIT button when done.
Processing the Core RMA on the Backend
Navigate to the RMA app.
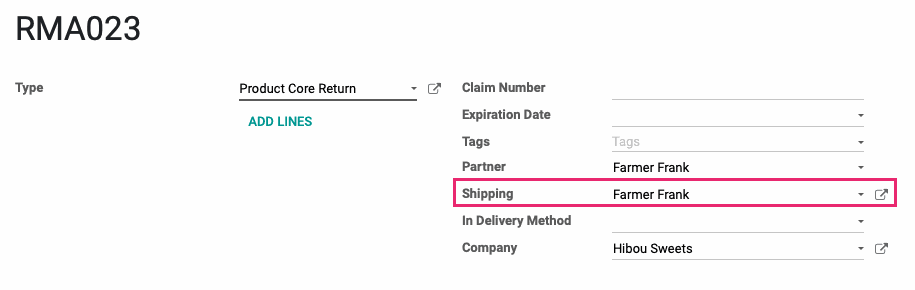
From the list, select the RMA to process. It will be in the "New" State.

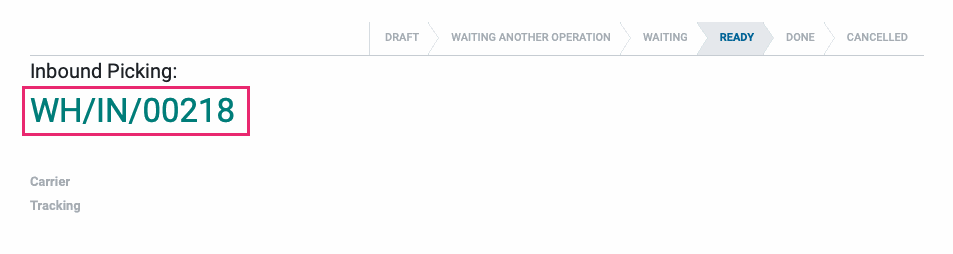
Review the RMA, then click Confirm to accept it. The RMA template we're using is configured only to create an inbound picking because we're not sending anything back to the client. Once confirmed, scroll down to see the Inbound Picking that was created. You're now ready to receive the dirty Core.

Once the dirty/used core is received, return to this RMA and open the inbound picking. This is the transfer that represents the customer return.
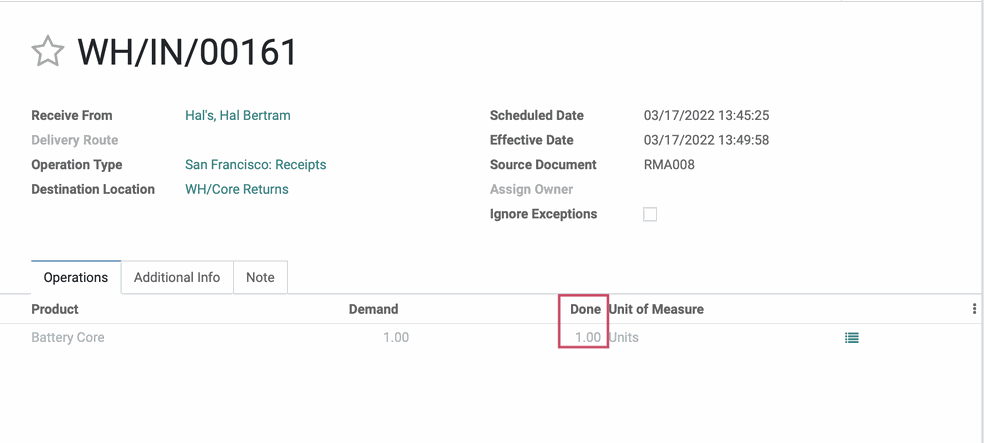
Within the RMA record, scroll down to the inbound picking, click on its name to open its window.
Review the inbound picking. If you''ve received everything and would like to set the 'Done' quantities to the number being returned, click VALIDATE, and you'll notice that under the OPERATIONS tab, the values in the 'Done' field have been updated in each row.
(Note: clicking the (Detailed Operations) icon in a row allows you to set specific values in the Done column for that row. Be sure to click VALIDATE to complete the receipt.)
At this point, the dirty core enters your inventory, and you can return it to the manufacturer or process it in another manner. Use the breadcrumbs to navigate back to the RMA.
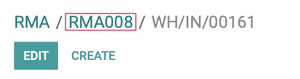
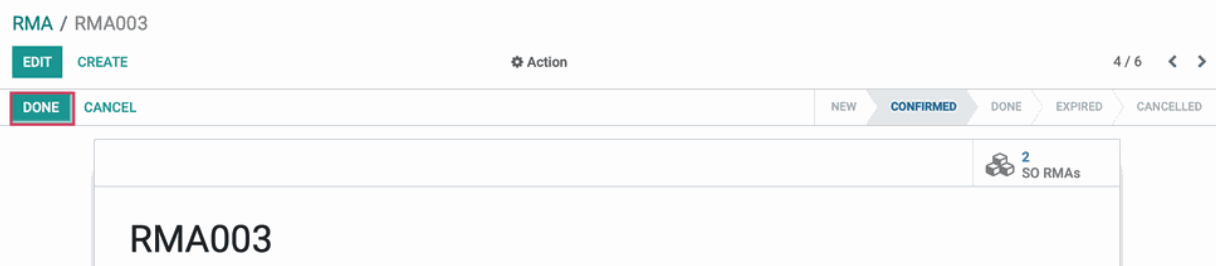
Once there, click Done to complete the RMA.
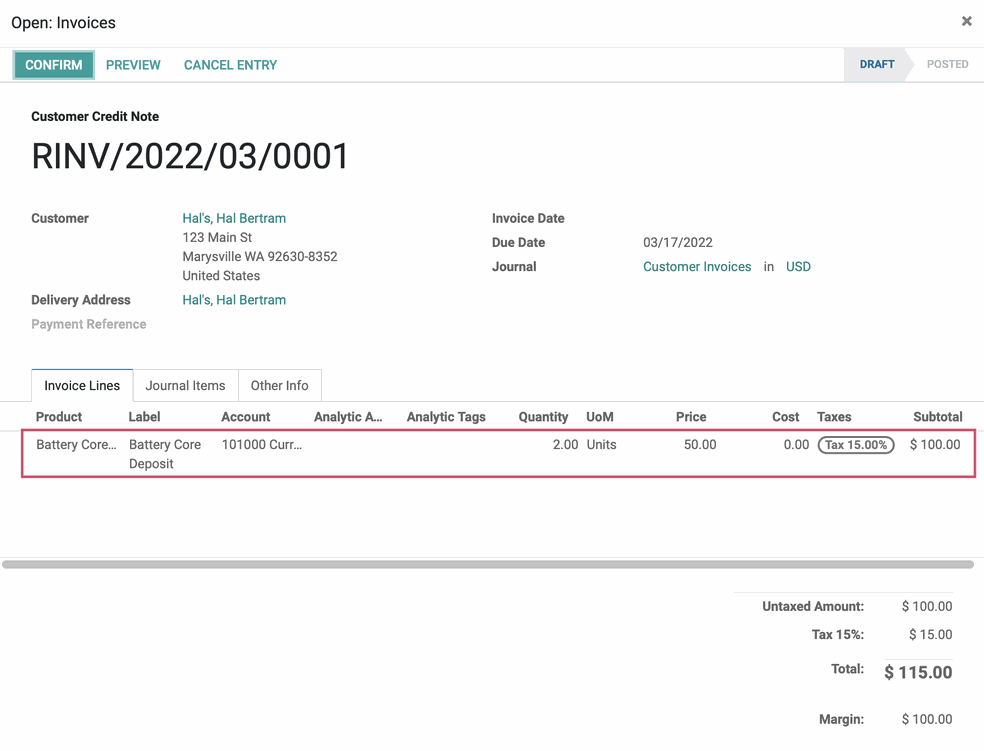
Since the RMA template is configured to issue a refund on completion, you'll see a draft credit note created on the RMA.
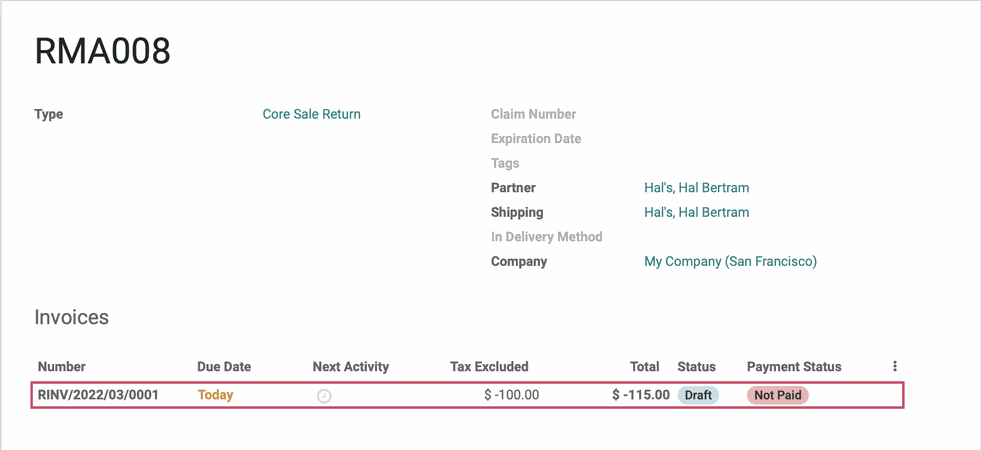
If you click into the credit note, you'll see the refund has been issued for the Core Deposit product. The refund can then be posted (by hitting confirm )and paid.