CRM: Managing Your CRM Pipeline
Purpose
This document is the successor document to the Sales Team document.
Here, you will learn how to customize your sales pipeline to manage Leads, turn them into Opportunities, and what the differences are between the two. You'll learn how to set the criteria that qualify a Lead as a new Opportunity, how to assign members of your sales team to activities, and how to customize reasons for why an opportunity was lost.
Process
Navigate to the CRM app.
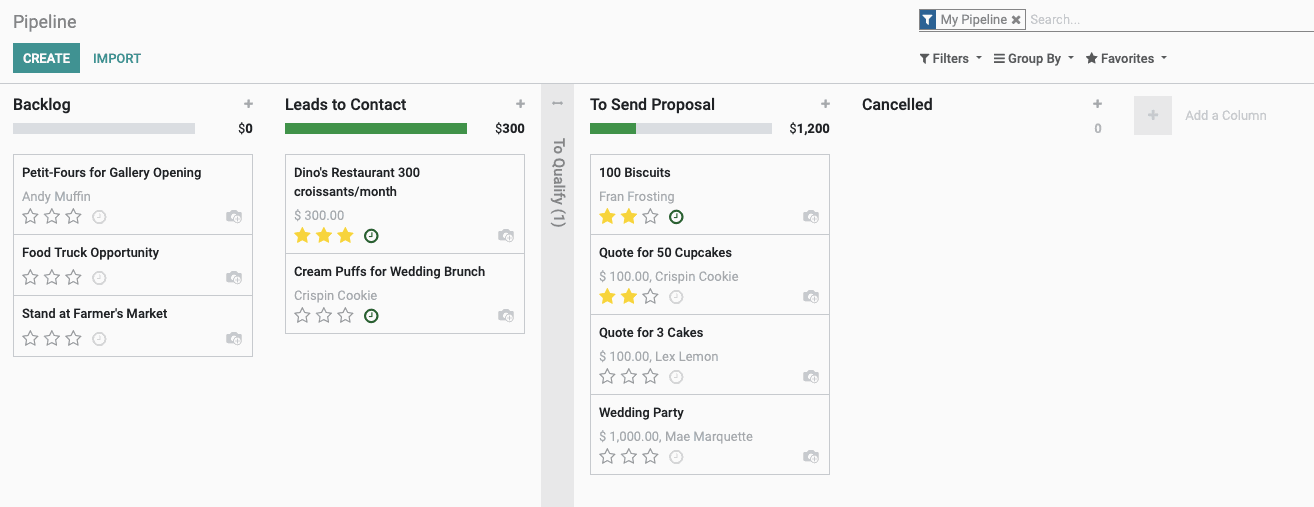
Upon opening this application, you'll see your Pipeline organized into columns. Each card shown represents an opportunity where you are listed as the Salesperson. Removing the My Pipeline filter will show all opportunities.
Creating a Lead
Leads can take many forms, whether it's a conversation your employee had at a conference, a networking call, or a direct message from social media. This form allows you to document all potential sales by logging them, sorting them, and then assigning a follow up.
To create a lead, first click LEADS to view your leads, then click Create. This opens the New Leads form. All fields on this form are optional, but the more information you provide, the greater the chances are of converting this Lead to an Opportunity.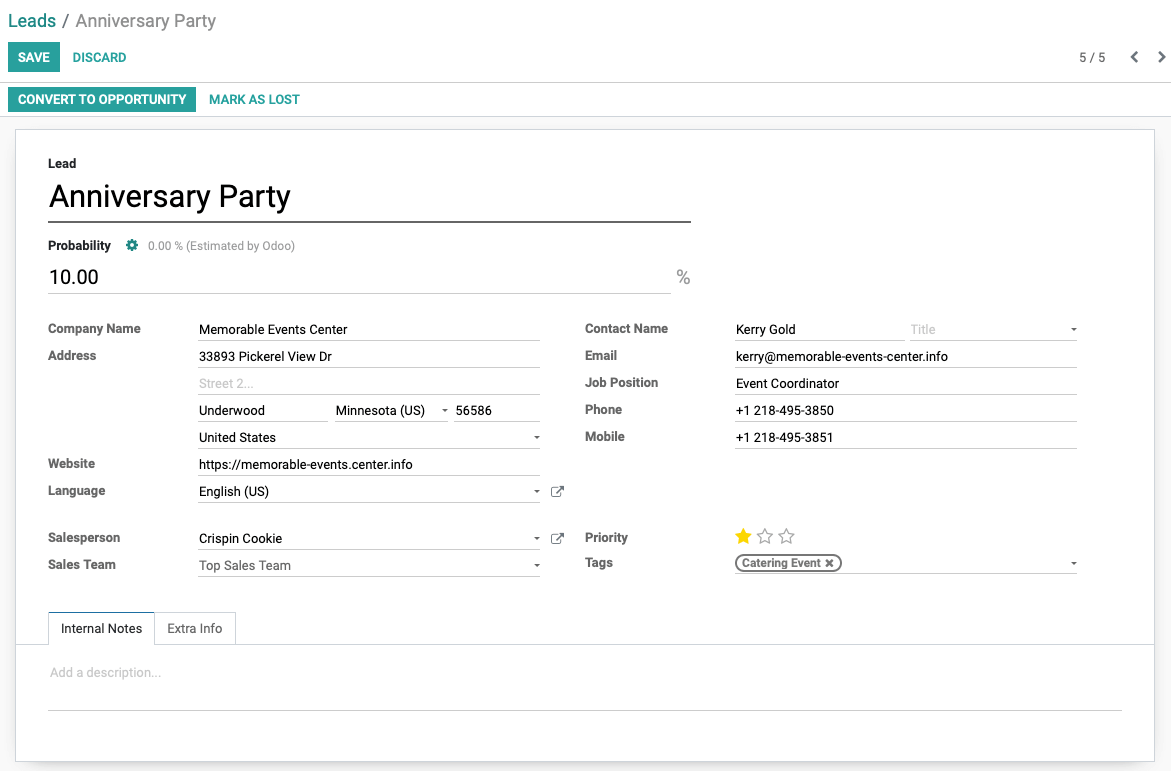
Lead: Give the lead a name for easy reference.
Probability: Enter your estimated probability for converting this lead into an opportunity. If you enter your own figure, you'll see Odoo's calculation display just above it. Clicking the gear icon will populate the Odoo figure into this field. You can overwrite it as needed.
Address: Enter an address for this lead.
Website: Enter a website for this lead.
Language: Select the preferred language for this lead from the list.
Salesperson: Select the salesperson responsible for bringing in this lead.
Sales Team: Select the sales team assigned to this lead.
Contact Name: Enter the name of the company contact.
Email: Enter the email address for the company contact.
Job Position: Enter the job title for the company contact.
Priority: Indicate the priority of this lead to help organize it in the pipeline.
Tags: Enter any applicable tags for this lead. These are used in filtering and reporting.
When you've entered all known data, click Save.
Leads to Opportunities
Navigate back to Leads and you'll see the lead you just created in list view. From this view, select your new lead from the list.
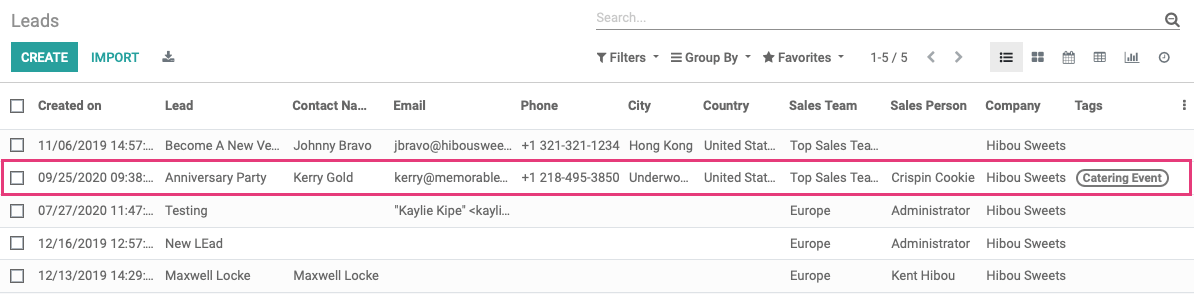

In our example, Crispin Cookie, our salesperson, has contacted Kerry Gold by phone and their company is really interested in moving forward. So, let's click Convert to Opportunity!
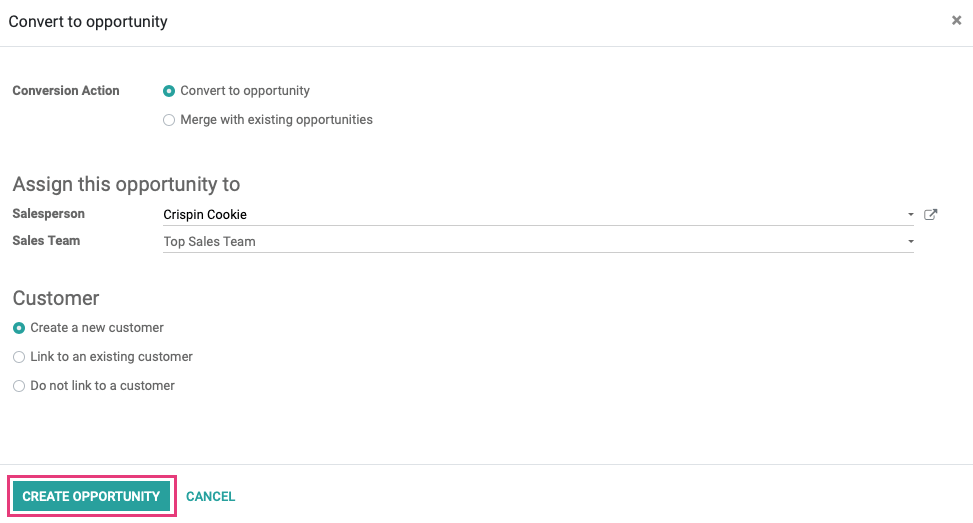
Once you convert a Lead to an Opportunity, you'll be presented with a modal window with options and fields to complete.
Conversion Action: Here you'll have two options, and Odoo will select the one it finds to be the best selection based on existing data.
Convert to opportunity: This is the standard method, and will require you also link this opportunity to a Customer in a following section.
Merge with existing opportunities. If Odoo detects opportunities that are very similar, this option will be selected and those Opportunities will be listed at the bottom of the modal window. You can click the to the far right to remove one or more from the list. If you do choose to merge opportunities, the Sales Person and Sales Team will be set with the following two fields.
Salesperson: Assign this Opportunity to a Salesperson
Sales Team: Assign this Opportunity to a Sales Team
Customer: This option displays only if your Conversion Action is Convert to opportunity. You'll have the following options:
Create a new customer: This option allows you to create a new customer during this step using the data entered into the lead form.
Link to an existing customer: If Odoo detects a match with existing customer data, it will suggest an existing customer and select this option. You will then select the customer from the following drop-down field.
Do not link to a customer: This will be the default selection if you don't have enough data to detect an existing customer match.
When you've filled in the necessary details, click CREATE OPPORTUNITY.
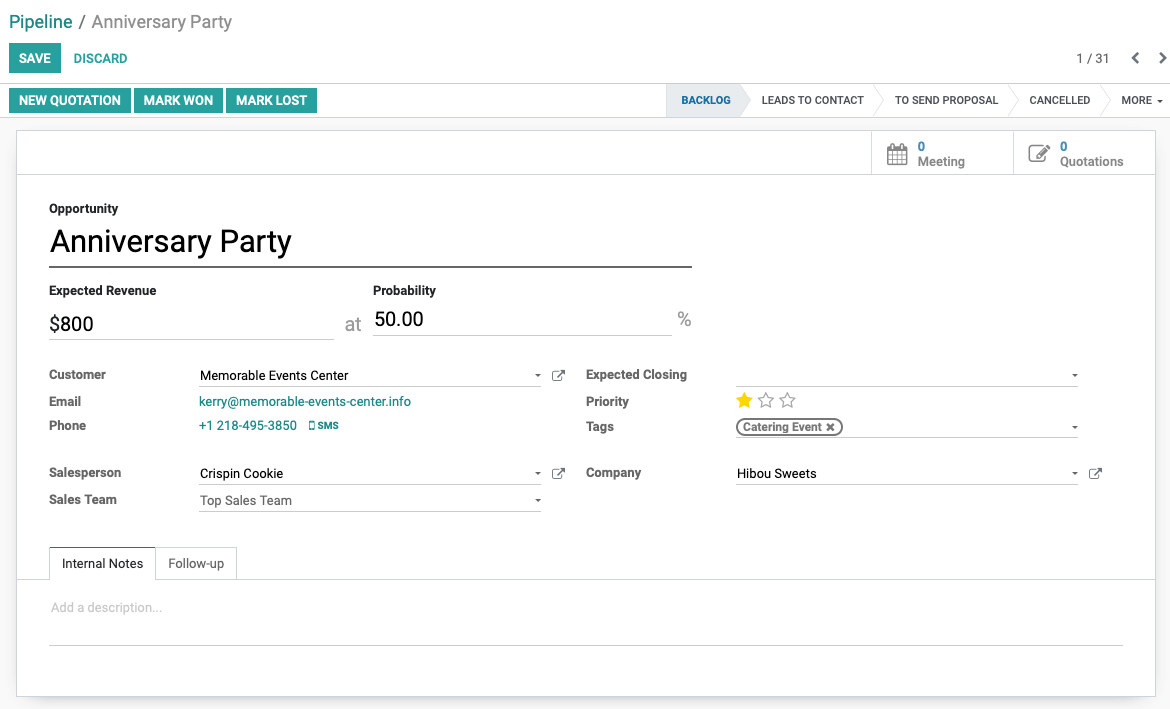
This brings us to the Opportunity form. This is similar to the Leads form, with a few additional fields:
Meetings Smart Button: Indicates any upcoming meetings with this contact.
Quotations Smart Button: Indicates any existing Quotations for this contact.
Expected Revenue: Enter the estimated revenue from this Opportunity.
Expected Closing: Enter the estimated date for this Opportunity to become a sale.
Probability %: You may notice a new estimate calculated by Odoo after converting to an Opportunity. To accept that figure, click the icon. You can always override the Odoo estimate by typing in your own. For this example, accept the Odoo estimate, then click Save.
Pipeline Flow
Navigate to Sales > My Pipeline.
Good to Know!
The default view will be filtered to My Pipeline. To view all opportunities, be sure to remove that filter by clicking the x icon in the search bar.

The goal of the pipeline is to get opportunities from the backlog to the final stage: a sale. Your Sales Team will determine requirements for moving an Opportunity to the next stage, and it can even be based on automated actions in Odoo.
To manually move a task, simply drag and drop it to a different column.

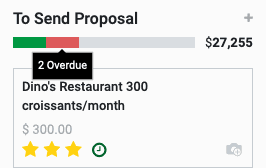
In the Pipeline, you can see that the estimated revenue total for a column is displayed below the title, giving an idea of potential sales at a glance.
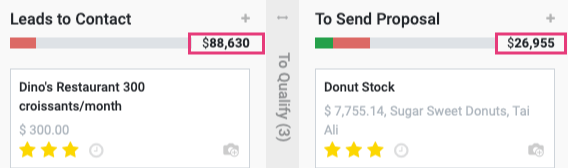
Success! Now, when we mouse over the colored blocks of the column, our qualification pops up in a tooltip!